Imagine you’re embarking on a journey through the intricate world of laser cutting. You’ve carefully selected your materials, perfected your design, and eagerly press the start button. But alas, your excitement fades as you encounter a myriad of troubleshooting issues.
Fear not, for we are here to guide you through the treacherous pitfalls that lie ahead. In this article, we will delve into ten laser cutter troubleshooting mistakes to avoid, ensuring a smooth and seamless laser cutting experience.
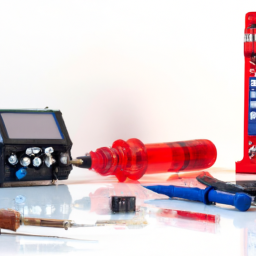
First and foremost, always check the power supply and connections. A loose connection can lead to power fluctuations, compromising the efficiency of your laser cutter.
Additionally, regular cleaning of the laser lens is crucial for optimal performance. Accumulated debris can obstruct the laser beam, resulting in subpar cuts.
Calibration of the laser cutter bed is another essential step to maintain precision and accuracy.
Furthermore, using proper material settings is vital. Incorrect settings can lead to burnt edges or incomplete cuts.
Overloading the laser cutter with materials beyond its capacity can cause damage to the machine and compromise safety.
Finally, a safe working environment is paramount for both yourself and the longevity of your laser cutter.
So, embark on this laser cutting journey with confidence, armed with the knowledge to avoid these common troubleshooting mistakes.
Key Takeaways
- Regularly clean the laser lens to prevent debris obstruction.
- Ensure proper calibration of the laser cutter bed for precision and accuracy.
- Use correct material settings to avoid burnt edges and incomplete cuts.
- Avoid overloading the laser cutter to prevent damage and compromise safety.
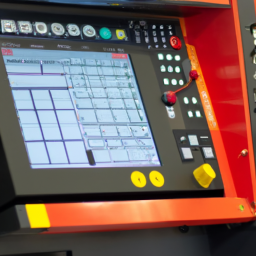
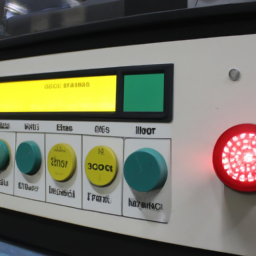
Check the Power Supply and Connections
You need to make sure you’ve got all the power cables securely plugged in, otherwise, your laser cutter won’t be able to light up and do its magic. Troubleshooting power issues and connection problems is crucial to ensure your laser cutter operates smoothly.
Begin by checking the power supply to ensure it’s receiving the correct voltage and that there are no loose connections. Inspect the power cables for any signs of damage or wear, and replace them if necessary. Additionally, examine the connectors to ensure they’re clean and properly seated.
Troubleshooting connection problems may involve checking the connection between the power supply and the laser cutter, as well as any auxiliary equipment. Remember, a reliable power supply and secure connections are vital for the laser cutter’s optimal performance.
Moving on, it’s equally important to regularly clean the laser lens to maintain the cutter’s efficiency and accuracy.
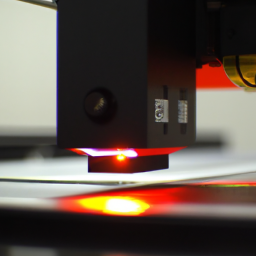
Clean the Laser Lens Regularly
Regularly cleaning the lens is essential for maintaining optimal laser cutting performance and preventing potential setbacks. The lens of the laser cutter can easily become dirty or contaminated during use, which can negatively impact the quality of the cuts and engraving.
To clean the lens, start by turning off the laser cutter and disconnecting the power supply. Use a lens cleaning solution and a lint-free cloth to gently wipe the lens in a circular motion. Avoid using any harsh chemicals or abrasive materials that could damage the lens.
Additionally, it’s important to ensure proper ventilation in the laser cutter workspace to prevent dust and debris from accumulating on the lens.
Cleaning the lens regularly will help to prolong the lifespan of the laser cutter and improve overall cutting performance.
To continue with the calibration process, move on to the next section about calibrating the laser cutter bed.
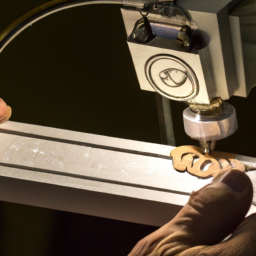
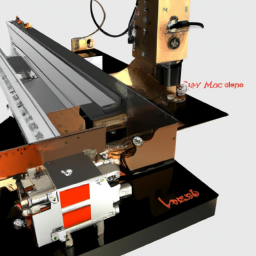
Calibrate the Laser Cutter Bed
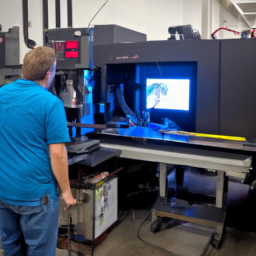
Make sure to calibrate the bed of your laser cutter to ensure accurate and precise cutting and engraving results. Proper calibration is an essential step in laser cutter maintenance and troubleshooting techniques.
To calibrate the bed, start by ensuring that it is level and flat. Use a spirit level to make adjustments if necessary.
Next, adjust the focus of the laser beam to ensure that it’s hitting the material at the correct distance for optimal cutting and engraving. This can be done by adjusting the Z-axis or the focal length of the lens.
Finally, check the alignment of the laser beam to ensure that it’s perpendicular to the bed and parallel to the material surface.
By calibrating the bed, you can avoid issues such as uneven cuts or inaccurate engravings. This will ensure consistent and high-quality results.
Now, let’s move on to the next section about using proper material settings.
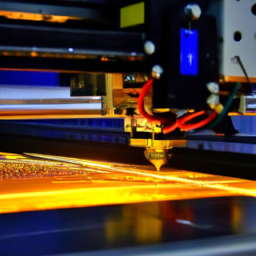
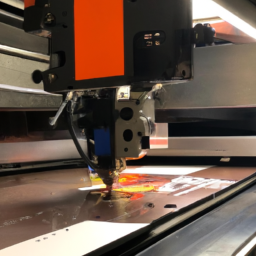
Use Proper Material Settings
Ensuring accurate and precise results, it’s important to use the proper settings for different materials on the laser cutter.
Optimal cutting speed is a crucial factor that determines the quality of the final product. If the speed is too slow, the laser can cause excessive heat, resulting in melted edges and a sloppy finish. On the other hand, if the speed is too fast, the laser might not cut through the material effectively, leading to incomplete cuts.
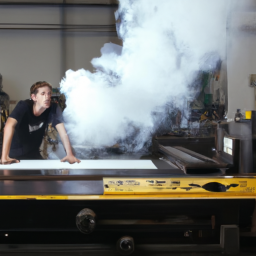
Additionally, the importance of ventilation cannot be overstated. Laser cutting produces smoke and fumes that can be hazardous if not properly ventilated. Adequate ventilation not only ensures a safe working environment but also prevents the accumulation of debris on the laser lens, which could affect the quality of the cuts.
By using the correct material settings and ensuring proper ventilation, you can achieve outstanding results on the laser cutter. Avoid overloading the laser cutter by following the next section.
Avoid Overloading the Laser Cutter
To prevent overwhelming the laser cutter, you need to be mindful of the workload you place on it. Overloading the laser cutter can lead to a decrease in performance and even damage to the machine.
One important consideration is proper ventilation. Laser cutters produce smoke and fumes during operation, and without proper ventilation, these can accumulate and affect the performance of the machine. Make sure the laser cutter is set up in a well-ventilated area or use an exhaust system to remove the smoke and fumes.
Additionally, regular laser cutter maintenance is crucial to avoid overloading. Keep the machine clean and free from debris, and regularly check and replace worn-out parts.
By properly managing the workload and ensuring proper ventilation and maintenance, you can maintain a safe working environment for yourself and prolong the lifespan of the laser cutter.
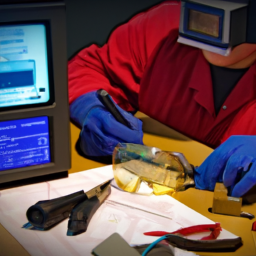
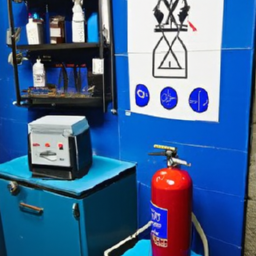
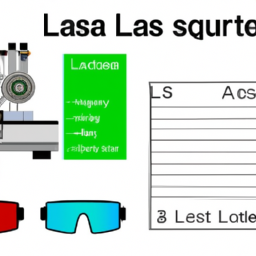
Maintain a Safe Working Environment
Take care of yourself and create a safe environment while working with the laser cutter. To ensure proper ventilation, make sure your workspace is well-ventilated and free from any obstructions that may hinder the airflow.
Implement safety protocols such as wearing appropriate personal protective equipment, including safety glasses and gloves. Keep the laser cutter area clean and organized to minimize the risk of accidents. Avoid cluttering the workspace with unnecessary materials or objects that could potentially cause a fire hazard.
Regularly inspect and maintain the laser cutter to ensure it’s in proper working condition. Familiarize yourself with the emergency shut-off procedures and have a fire extinguisher nearby.
By taking these precautions, you can maintain a safe working environment and prevent accidents while operating the laser cutter.
Frequently Asked Questions
Can I use the laser cutter without checking the power supply and connections?
No, you shouldn’t use the laser cutter without checking the power supply and connections. Taking power supply precautions and ensuring laser cutter connection safety is vital to avoid potential hazards and damage. Failure to check these aspects can result in electrical malfunctions, power surges, or even fires. Always inspect the power supply and connections thoroughly before operating the laser cutter to ensure safe and efficient usage.
How often should I clean the laser lens?
To maintain the laser lens properly, it’s crucial to clean it regularly. Neglecting this task can lead to various issues with your laser cutter.
By cleaning the lens, you prevent dust and debris from obstructing the laser beam, ensuring optimal performance.
To troubleshoot common laser lens issues, inspect it for any scratches or damage. If necessary, replace the lens to maintain the quality and accuracy of your laser cutting projects.
What is the importance of calibrating the laser cutter bed?
The importance of calibrating the laser cutter bed is that it ensures accurate and precise cutting and engraving results. Regular calibration of the laser cutter bed offers several benefits, including reducing material waste, minimizing errors, and maximizing production efficiency.
To effectively calibrate the laser cutter bed, follow these steps:
1) Ensure the bed is clean and free from debris.
2) Use a calibration tool to measure the distance between the bed and the laser head.
3) Adjust the bed as necessary to achieve the desired calibration.
Are there specific material settings that I should follow for different materials?
To achieve precise laser cutting results, it’s crucial to follow specific material settings for different materials. Each material has its own ideal laser cutting settings, such as power, speed, and frequency.
Common mistakes to avoid when using the laser cutter on different materials include using incorrect settings, not conducting test cuts, and neglecting proper ventilation. Remember: ‘Measure twice, cut once.’ Ensure you have accurate material settings to avoid costly errors and achieve optimal cutting outcomes.
How can I ensure a safe working environment while using the laser cutter?
To ensure a safe working environment while using the laser cutter, it’s crucial to prioritize proper ventilation and take necessary safety precautions when handling materials.
Adequate ventilation helps remove harmful fumes and particles, reducing the risk of respiratory issues. It’s essential to wear appropriate personal protective equipment like safety goggles and gloves to prevent injuries.
Additionally, always follow the laser cutter’s operating instructions and guidelines to minimize potential hazards.
Conclusion
In conclusion, it’s crucial to avoid these common laser cutter troubleshooting mistakes to ensure the optimal performance and longevity of your machine.
By regularly checking the power supply and connections, cleaning the lens, calibrating the bed, and using proper material settings, you can prevent unnecessary downtime and costly repairs.
Additionally, maintaining a safe working environment is essential for both the machine and operator’s well-being.
While some may argue that these troubleshooting steps can be time-consuming, it’s important to remember that taking these precautions will ultimately save you time and money in the long run, making it a worthwhile investment.