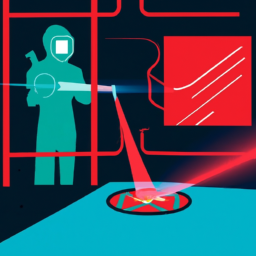


Are you tired of your diode laser cutter constantly underperforming? Frustrated with the endless breakdowns and subpar results? Well, fear not, because we have the answer to all your laser cutter maintenance woes! In this article, we will provide you with 10 tips that will revolutionize the way you care for your diode laser cutter, ensuring optimal performance every time.
Now, you might be thinking, ‘Why do I even need maintenance tips for a laser cutter? It’s just a machine!’ Oh, my dear reader, how wrong you are. A diode laser cutter is a delicate instrument, and neglecting its maintenance is like neglecting a prized racehorse. It will eventually break down, leaving you stranded with a pile of unfinished projects.
But fear not, for we have the solution. By following these 10 tips, you will not only extend the lifespan of your diode laser cutter but also enhance its performance to new heights.
So, let’s delve into the world of laser cutter maintenance and unlock the secrets to optimal performance.
Key Takeaways
- Regular cleaning and maintenance is essential for optimal performance of a diode laser cutter.
- Avoid using abrasive materials or harsh chemicals when cleaning to prevent damage.
- Calibrate the laser power and speed for maximum precision and efficiency.
- Monitor and control temperature and humidity for precise cutting results.
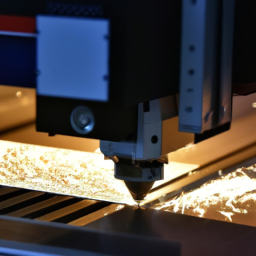
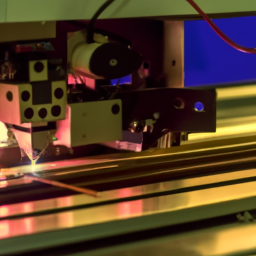
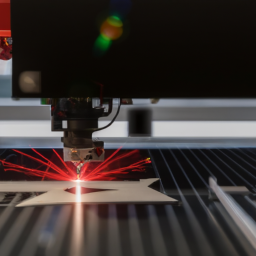
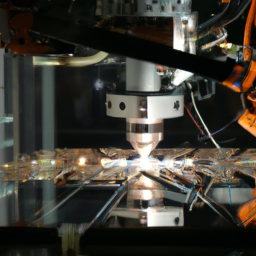
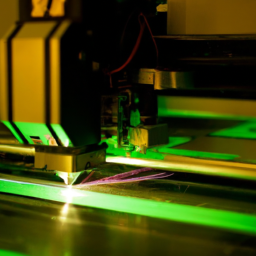
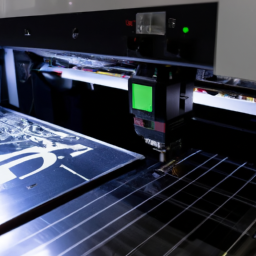
Clean the Laser Cutter Regularly
To keep your laser cutter running smoothly, make sure to clean it regularly. Following a laser cutter maintenance schedule is essential for optimal performance.
Dust, debris, and residue can accumulate on the lens, mirrors, and other components over time, affecting the laser’s accuracy and power. When cleaning, avoid common cleaning mistakes such as using abrasive materials or harsh chemicals that can damage the delicate parts. Instead, use lint-free cloths, compressed air, and gentle cleaning solutions specifically designed for laser cutters.
Pay extra attention to the lens and mirrors, as any dirt or smudges can significantly impact the laser’s output quality. Remember to clean the air filters regularly to maintain proper airflow and prevent overheating.
By maintaining a regular cleaning routine, you can ensure that your laser cutter operates at its best.

Now, let’s move on to the next section about checking and replacing worn parts.
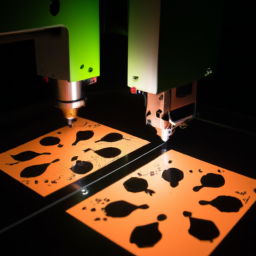
Check and Replace Worn Parts
Keep an eye out for worn parts in order to ensure your laser cutter continues to operate at its best. Regularly inspect the machine for any signs of wear, such as loose belts, damaged lenses, or worn-out nozzles. Troubleshooting your diode laser cutter is crucial for maintaining optimal performance.
To evoke an emotional response, consider the following sub-lists:
-
Safety: By checking and replacing worn parts, you prioritize the safety of yourself and others. This reduces the risk of accidents or injuries during operation.
-
Efficiency: A well-maintained laser cutter with properly functioning parts will lead to increased productivity and faster job completion.
-
Longevity: Investing time in laser cutter maintenance extends its lifespan, saving you money in the long run by avoiding costly repairs or replacements.
Now that you understand the importance of checking and replacing worn parts, let’s move on to the next section: calibrating the laser power and speed.
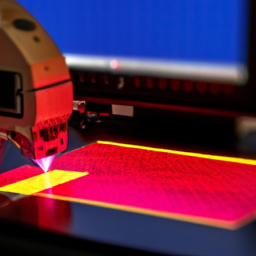
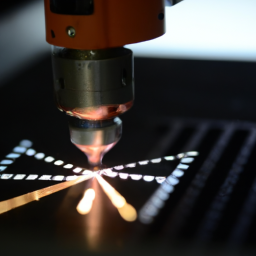
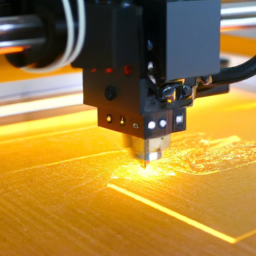
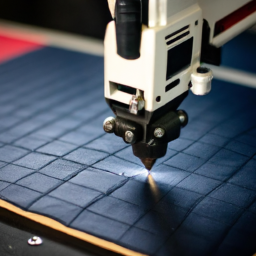
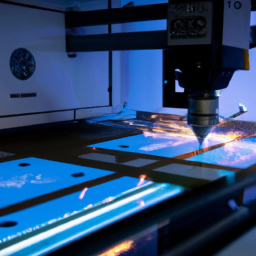
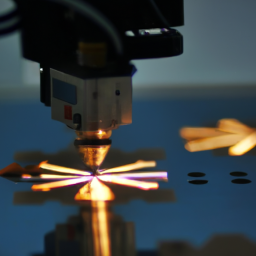
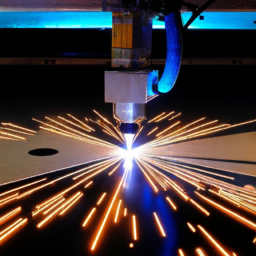
Calibrate the Laser Power and Speed
Get ready to fine-tune the laser’s power and speed for maximum precision and efficiency! When it comes to maintaining your diode laser cutter, adjusting laser settings is crucial. This ensures that the laser is operating at the optimal power and speed for cutting or engraving different materials. Troubleshooting power fluctuations is an important part of this process. If you notice any inconsistencies in the laser’s power output, it may be necessary to recalibrate the settings. To help you with this, refer to the table below, which provides recommended power and speed settings for various materials commonly used in laser cutting. By following these guidelines, you can achieve accurate and clean cuts every time.
| Material | Power Setting | Speed Setting |
|---|---|---|
| Acrylic | 50% – 70% power | 200 mm/s |
| Wood | 70% – 80% power | 150 mm/s |
| Leather | 30% – 50% power | 100 mm/s |
| Paper | 20% – 30% power | 300 mm/s |
| Fabric | 40% – 60% power | 200 mm/s |
Now that you have calibrated the laser power and speed, it’s time to move on to the next step: keeping the laser lens clean and protected.
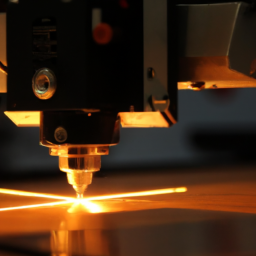
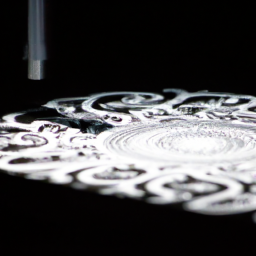
Keep the Laser Lens Clean and Protected
Ensuring that the laser lens is clean and protected is essential for maximizing precision and efficiency. Proper lens maintenance will help prevent debris from obstructing the laser beam and ensure consistent cutting quality. To keep your laser lens in optimal condition, follow these steps:
- Regularly clean the lens using a lint-free cloth and a mild cleaning solution specifically designed for laser lenses.
- Handle the lens with care to avoid scratching or damaging the delicate surface.
- Use lens covers or protective shields to shield the lens from dust, smoke, and other contaminants.
By maintaining a clean and protected lens, you can extend its lifespan and ensure accurate cutting results.
After addressing lens maintenance, the next step is to monitor and control the temperature and humidity to further optimize your diode laser cutter’s performance.
Monitor and Control the Temperature and Humidity
Monitoring and controlling the temperature and humidity is crucial for achieving precise and efficient cutting results with your diode laser cutter. Proper humidity control ensures that the material being cut remains stable and avoids warping or distortion. Additionally, temperature monitoring is essential to prevent overheating of the laser components, which can lead to decreased performance or even damage.
Maintaining the ideal temperature and humidity levels in the laser cutting environment can be achieved through the use of air conditioning, dehumidifiers, and humidifiers. Regularly checking and adjusting these parameters will help optimize the performance and lifespan of your diode laser cutter. By controlling the temperature and humidity, you can ensure consistent and accurate cutting results.
In the next section, we’ll discuss the importance of following the manufacturer’s maintenance guidelines to further enhance the performance of your diode laser cutter.
Follow Manufacturer’s Maintenance Guidelines
By adhering to the manufacturer’s maintenance guidelines, you can ensure that your diode laser cutter operates flawlessly and continues to deliver exceptional results. Regular maintenance is crucial to the longevity and performance of your laser cutter. Here are some important tips to keep in mind:
-
Clean the lens regularly to remove any debris or residue that may affect the quality of the laser beam.
-
Check and replace the cooling water regularly to prevent overheating and ensure optimal performance.
-
Regularly inspect the mirrors and adjust them if necessary to maintain proper alignment.
-
Lubricate moving parts as recommended by the manufacturer to prevent friction and ensure smooth operation.
-
Familiarize yourself with troubleshooting techniques to quickly identify and resolve any issues that may arise.
Following these guidelines will help you maximize the lifespan of your diode laser cutter and minimize downtime for repairs.
Frequently Asked Questions
How often should I clean the laser cutter’s exhaust system?
To maintain optimal performance of your laser cutter, it’s crucial to clean the exhaust system regularly. Cleaning frequency depends on usage and environment factors, but a general guideline is to clean it every 20-40 hours of operation.
Use a proper cleaning technique by removing any debris or dust buildup from the exhaust vents and filters. This will ensure smooth airflow and prevent potential damage to the laser cutter.
Can I use any type of cleaning agent to clean the laser lens?
When cleaning the laser lens of your diode laser cutter, it’s essential to choose the right cleaning agent to ensure optimal performance. Avoid using any type of cleaning agent as it can damage the lens coating and affect the laser cutting quality. Instead, use a specialized lens cleaning solution recommended by the manufacturer.
Follow proper cleaning techniques, such as gently wiping the lens with a soft, lint-free cloth in a circular motion.
Is it necessary to monitor the temperature and humidity levels constantly while the laser cutter is in use?
Monitoring the temperature and humidity levels constantly while using your laser cutter is essential for optimal performance. Did you know that a 10% increase in humidity can reduce the cutting speed by 20%?
To ensure precise and efficient cutting, it’s crucial to maintain a temperature between 18-24°C and a humidity level below 50%. Regularly monitoring and adjusting these factors will prevent overheating, reduce material warping, and extend the lifespan of your laser cutter.
Don’t overlook the importance of regular maintenance for long-lasting performance.
What are the signs that indicate a worn-out part needs to be replaced?
When it comes to replacing worn-out parts in your diode laser cutter, there are a few signs to watch out for. Keep an eye out for decreased cutting or engraving quality, irregular patterns or lines, excessive noise or vibration, and unusual odors.
These signs indicate that a part may be worn out and in need of replacement. Regularly inspecting and cleaning your machine will help identify these issues early on and prevent further damage. Implementing preventive maintenance strategies is key to ensuring optimal performance and longevity of your laser cutter.
Are there any specific maintenance guidelines provided by the manufacturer that I should be aware of?
To ensure optimal performance of your diode laser cutter, it’s crucial to follow the manufacturer’s guidelines and best practices for maintenance. These guidelines provide specific instructions on how to clean, lubricate, and inspect the cutter regularly.
Adhering to these guidelines helps prolong the lifespan of the machine and reduces the risk of breakdowns. By following the manufacturer’s recommendations, you can maximize the efficiency and longevity of your diode laser cutter.
Conclusion
In conclusion, maintaining your diode laser cutter is crucial for optimal performance. Regularly cleaning the machine and checking for worn parts will ensure its longevity.
Calibrating the laser power and speed will guarantee precise and efficient cuts. Keeping the laser lens clean and protected is essential for achieving high-quality results.
Monitoring and controlling temperature and humidity levels will prevent any potential damage. By following the manufacturer’s maintenance guidelines, you can maximize the lifespan of your laser cutter.
Did you know that a well-maintained laser cutter can last up to 10 years? So, invest the time and effort into proper maintenance and enjoy the benefits of a reliable and efficient cutting tool.