

Are you tired of wasting time and materials on flawed laser cutting designs? Look no further! This article will provide you with 10 invaluable tips to optimize your designs for laser cutting.
Imagine this scenario: You have spent countless hours creating a stunning design, only to find that it doesn’t translate well when using a laser cutter. Frustrating, right? But fear not! These tips will help you avoid such disappointments in the future.
Let’s take a hypothetical example of a designer named Sarah. She is working on a project that requires laser cutting, but she is unsure of how to optimize her design for this process. By implementing these 10 tips, Sarah can ensure that her design is not only visually appealing but also laser cutter-friendly, saving her time, effort, and resources.
So, whether you’re a professional designer or a hobbyist, these tips will equip you with the knowledge and skills to create laser-cut designs that are efficient, precise, and flawless.
Get ready to take your laser cutting projects to the next level!
Key Takeaways
- Choose the right materials for laser cutting to ensure the best results
- Use vector graphics for laser cutting to achieve precision and avoid pixelation
- Design with precision, considering the kerf width and material limitations
- Optimize the design for efficiency, reducing production time and material waste
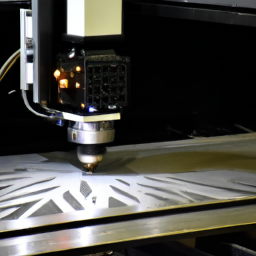
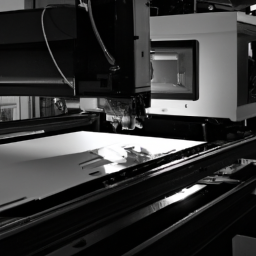
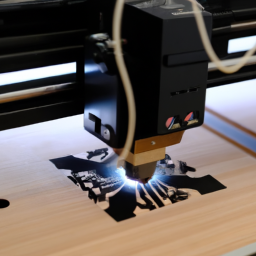
Choose the Right Materials
You should make sure you’re using the right materials when designing for laser cutting so that your finished product turns out beautifully and precisely cut. Material selection is crucial in optimizing your designs for laser cutting.
Different materials have different cutting speeds, so it’s important to choose the right one for your project. For example, acrylic and wood have different cutting speeds due to their varying densities. If you use the wrong material, you may end up with a product that is burned or melted instead of cleanly cut.
So, take the time to research and test different materials to find the one that works best for your design. Once you have the right materials, you can move on to the next section about using vector graphics.
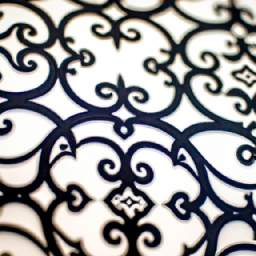
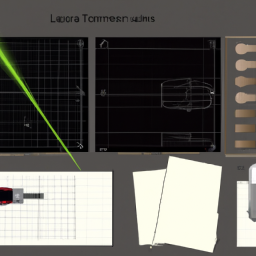
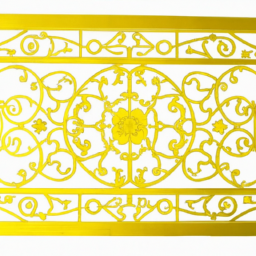
Use Vector Graphics
Why not utilize vector graphics when creating your designs for laser cutting? There are several advantages of using vector graphics in laser cutting.
First, vector graphics allow for precise and clean lines, ensuring that your design is accurately translated onto the material.
Second, vector graphics can be easily scaled up or down without losing any quality, providing flexibility in design size.
Third, vector graphics are composed of mathematical equations, which means they can be easily edited and modified.

Lastly, vector graphics are compatible with most design software, making it easy to create and transfer your designs.
However, there are also common challenges in using vector graphics for laser cutting, such as the need to convert other file formats and the potential for complex shapes to cause issues.
With these advantages and challenges in mind, let’s move on to the next section and learn how to design with precision.
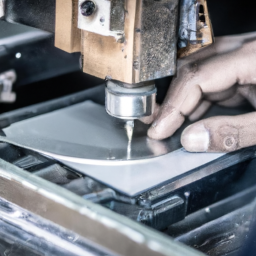
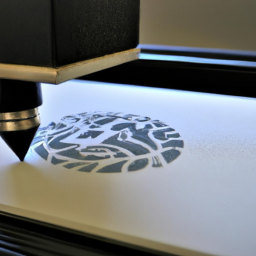
Design with Precision
Achieve flawless results by ensuring every detail of your design is meticulously crafted. When designing for laser cutting, precision is key. Take the time to carefully measure each element of your design to ensure accurate dimensions. Use a precision measurement tool, such as a caliper, to guarantee accuracy.
Additionally, make sure to utilize laser cutting software that allows for precise placement and alignment of your design elements. This will ensure that your design is cut exactly as intended.
Once you have achieved precision in your design, you can move on to considering the kerf width, which is the amount of material removed by the laser during cutting.
By taking these steps, you will be well on your way to optimizing your designs for laser cutting.
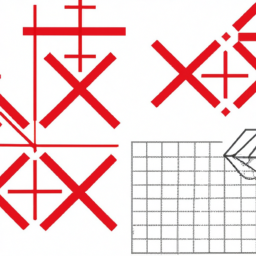
Consider Kerf Width
When crafting your design, be mindful of the tiny sliver of material that’ll be melted away by the laser’s precision, creating a seamless and immaculate final product.
This sliver is known as the kerf, and it’s essential to consider its width when designing for laser cutting. Different materials have different kerf widths, so exploring alternative techniques and understanding material limitations is crucial.
For example, if you’re working with acrylic, the kerf width may be wider than with metals. This means you’ll need to adjust your design accordingly, accounting for the extra material that’ll be removed.
By considering the kerf width, you can ensure that your design is optimized for efficiency, minimizing waste, and achieving the best possible outcome.
Optimize for Efficiency
To maximize efficiency, it’s important to streamline your design for laser cutting. One way to achieve this is by reducing production time. By optimizing your design for laser cutting, you can eliminate unnecessary steps and minimize the time it takes to produce each piece.
This can be achieved by simplifying complex shapes and reducing the number of intricate details that need to be cut. Another aspect to consider is minimizing material waste. By arranging your design elements in a way that maximizes material usage, you can significantly reduce waste and save on material costs.
By focusing on both reducing production time and minimizing material waste, you can create a design that is not only efficient but also cost-effective. With these optimizations in place, you can move on to the next step of testing and iterating your design.
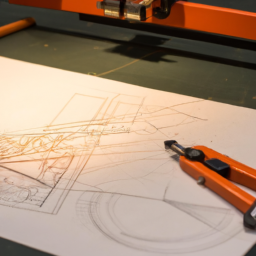
Test and Iterate
Start by systematically scrutinizing and tweaking your design to test and tweak its effectiveness. The key to optimizing your design for laser cutting is to test and improve it through a prototyping process.
Here are some tips to help you along the way:
-
Start with a smaller scale prototype to quickly identify any design flaws or areas for improvement.
-
Test different materials to find the one that provides the best results for your design.
-
Experiment with different cutting speeds and power settings to achieve the desired level of precision and efficiency.
-
Iterate on your design based on the feedback and results from each test to continuously improve its performance.
-
Don’t be afraid to make adjustments and try new ideas during the prototyping process to find the optimal design for laser cutting.
By following these tips, you can ensure that your design is optimized for laser cutting and achieve the best possible results.
Frequently Asked Questions
Is it possible to use raster images instead of vector graphics for laser cutting?
No, it’s not recommended to use raster images for laser cutting. Vector graphics offer several advantages over raster images. They provide higher precision and quality for laser cutting. Vector graphics are made up of mathematical equations, allowing for smooth lines and precise shapes. In contrast, raster images are made up of pixels and can result in jagged edges and blurry details when laser cut. Therefore, vector graphics are the preferred choice for optimal laser cutting results.
How do I determine the appropriate kerf width for my design?
To determine the perfect kerf width for your design, consider the thickness of the material you’re working with. Designing for different material thicknesses requires adjusting the kerf width accordingly.
Keep in mind that different laser cutting machines may have varying kerf widths, so it’s crucial to take that into account. By finding the right balance, you can ensure precise cuts and create stunning designs that make jaws drop.
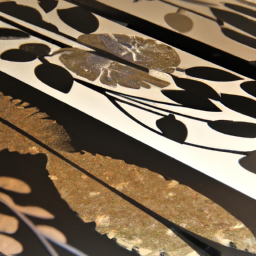
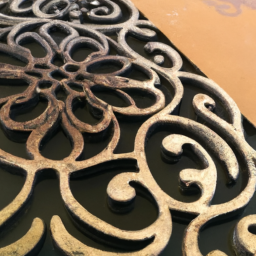
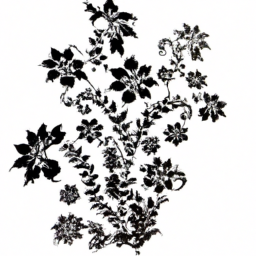
Are there any specific design considerations for laser cutting organic materials like wood or leather?
When laser cutting organic materials like wood or leather, there are a few design considerations to keep in mind. Firstly, ensure that your design is compatible with the laser cutting process and takes into account the specific characteristics of the material.
Laser cutting offers several benefits for wood and leather projects, including precise and intricate cuts, minimal material waste, and the ability to achieve complex shapes and patterns. By considering these factors, you can optimize your designs for laser cutting organic materials and achieve high-quality results.
Can I use multiple types of materials in a single laser cutting project?
Using different materials in a laser cutting project can be a great way to add variety and enhance the overall design. However, it’s important to consider the advantages and disadvantages.
The advantage is that you can create unique and visually appealing designs by combining different textures and colors. On the other hand, using multiple materials can increase the complexity of the project and may require additional setup and calibration.
So, make sure to plan and test beforehand to ensure successful results.
What are some common mistakes to avoid when optimizing designs for laser cutting?
When optimizing designs for laser cutting, it’s important to be aware of common mistakes to avoid. One common mistake is not accounting for the kerf, which is the width of the laser beam. This can result in parts not fitting together properly.
Another mistake is not properly nesting shapes, which can lead to wasted material.
Additionally, forgetting to account for the limitations of the laser cutter, such as maximum cut size or minimum hole size, can cause issues.
Conclusion
So there you have it, 10 tips for optimizing your designs for laser cutting. By following these suggestions, you can ensure that your projects are executed with precision and efficiency.
Remember to choose the right materials and use vector graphics to achieve the desired results. Consider the kerf width and always test and iterate to improve your designs.
With these techniques in mind, your laser cutting projects are bound to be a cut above the rest.