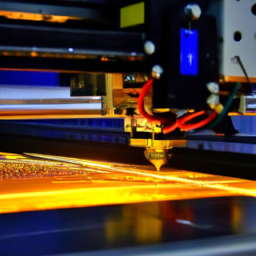
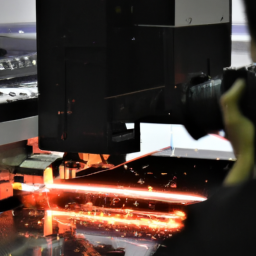
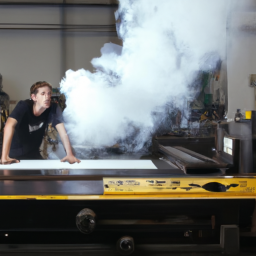
In the world of laser cutting and engraving, acrylic is a versatile material that offers endless possibilities for creating intricate designs and precise cuts. However, like any tool, laser cutters can sometimes encounter issues that hinder their performance. But fear not! We have compiled a list of 5 laser cutter troubleshooting tips specifically tailored for cutting and engraving acrylic.
Imagine this: you’re standing in front of a laser cutter, ready to unleash your creativity on a piece of acrylic. But suddenly, you encounter a roadblock. The laser cutter is not delivering the desired results. Don’t panic! With these troubleshooting tips, you’ll be able to overcome any obstacle that comes your way.
First, you’ll learn how to check the focus and alignment of the laser cutter, ensuring optimal cutting and engraving precision.
Then, we’ll guide you through adjusting the power and speed settings, allowing you to achieve the perfect balance for your acrylic project.
You’ll also discover the importance of cleaning both the acrylic material and the laser cutter components to maintain optimal performance.
Next, we’ll delve into the world of lenses and nozzles, teaching you which ones are best suited for acrylic cutting and engraving.
Finally, we’ll show you how to calibrate the laser cutter specifically for acrylic materials, ensuring consistent and accurate results.
By the end of this article, you’ll be armed with the knowledge and skills needed to troubleshoot any laser cutting and engraving issues you may encounter with acrylic. So, let’s dive in and get those lasers back on track!
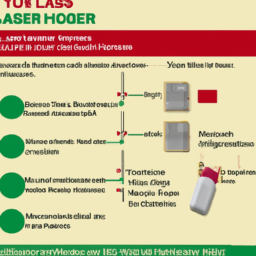
Key Takeaways
- Focus and alignment are crucial for precision in laser cutting and engraving acrylic.
- Regular maintenance is essential for optimal performance of laser cutters.
- Cleaning the lens and acrylic material is necessary to enhance quality.
- Adjusting power and speed settings is important to achieve optimal results in cutting and engraving acrylic.
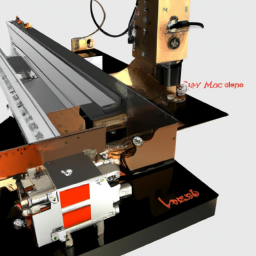
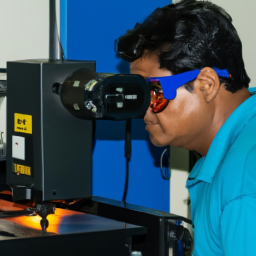
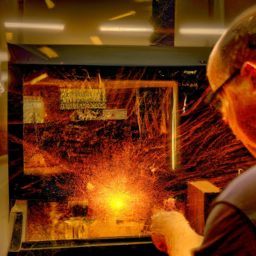
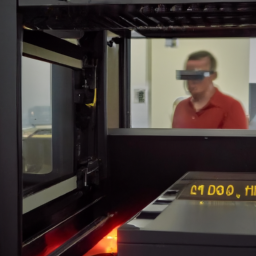
Check the Focus and Alignment of the Laser Cutter
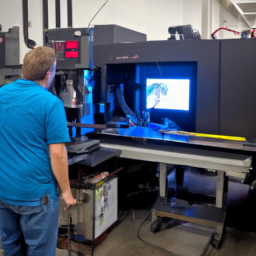
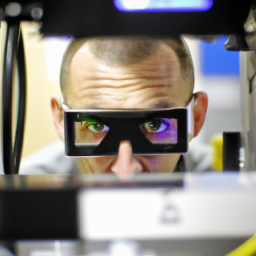
Now let’s take a closer look at how to check if the laser cutter is properly focused and aligned to ensure flawless acrylic cuts and engravings. Regular maintenance is crucial for the optimal performance of a laser cutter.
One of the common issues with laser cutter alignment is that over time, the laser beam may become misaligned, resulting in inaccurate cuts and engravings.
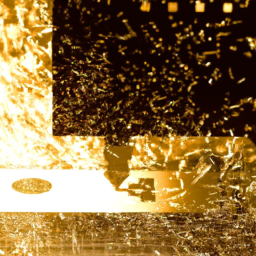
To check the focus, start by removing the lens and cleaning it thoroughly. Then, place a small piece of acrylic on the cutting bed and run a test cut. If the edges are clean and the depth consistent, the laser is properly focused.
To check the alignment, place a small square piece of acrylic on the cutting bed and run a test engraving. If the engraving is evenly spaced and lines up perfectly, the laser is properly aligned.
Now, let’s move on to adjusting the power and speed settings.
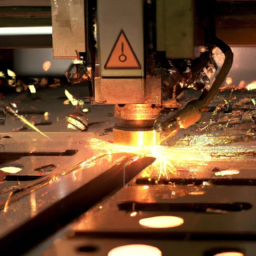
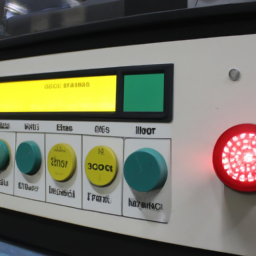
Adjust the Power and Speed Settings
To get the best results when working with acrylic, it’s important to fine-tune the power and speed settings on your laser cutter. Power and speed optimization is crucial for achieving clean and precise cuts, as well as avoiding common cutting errors. Adjusting the power determines the intensity of the laser beam, while modifying the speed controls how quickly the laser moves across the material. Finding the right balance between power and speed is essential for achieving optimal results. A higher power setting may be needed for thicker acrylic, while a lower power setting can prevent melting or charring on thinner materials. Similarly, adjusting the speed can help avoid excessive heat buildup or overcutting. By troubleshooting and fine-tuning the power and speed settings, you can ensure accurate and flawless acrylic cuts. Once you have optimized these settings, it’s time to move on to the next step: cleaning the acrylic material and laser cutter components.
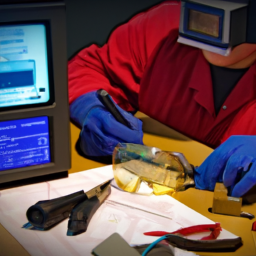
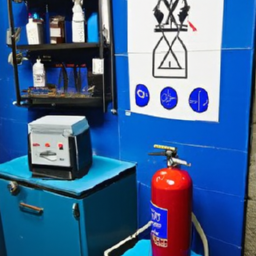
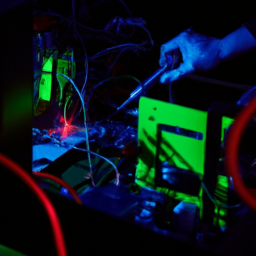
Clean the Acrylic Material and Laser Cutter Components
Ensure that you thoroughly clean both the surface of your acrylic material and all the components of your laser machine, as this will not only enhance the quality of your cuts but also extend the lifespan of your equipment.
Cleaning techniques are crucial for preventing acrylic residue buildup, which can negatively impact the cutting and engraving process. Start by removing any dust or debris from the acrylic using a soft cloth or compressed air. For stubborn residue, you can use a mixture of isopropyl alcohol and water.
When cleaning the laser cutter components, be sure to follow the manufacturer’s instructions and use appropriate cleaning solutions to avoid damage. After cleaning, make sure all surfaces are dry before proceeding with cutting or engraving.
Using a clean machine and material will help achieve optimal results.
Now, let’s move on to the next section about using the correct lens and nozzle for acrylic cutting and engraving.
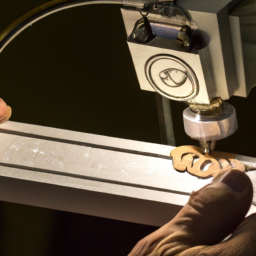
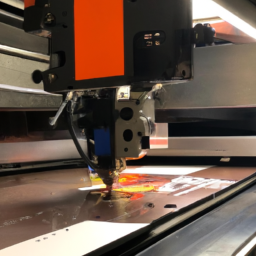
Use the Correct Lens and Nozzle for Acrylic Cutting and Engraving
Make sure you select the correct lens and nozzle size for optimal results when working with acrylic, as using the wrong ones can affect the precision and quality of your cuts and engravings.
Choosing the right lens and nozzle for acrylic cutting and engraving is crucial to ensure the desired outcome. When cutting acrylic, it’s recommended to use a lens with a smaller focal length to achieve a narrower kerf and more precise cuts. A lens with a larger focal length may result in wider cuts and less accuracy.
Similarly, selecting the appropriate nozzle size is important for engraving acrylic. A smaller nozzle size will allow for finer details and sharper lines.
Troubleshooting common issues with acrylic cutting and engraving often involves checking and adjusting the lens and nozzle settings. Calibration of the laser cutter for acrylic materials is the next step in achieving optimal results.
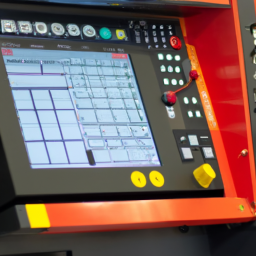
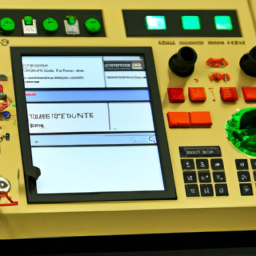
Calibrate the Laser Cutter for Acrylic Materials
Calibrating the laser machine is essential for achieving precise and optimal results when working with acrylic materials. To ensure that your laser cutter is properly calibrated for cutting and engraving acrylic, follow these laser cutter troubleshooting techniques:
-
Adjust the focus: Use the focus gauge to set the correct focal length for acrylic materials. This will ensure that the laser beam is concentrated at the right point, resulting in clean and accurate cuts or engravings.
-
Check the power settings: Acrylic materials require specific power settings for cutting and engraving. Make sure to adjust the laser power according to the thickness and type of acrylic being used to avoid under or over-cutting.
-
Test the alignment: Laser cutter maintenance includes checking the alignment of the laser beam. Use a calibration tool to ensure that the laser is aligned perfectly perpendicular to the cutting bed.
By calibrating the laser cutter and following these laser cutter troubleshooting techniques, you can ensure precise and optimal cutting and engraving results with acrylic materials. Once the calibration is complete, you can move on to the next step of testing and fine-tuning the cutting and engraving parameters.
Test and Fine-Tune the Cutting and Engraving Parameters
Once you’ve got the laser machine calibrated, it’s time to put it to the test and fine-tune the parameters to achieve the perfect cuts and engravings.
Start by conducting testing procedures to determine the optimal settings for your specific acrylic material. Begin with a small test piece and gradually increase the size as you gain confidence in the settings.
Pay close attention to the speed, power, and frequency settings, as these variables directly impact the quality of the cuts and engravings. Troubleshooting techniques can be employed if you encounter issues such as incomplete cuts, charring, or melting. Adjusting the speed can help prevent charring, while increasing the power can improve the cutting depth. Additionally, experimenting with different frequencies can enhance the engraving clarity.
By testing and fine-tuning the cutting and engraving parameters, you can ensure consistent and precise results with your laser cutter.
Frequently Asked Questions
How often should the focus and alignment of the laser cutter be checked?
To maintain optimal performance, it’s important to regularly check the focus and alignment of your laser cutter. This should be done at least once a week or whenever you notice any issues with cutting or engraving.
Common issues that can arise include a misaligned laser beam, which can result in inaccurate cuts or engravings, and a misfocused laser, which can lead to inconsistent depth and clarity. Regularly checking and adjusting the focus and alignment will ensure precise and reliable results.
Can the power and speed settings be adjusted for different thicknesses of acrylic material?
To achieve optimal results while cutting and engraving acrylic, it’s crucial to adjust the power and speed settings based on the material’s thickness. Think of it like tuning a musical instrument to produce the perfect sound. By fine-tuning the power and speed, you can ensure clean and precise cuts or engravings on acrylic.
This adjustment is essential for achieving a professional finish and preventing any damage to the material.
What is the best method for cleaning acrylic material and laser cutter components?
To clean acrylic material, the best method is to use a mild soap or detergent with warm water. Avoid using abrasive cleaners or solvents as they can damage the surface. Gently wipe the material using a soft cloth or sponge, then rinse and dry thoroughly.
For laser cutter components, regular maintenance is key. Prevent buildup by regularly cleaning the lens, mirrors, and ventilation system using compressed air or a soft brush. Ensure the machine is powered off and unplugged before performing any maintenance.
Are there different lens and nozzle options specifically designed for acrylic cutting and engraving?
Lens and nozzle compatibility is crucial for achieving optimal results when cutting and engraving acrylic. Did you know that acrylic is one of the most popular materials for laser cutting and engraving? It offers advantages such as high precision, smooth edges, and the ability to create intricate designs.
When it comes to choosing the right lens and nozzle, consider factors like focal length and beam diameter to ensure precise and efficient acrylic cutting and engraving.
How frequently should the laser cutter be calibrated for acrylic materials?
To maintain optimal cutting and engraving results with acrylic materials, it’s important to follow a regular calibration frequency. A recommended maintenance schedule for laser cutters is to calibrate them for acrylic materials every 40-60 hours of operation.
This ensures that the laser beam is accurately focused and aligned, resulting in precise cuts and engravings. Regular calibration also helps to prevent any potential issues or inconsistencies in the cutting and engraving process, ensuring consistent and high-quality results.
Conclusion
In conclusion, mastering the art of laser cutting and engraving acrylic requires precision and attention to detail. Just like a skilled conductor leading an orchestra, you must ensure the focus and alignment of the laser cutter are spot-on, adjusting the power and speed settings with finesse.
Cleaning the acrylic material and laser cutter components is akin to polishing a delicate gem.
Choosing the correct lens and nozzle is like selecting the perfect brush for a masterpiece.
Finally, calibrating the laser cutter and fine-tuning the parameters is like tuning an instrument to create harmonious melodies.
With these troubleshooting tips, you’ll be able to create stunning acrylic creations that will leave everyone in awe.