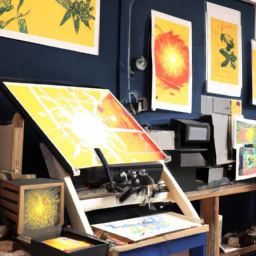


Are you tired of the same old home decor? Looking for a way to add a touch of sophistication and elegance to your living space? Well, look no further! With a laser cutter, you can transform ordinary home decor items into stunning works of art.
But before you dive headfirst into the world of laser engraving, there are a few things you need to know. In this article, we will share five tips to help you master the art of engraving home decor designs with a laser cutter.
From choosing the right materials to cleaning and maintaining your laser cutter, we’ve got you covered.
So, grab your safety goggles and let’s get started on this exciting journey of laser engraving!
Key Takeaways
- Laser engraving can add a personalized touch and sophistication to home decor.
- Wood and acrylic are suitable materials for laser engraving, while glass and metal may require specialized equipment.
- Design preparation is important, with simple, high-contrast designs working best.
- Proper maintenance and safety precautions are necessary for optimal performance and safe operation of the laser cutter.
Choose the Right Materials for Laser Engraving
To achieve the best results, you’ll want to make sure you choose the right materials for laser engraving.
Laser engraving limitations can vary depending on the material you use. Some materials, like wood and acrylic, work great with laser engraving, while others, like glass and metal, may require specialized equipment or techniques.
Common mistakes in material selection include choosing materials that are too thick or too thin for the laser cutter, or materials that are not compatible with the intensity of the laser.
It’s important to do your research and consult with experts to ensure you select the appropriate materials for your project.
Once you’ve chosen the right materials, you can move on to preparing your design for laser engraving.
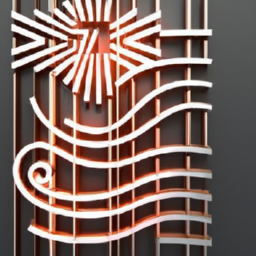
Prepare Your Design
Getting your design ready is like unleashing a creative tornado with a laser beam. Before engraving, it’s essential to have a clear vision of your design.
Look for design inspiration online or from other home decor pieces. Once you have an idea, sketch it out or use design software to create a digital version.
Keep in mind that laser engraving works best with simple, high-contrast designs. Troubleshooting techniques are also crucial at this stage. Check your design for any potential issues like overlapping lines or small details that may not translate well.
Make sure your design is properly scaled and positioned on your material. Once you’re confident in your design, you can move on to the next step of test and adjust the laser settings for optimal results.
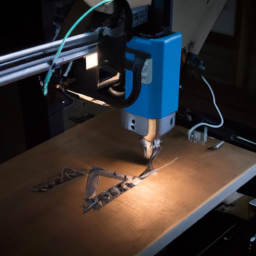
Test and Adjust
Before you jump into the exciting process of laser engraving, take a moment to test and adjust your settings, ensuring that every detail will be etched with precision and perfection.
Here are four essential steps to follow during the testing process:
-
Start with a small scrap piece of material to avoid wasting your actual project piece.
-
Adjust the laser power and speed settings to find the optimal combination for your design.
-
Test different focus depths to achieve the desired engraving depth and clarity.
-
Experiment with different materials to determine the best settings for each one.
By thoroughly testing and adjusting your settings, you can troubleshoot any issues that may arise and ensure a flawless engraving result. With your settings dialed in, you can now move on to the next step of securing and aligning your material.
Secure and Align Your Material
Once you’ve tested and adjusted your settings, it’s time to securely align your material for the laser engraving process. Ensuring precision is crucial to avoid mishaps and achieve the desired results.
Start by placing your material on the engraving bed, making sure it is flat and level. Secure it with clamps or adhesive tape to prevent any movement during the engraving process.
Next, align your design with the material using the laser software’s positioning tools. Take your time to carefully position the design exactly where you want it to be engraved. Double-check the alignment to ensure accuracy.
Once everything is aligned, you can proceed with the engraving process. Remember to clean and maintain your laser cutter regularly to keep it in optimal condition for future projects.
Clean and Maintain Your Laser Cutter
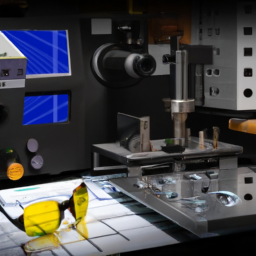
To keep your laser cutter running smoothly and ensure its longevity, make sure you regularly clean and maintain it. Proper cleaning and maintenance are essential for optimal performance and safety. Here are some laser cutter troubleshooting tips and laser cutter safety precautions to help you with the process:
-
Cleaning: Regularly clean the lens, mirrors, and exhaust system to prevent debris buildup and maintain proper airflow.
-
Inspecting: Check for loose or damaged parts, such as belts or wires, and tighten or replace them as necessary.
-
Calibrating: Ensure the laser cutter is properly calibrated to achieve accurate engraving and cutting results.
| Problem | Solution |
|---|---|
| Laser not firing | Check power supply and connections |
| Uneven engraving | Adjust focus or check for debris on the lens |
| Excessive smoke | Clean exhaust system or adjust ventilation |
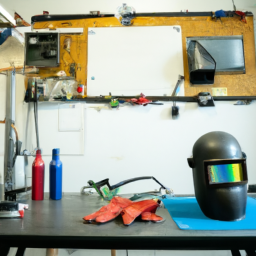
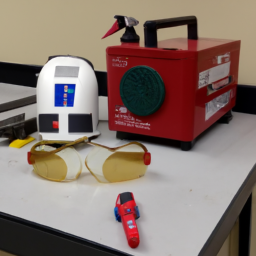
Remember to follow all safety precautions, such as wearing protective eyewear and operating the laser cutter in a well-ventilated area. By regularly cleaning and maintaining your laser cutter, you can ensure its optimal performance and longevity. Now, let’s move on to the next section and experiment and have fun with your engraving projects.
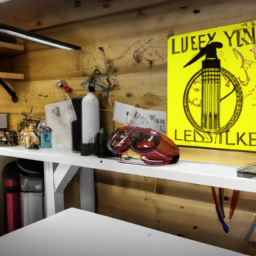
Experiment and Have Fun
When it comes to experimenting and having fun with your laser cutter, there are three key points to keep in mind.
First, try different materials and designs to see what works best for your projects. This will help you discover new possibilities and find unique ways to express your creativity.
Second, let your creativity shine by thinking outside the box and pushing the boundaries of what can be done with a laser cutter.
Lastly, remember to enjoy the process and have fun with your projects. This will not only make the experience more enjoyable, but it’ll also inspire you to continue exploring and creating with your laser cutter.
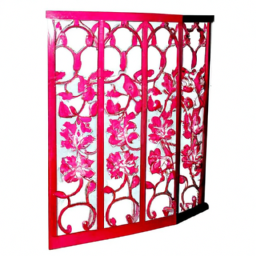
Try Different Materials and Designs
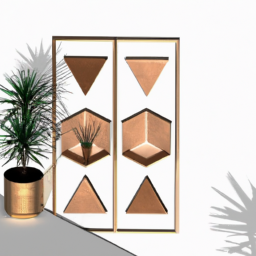
Experiment with various materials and designs to unleash your creativity and add a touch of pizzazz to your home decor with a laser cutter. By exploring unique textures and experimenting with techniques, you can create stunning and personalized pieces that will truly stand out. To help you get started, here is a table showcasing different materials and their characteristics that you can try engraving with a laser cutter:
| Material | Characteristics |
|---|---|
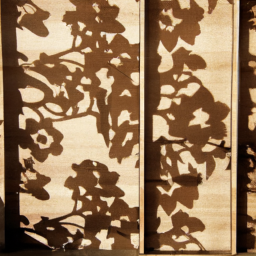
| Wood | Natural, warm tones and grain patterns |
| Acrylic | Sleek and modern with a glossy finish |
| Leather | Luxurious and tactile, with a rich texture |
| Glass | Elegant and transparent, great for etching designs |
| Metal | Industrial and durable, with a metallic sheen |
Let your creativity shine and enjoy the process of experimenting with these materials and designs. With a laser cutter, the possibilities are endless and you can create unique and personalized home decor pieces that perfectly showcase your style and personality.
Let Your Creativity Shine and Enjoy the Process
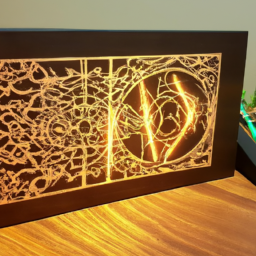
Unleash your creativity and bask in the joy of the artistic process while using a laser cutter to bring your unique vision to life.
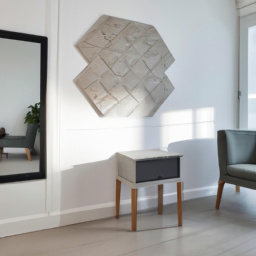
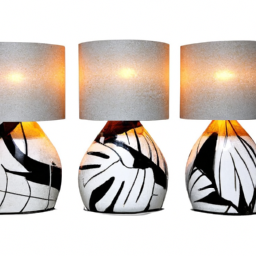
When it comes to engraving home decor designs with a laser cutter, there are endless ways to incorporate this technique into different home decor styles. Whether you prefer a rustic farmhouse look or a sleek modern aesthetic, laser engraving can add a personalized touch to any piece.
Experiment with different materials such as wood, acrylic, or even glass to achieve the desired effect. Additionally, consider how you can market and sell your laser engraved home decor products. Utilize online platforms, such as Etsy or social media, to showcase your creations and reach a wider audience.
Offer customized options and highlight the unique qualities of laser engraving to attract customers who appreciate the artistry and craftsmanship behind your designs.
Frequently Asked Questions
Can I use any type of material for laser engraving or are there specific materials that work best?
When it comes to laser engraving, there are different types of materials you can use, but some work better than others. Factors to consider when choosing materials for laser engraving include their composition, thickness, and ability to withstand high heat.
Materials such as wood, acrylic, leather, and certain metals are commonly used for laser engraving due to their compatibility with the laser cutter. It’s important to select the right material to ensure a successful and high-quality engraving result.
How do I ensure that my design is compatible with the laser cutter software?
To ensure software compatibility and design for laser cutting, start by using vector-based design software like Adobe Illustrator or CorelDRAW. These programs allow you to create precise and scalable designs.
Next, check the file formats supported by your laser cutter software and save your design in a compatible format such as SVG or DXF.
Finally, double-check the dimensions, colors, and any text in your design to make sure they’re compatible with the laser cutter’s capabilities.
What should I do if the engraving doesn’t turn out as expected during testing?
If the engraving doesn’t turn out as expected during testing, don’t panic. Troubleshooting engraving issues is part of the process.
Start by adjusting the laser settings. Try increasing or decreasing the power, speed, or depth settings to see if that improves the results. You can also experiment with different materials or designs to find what works best.
Remember to test on a small area first before engraving the entire piece. With some adjustments, you’ll achieve the desired outcome.
Are there any safety precautions I need to take when securing and aligning the material in the laser cutter?
When securing and aligning the material in the laser cutter, it’s important to follow certain safety precautions.
First, ensure that the material is securely clamped and positioned correctly to avoid any movement during engraving.
Additionally, always wear protective goggles and gloves to protect yourself from any potential hazards.
Remember to double-check the laser settings and ventilation system before starting the engraving process.
By taking these laser cutter safety measures, you can ensure a safe and successful engraving experience.
How often should I clean and maintain my laser cutter to ensure optimal performance?
To ensure optimal performance, it’s crucial to keep your laser cutter squeaky clean. Regular maintenance is key, so make sure to clean it at least once a week.
Start by removing any debris or dust from the cutting area using compressed air or a brush. Don’t forget to clean the lens and mirrors using a lint-free cloth and a gentle cleaning solution.
Remember, a clean laser cutter is a happy laser cutter.
Conclusion
So there you have it, five helpful tips for engraving home decor designs with a laser cutter. By choosing the right materials, preparing your design, testing and adjusting, securing and aligning your material, and cleaning and maintaining your laser cutter, you’ll be well on your way to creating beautiful and unique home decor pieces.
Now, you might be thinking that this process sounds complicated and time-consuming, but trust me, it’s worth it. Imagine the satisfaction of seeing your intricate designs come to life, adding a touch of elegance and personalization to your home.
Don’t be afraid to experiment and have fun with your laser cutter – the possibilities are endless!