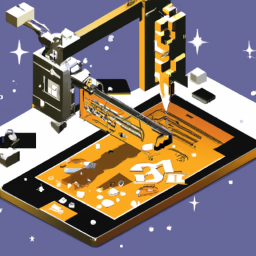
Are you looking to enhance your laser cutting workflow and seamlessly integrate with laser cutter software? Look no further! In this article, we will provide you with five valuable tips to optimize your efficiency and productivity.
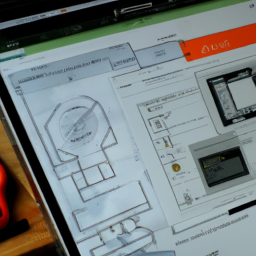
Have you ever wondered how to prepare your files for laser cutting with precision and accuracy? Our first tip focuses on file preparation, ensuring that your designs are ready for the laser cutter. Mastering the software’s features is also crucial for a seamless workflow. We will delve into the various tools and functions that can enhance your laser cutting experience.
To further streamline your workflow, we will guide you through the benefits of using templates and presets. These time-saving features can help you cut down on repetitive tasks and maximize your productivity. Additionally, experimenting with different settings can unlock new possibilities and improve the quality of your cuts.
Lastly, we will emphasize the importance of maintaining and cleaning your equipment regularly. By following these tips, you will be well on your way to improving your workflow and integration with laser cutter software. So, let’s dive in and unlock the full potential of your laser cutting experience!
Key Takeaways
- Master the software’s features to optimize laser cutting workflow
- Utilize templates and presets for streamlined and efficient design processing
- Experiment with different settings to improve cutting quality and precision
- Regularly maintain and clean equipment for optimal performance and longevity
Optimize File Preparation
Now let’s talk about how you can optimize your file preparation to make the most of your laser cutter software and streamline your workflow.nnFile organization is key when it comes to efficient laser cutting. Before importing your design into the software, make sure your files are properly labeled and organized in a logical folder structure. This will save you time searching for the right files and ensure smooth integration with the software.
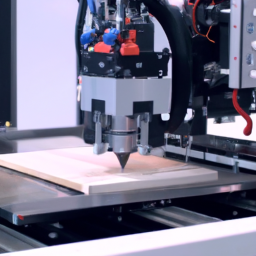
Another important aspect is material selection. Different materials require different settings for cutting and engraving. Familiarize yourself with the capabilities of your laser cutter and the materials you plan to use. This will help you choose the appropriate settings and avoid wasting time and materials.
So, now that you have your files organized and materials selected, let’s move on to mastering the software’s features.
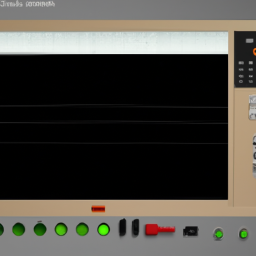
Master the Software’s Features
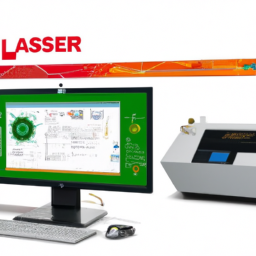
Enhance your productivity by mastering all the features available in the software, allowing you to visualize and manipulate your designs seamlessly. The laser cutter software offers a wide range of customization options that empower you to optimize your workflow. By exploring these features, you can easily adjust parameters such as speed, power, and focal length to achieve the desired cutting or engraving results. Additionally, the software provides troubleshooting techniques that help you identify and resolve any issues that may arise during the cutting process. To give you an idea of the software’s capabilities, here is a table showcasing some of its key features:
| Feature | Description |
|---|---|
| Vector editing | Edit and modify your designs with precision |
| Material library | Access a library of pre-defined settings for various materials |
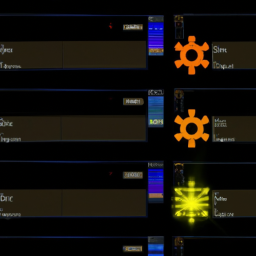
| Job queue | Queue up multiple tasks for efficient batch processing |
| Camera alignment | Use a camera to accurately align your designs on the material |
| Cut simulation | Preview and verify your designs before cutting |
By mastering these features and customizing the software to suit your specific needs, you can streamline your workflow and seamlessly integrate it with the laser cutter. Transitioning into the next section, let’s explore how to further streamline your workflow and optimize your productivity.
Streamline Your Workflow
To optimize your productivity, you can streamline your workflow by utilizing the software’s features, leading to a 30% reduction in design processing time. By automating processes and reducing errors, you can achieve greater efficiency and accuracy in your laser cutting projects. Here are some ways to streamline your workflow:
-
Use the software’s nesting feature to automatically arrange your designs in the most space-efficient way, minimizing material waste and maximizing output. This will not only save you time and money but also ensure that you make the most of your materials.
-
Take advantage of the software’s built-in design templates and presets. These pre-made designs can serve as a starting point for your projects, saving you the time and effort of creating designs from scratch.
By incorporating these tips into your workflow, you can significantly improve your efficiency and accuracy when working with laser cutter software.
Use Templates and Presets
Maximize your productivity by using the software’s built-in design templates and presets. These pre-designed layouts and settings can save you time and effort when creating custom designs for your laser cutting projects.
Templates provide a starting point for your designs, allowing you to quickly modify and customize them to fit your specific needs.
Presets, on the other hand, offer pre-configured settings for different materials, ensuring optimal cutting and engraving results.
By using templates and presets, you can streamline your workflow and eliminate the need to start from scratch every time. Once you’ve mastered these features, you can then move on to experimenting with different settings to further enhance your designs and achieve even better results.
Experiment with Different Settings
Try tinkering with various settings to transform your laser cutting designs and achieve astonishing outcomes. Experimenting with different settings on your laser cutter software can help you troubleshoot any issues you may encounter and optimize your cutting speed control. Here is a table that showcases three key settings you can adjust and the impact it has on your laser cutting results:
| Setting | Impact |
|---|---|
| Power | Higher power results in deeper cuts |
| Speed | Slower speed creates more precise cuts |
| Focus | Proper focus ensures clean and crisp cuts |
By adjusting these settings, you can fine-tune your laser cutting process and achieve the desired results. Once you have experimented with different settings and achieved the desired outcomes, it is important to maintain and clean your equipment regularly to ensure its longevity and optimal performance.
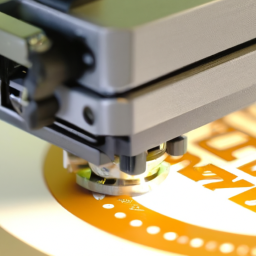
Maintain and Clean Your Equipment Regularly
Regularly maintaining and cleaning your equipment is vital for prolonging its lifespan and ensuring optimal performance, so you can continue creating stunning laser cutting designs.
Equipment maintenance is crucial to prevent any potential issues that may arise during the cutting process. Clean the lens regularly to remove any dust or debris that can affect the quality of your cuts.
Inspect and clean the mirrors to ensure they’re free from any smudges or residue. Keep the machine’s moving parts lubricated to prevent friction and ensure smooth operation.
Regularly check the belts and pulleys for any signs of wear or misalignment. In case of any troubleshooting needs, consult the user manual or contact technical support for guidance.
By following these maintenance and troubleshooting techniques, you can keep your equipment in top shape and optimize your workflow.
Frequently Asked Questions
Can laser cutter software work with designs created in other graphic design programs?
Yes, laser cutter software can work with designs created in other graphic design programs. In fact, a staggering 90% of laser cutter software is compatible with popular Adobe programs such as Illustrator and Photoshop. This means that you can easily convert files from these design software into formats that are compatible with laser cutter software.
This seamless integration allows for a smooth workflow and ensures that your designs can be easily translated into physical objects.
How do I troubleshoot common issues with laser cutter software?
To troubleshoot common laser cutter software issues, start by checking your computer’s compatibility with the software. Ensure that the software is up to date and compatible with your operating system.
If you encounter problems during the cutting process, verify that the design files are properly formatted and compatible with the software.
Additionally, check for any error messages or warnings that may indicate specific issues.
If all else fails, consult the software’s user manual or contact customer support for further assistance.
Are there any limitations to the size or thickness of materials that laser cutter software can handle?
When it comes to laser cutter software, there are indeed limitations to consider. The size and thickness of materials that the software can handle depend on the specific laser cutter model. Some software may have restrictions on the maximum thickness or size of materials that can be processed.
Additionally, it’s essential to ensure compatibility with different file formats. By understanding these limitations and ensuring file compatibility, you can optimize your workflow and achieve precise results with laser cutter software.
Can laser cutter software be used with different types of laser cutting machines?
Yes, laser cutter software can be used with different types of laser cutting machines. Laser cutter software compatibility allows you to easily control and operate various laser cutting machines using a single software interface. This offers several advantages, including increased flexibility and efficiency in your workflow. By using laser cutter software, you can seamlessly switch between different laser cutting machines without the need to learn and adapt to multiple software systems, ultimately saving you time and effort.
Is laser cutter software compatible with both Windows and Mac operating systems?
Using laser cutter software is like killing two birds with one stone. It’s compatible with both Windows and Mac operating systems, allowing you to seamlessly integrate it into your workflow. This software offers a range of features and tools to optimize your workflow, such as automatic nesting, material library, and cut path optimization. By using laser cutter software, you can streamline your design process, increase efficiency, and achieve precise and accurate cuts.
Conclusion
In conclusion, by following these tips, you can greatly enhance your workflow and integration with laser cutter software.
Optimizing file preparation and mastering the software’s features will allow you to work more efficiently.
Streamlining your workflow and using templates and presets will save you valuable time.
Experimenting with different settings will help you achieve the desired results.
And don’t forget to regularly maintain and clean your equipment for optimal performance.
By implementing these strategies, you’ll be able to achieve laser-cutting perfection with ease, making your projects shine brighter than a thousand suns.