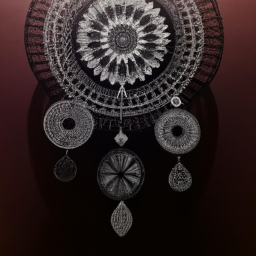
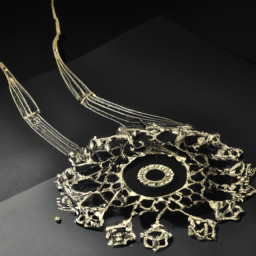
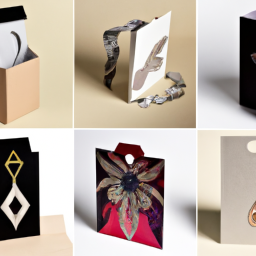
Have you ever admired those intricate, one-of-a-kind acrylic jewelry designs that catch your eye and make you wonder how they were created? Well, the secret lies in the art of laser cutting and engraving. With the right techniques and tools, you can bring your own unique jewelry designs to life.
In this article, we will explore five essential tips to help you master the art of laser cutting and engraving acrylic jewelry designs. From choosing high-quality acrylic materials to experimenting with engraving techniques, we will guide you through the process step by step.
So, whether you’re a seasoned jewelry maker or just starting out, get ready to unlock the potential of laser cutting and engraving to create stunning, one-of-a-kind acrylic jewelry pieces that will leave everyone in awe.
Key Takeaways
- Choose high-quality acrylic materials designed for laser cutting and engraving for durability and scratch resistance.
- Plan and design jewelry pieces with clear vision, considering shape, size, and intricate details.
- Optimize laser settings by reducing cutting speed and adjusting laser power for optimal results on acrylic.
- Experiment with engraving techniques and adding color through painting or colored acrylic sheets for added depth and texture.
Choose High-Quality Acrylic Materials
When it comes to creating stunning acrylic jewelry designs, you’ll want to make sure you choose high-quality materials that will truly make your pieces shine.
Acrylic material selection is crucial in achieving the desired results. Start by sourcing acrylic materials from reputable suppliers that offer a wide range of options in terms of thickness, colors, and finishes. Opt for materials that are specifically designed for laser cutting and engraving, as they’ll provide clean and precise results.
High-quality acrylic materials will also ensure durability and resistance to scratches, ensuring your jewelry pieces maintain their beauty over time.
Now that you’ve selected the perfect acrylic materials, it’s time to plan and design your jewelry pieces, bringing your unique vision to life.
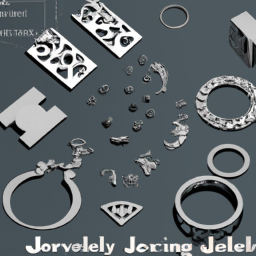
Plan and Design Your Jewelry Pieces
To create stunning and one-of-a-kind acrylic accessories, carefully conceptualize and sketch your desired jewelry pieces. Use sketching techniques to bring your ideas to life on paper, allowing you to visualize the final design before proceeding with laser cutting and engraving.
Consider the shape, size, and intricate details you want to incorporate into your jewelry. Utilize 3D printing options to create prototypes or molds for your acrylic pieces, ensuring precision and accuracy in the final product. This will help you make any necessary adjustments and ensure a flawless outcome.
By planning and designing your jewelry pieces meticulously, you’ll have a clear vision of what you want to achieve and can effectively optimize laser settings for acrylic. This will result in exquisite, well-crafted jewelry that meets your creative vision and exceeds your expectations.
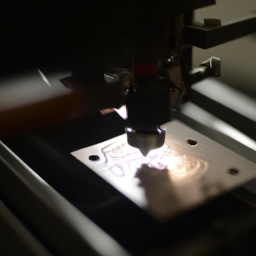
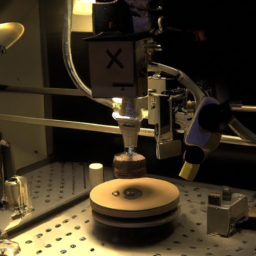
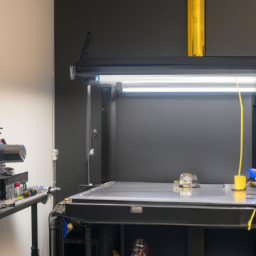
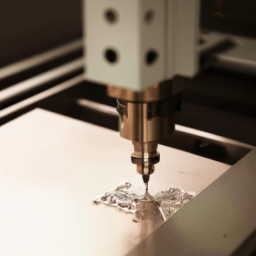
Optimize Laser Settings for Acrylic
Enhance the beauty and precision of your accessories by fine-tuning the laser settings specifically for acrylic, ensuring a flawless and captivating end result. When working with acrylic, it is important to reduce the cutting speed and adjust the laser power accordingly. This will prevent the material from melting or charring, and instead, achieve clean and precise cuts. To help you understand the relationship between cutting speed and laser power, refer to the table below:
| Cutting Speed (mm/s) | Laser Power (%) |
|---|---|
| 10 | 80 |
| 20 | 70 |
| 30 | 60 |
| 40 | 50 |
| 50 | 40 |
By utilizing these optimized laser settings, you can ensure that your acrylic jewelry designs are flawlessly cut and engraved. Now, let’s explore how to use vector graphics for precise cutting.
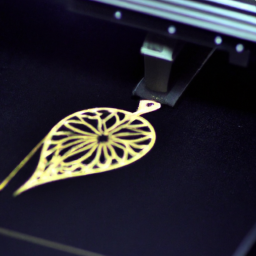
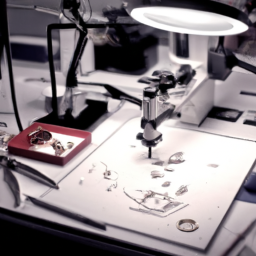
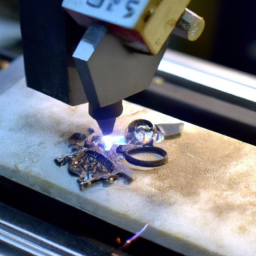
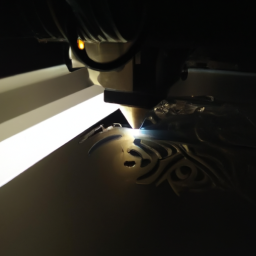
Use Vector Graphics for Precise Cutting
Improve the precision of your accessories by utilizing vector graphics, which allow for exact and intricate cutting in a way that’ll captivate you.
Here are the benefits of using vector graphics for laser cutting acrylic:
-
Precise and clean cuts: Vector graphics ensure that the laser follows a precise path, resulting in accurate cuts without any jagged edges or inconsistencies.
-
Intricate designs: Vector graphics allow you to create intricate and detailed designs that would be difficult to achieve with traditional cutting methods.
-
Time-efficient: Laser cutting with vector graphics is faster compared to manual cutting techniques, saving you valuable time and increasing productivity.
-
Reproducibility: Once you’ve created a vector graphic for your jewelry design, you can easily reproduce it multiple times with consistent results.
It’s important to note that proper ventilation and safety measures should always be followed during the laser cutting process. With vector graphics, you can experiment with engraving techniques to add depth and texture to your acrylic jewelry designs.
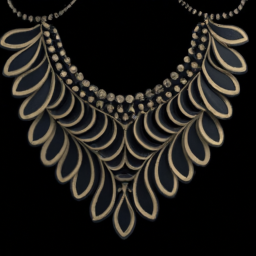
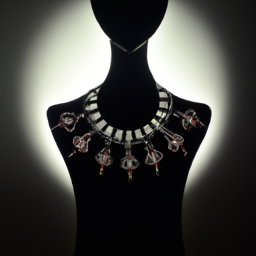
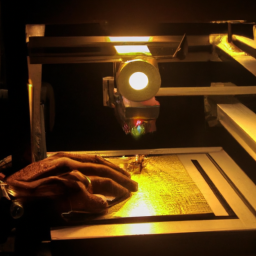
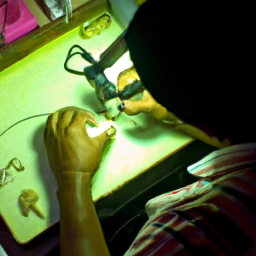
Experiment with Engraving Techniques
Discover the artistry of experimenting with engraving techniques to elevate your acrylic accessories and create stunning, one-of-a-kind pieces.
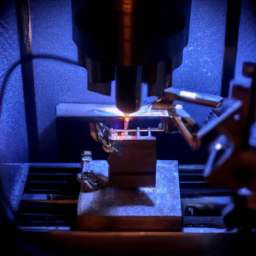
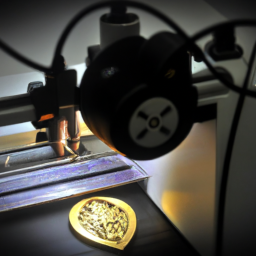
Laser engraving on metal is a unique technique that can add depth and texture to your acrylic jewelry designs. By carefully adjusting the power and speed settings of the laser, you can create intricate patterns and designs on metal surfaces, adding a touch of elegance to your acrylic pieces.
Additionally, consider adding color to your acrylic designs through techniques such as painting or using colored acrylic sheets. This allows you to further customize your jewelry and create eye-catching contrasts.
Once you’ve perfected your engraving and coloring techniques, it’s time to move on to the next step in the process: finishing and polishing your acrylic jewelry. Here, you’ll learn how to add that final touch of shine and perfection.
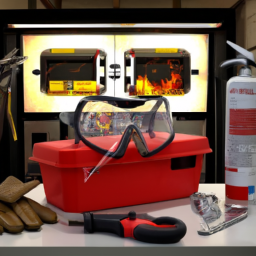
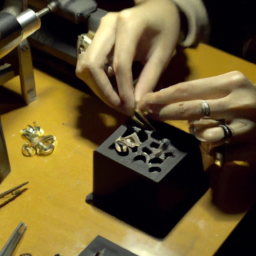
Finishing and Polishing Your Acrylic Jewelry
Once you’ve mastered the art of engraving and coloring, it’s time to give your acrylic accessories that final touch of perfection by learning how to finish and polish them to a beautiful shine. To achieve a smooth and glossy finish, you’ll need to use buffing and sanding techniques. Start by sanding the surface of your acrylic jewelry with a fine-grit sandpaper to remove any imperfections. Next, use a buffing wheel or cloth along with a polishing compound to buff the jewelry and bring out its shine.
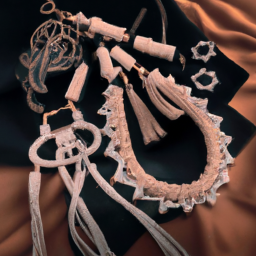
To add a touch of uniqueness to your acrylic jewelry, consider adding embellishments such as crystals, beads, or rhinestones. These can be attached using jewelry glue or by drilling small holes in the acrylic and securing the embellishments with jump rings or wire. The table below provides a visual representation of the step-by-step process for finishing and polishing your acrylic jewelry.
| Step | Technique |
|---|---|
| 1 | Sanding with fine-grit sandpaper |
| 2 | Buffing with a polishing compound |
| 3 | Adding embellishments |
By following these techniques and adding embellishments, you can transform your acrylic jewelry designs into stunning pieces that are sure to catch everyone’s attention.
Frequently Asked Questions
Can I use other materials besides acrylic for laser cutting and engraving jewelry?
Yes, you can use alternative materials besides acrylic for laser cutting and engraving jewelry. However, there are some considerations to keep in mind.
Different materials may require adjustments in laser settings, such as power and speed, to achieve desired results. Additionally, certain materials, like metals, may produce harmful fumes when engraved or cut with a laser.
It’s important to research and test the compatibility of alternative materials before proceeding with laser cutting for jewelry-making.
What are some common mistakes to avoid when designing jewelry pieces for laser cutting?
When designing jewelry for laser cutting, it’s crucial to avoid common mistakes that can ruin your intricate designs.
One interesting statistic to consider is that up to 70% of jewelry design errors are related to incorrect file preparation. To prevent this, ensure your design files are properly formatted, with accurate measurements and appropriate line thickness.
Additionally, pay attention to the material’s limitations and adjust your design accordingly.
These tips will help you create flawless and stunning laser-cut jewelry pieces.
Can I adjust the laser settings to achieve different effects on the acrylic?
To achieve different effects on acrylic, you can indeed adjust the laser settings. By changing the power, speed, and frequency of the laser, you can vary the depth and intensity of the engraving or cutting. Experimenting with different settings will allow you to create unique textures and patterns on your acrylic jewelry designs.
Additionally, consider exploring alternative materials like wood, leather, or metal, as they can also be laser cut and engraved to create stunning jewelry pieces.
Are there any specific file formats I should use when working with vector graphics for laser cutting?
Looking to work with vector graphics for laser cutting? Wondering about the best software and file formats to use? Well, let me tell you, the best software for working with vector graphics for laser cutting is Adobe Illustrator. It provides a range of tools and features to create precise and detailed designs.
When preparing files, it’s recommended to save them in the .ai or .pdf formats, as they ensure high-quality output and compatibility with laser cutting machines.
What are some alternative methods for finishing and polishing acrylic jewelry if I don’t have access to specialized equipment?
To finish and polish acrylic jewelry without specialized equipment, you can use alternative finishing methods and polishing techniques. One option is to use a microfiber cloth to gently buff the surface of the acrylic, removing any scratches or imperfections.
Another method is to apply a polishing compound specifically designed for acrylic surfaces, using a clean cloth in circular motions.
Finally, you can use a clear acrylic spray to give the jewelry a glossy finish.
Conclusion
Congratulations! You’ve successfully mastered the art of laser cutting and engraving unique acrylic jewelry designs. By following these 5 tips, you’ve unlocked the potential to create stunning pieces that are sure to captivate and mesmerize.
Just like a skilled jeweler delicately crafting a masterpiece, you’ve learned to choose the best materials, plan meticulously, optimize laser settings, use vector graphics, and experiment with engraving techniques.
Now, it’s time to put the finishing touches on your acrylic jewelry, ensuring a flawless and polished final product. Embrace your newfound skills and let your creativity shine!