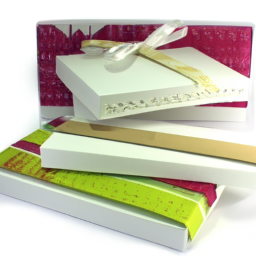
Are you tired of giving the same old generic gifts? Ready to step up your gift-giving game and impress your loved ones with something truly unique and personalized? Well, we have just the solution for you! Get ready to embark on a journey of creativity and innovation as we unveil the 9 steps for designing laser cut gifts and personalized items.
In this article, we will guide you through the process of brainstorming gift ideas, choosing the right design software, and selecting the ideal materials. But that’s not all! We’ll also show you how to prepare and upload your design, set up your laser cutting machine, and add that perfect personal touch to your gift.
Whether you’re a seasoned designer or a complete novice, we’ve got you covered. So get ready to unleash your inner artist and create one-of-a-kind gifts that will leave your loved ones in awe.
Let’s dive in and discover the world of laser cut gifts and personalized items together!
Key Takeaways
- Brainstorm gift ideas based on recipient’s interests and preferences
- Choose the right design software with precise vector editing tools
- Select ideal materials for laser-cut creations
- Personalize and finish the gift with laser cutter engraving
Brainstorm Gift Ideas
Now that you’ve got your creative juices flowing, let’s dive into brainstorming some amazing gift ideas that will leave your loved ones speechless!
Gift inspiration can come from anywhere, so start by thinking about the recipient’s interests, hobbies, and preferences. Consider their favorite activities, colors, or even quotes that resonate with them. Get creative and think outside the box!
If they love cooking, you could design a laser-cut cutting board in the shape of their favorite food. If they’re into music, a personalized guitar pick or a custom vinyl record could be the perfect gift. The key is to think about what would make them light up with joy.
Once you’ve gathered a list of potential ideas, let’s move on to the next step: choosing the right design software.
Choose the Right Design Software
To create stunning laser-cut creations, you’ll need to pick the perfect design software that suits your creative vision.
There are various design software options available, each with its own unique features and capabilities. It’s important to do a thorough design software comparison to determine which one best meets your needs.
Look for software that offers precise vector editing tools, easy import/export options, and a user-friendly interface. Additionally, consider the availability of design software tutorials, as this can greatly aid in your learning process.
These tutorials will help you understand the software’s functionalities and unleash your creativity. Once you’ve chosen the right design software, you can move on to the next step: selecting the ideal materials for your laser-cut gifts and personalized items.
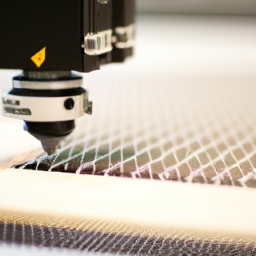
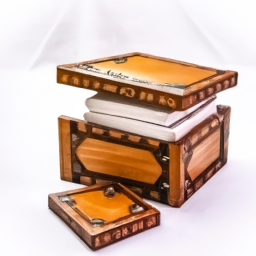
Select the Ideal Materials
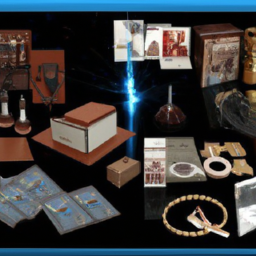
Once you have chosen the perfect design software, you can explore a world of possibilities by selecting the ideal materials for your laser-cut creations, bringing your artistic vision to life. When it comes to laser cut techniques, it’s important to consider material compatibility. Certain materials work better with laser cutting than others, so choosing the right one is crucial. To help you make an informed decision, here is a table showcasing three popular materials and their unique characteristics:
| Material | Characteristics | Best For |
|---|---|---|
| Wood | Natural, warm tones | Personalized wooden signs or home decor |
| Acrylic | Wide range of colors, transparent or opaque | Custom jewelry or keychains |
| Leather | Durable, flexible, and textured | Laser engraved wallets or accessories |
By understanding the qualities of each material, you can select the one that suits your design and purpose. Once you have chosen the ideal materials, you can move on to the next step of preparing and uploading your design, ensuring a seamless transition from material selection to creation.
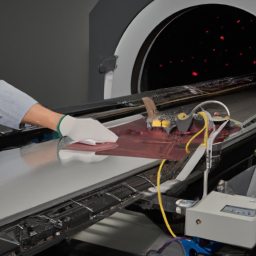
Prepare and Upload Your Design
Before diving into the process of preparing and uploading your design, it’s like stepping into a virtual artist’s studio where you can unleash your creativity and bring your ideas to life. Get ready to immerse yourself in the world of laser cut gifts and personalized items!
Here are three key things to keep in mind as you prepare and upload your design:
-
Design file formats: Make sure to save your design file in a format that’s compatible with your laser cutting machine. Common formats include AI, SVG, DXF, and PDF. Check the machine’s manual or consult with the manufacturer for specific requirements.
-
Troubleshooting laser cutting issues: It’s not uncommon to encounter issues during the cutting process, such as incomplete cuts or burnt edges. To troubleshoot these problems, consider adjusting the power and speed settings, ensuring proper ventilation, and cleaning the machine’s lens and mirrors regularly.
-
Stay organized: Keep track of your design files, materials, and settings to streamline the process and avoid any confusion.
Now that you’re familiar with preparing and uploading your design, let’s move on to setting up your laser cutting machine.
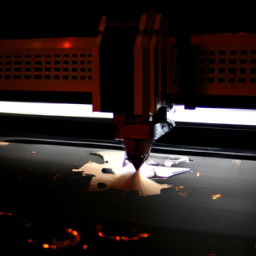
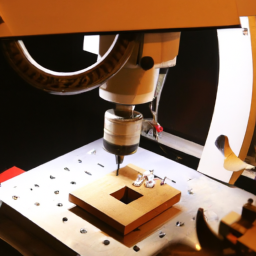
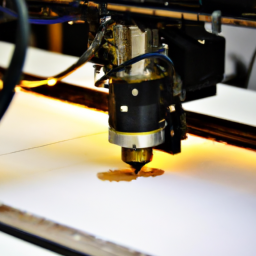
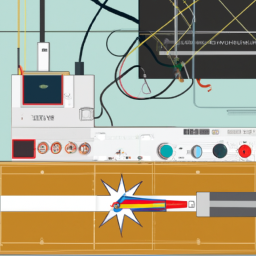
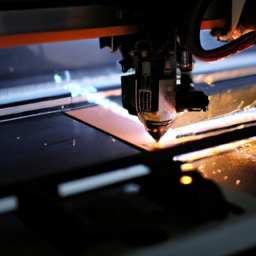
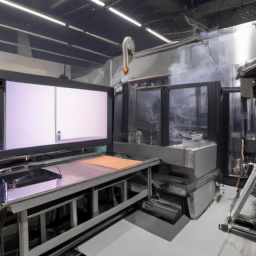
Set Up Your Laser Cutting Machine
Get ready to embark on an exciting journey as you set up your laser cutting machine, unlocking a world of endless possibilities and unleashing your creativity. Before diving into the magical world of laser cutting, it is crucial to calibrate settings to ensure precision and accuracy in your designs. Take the time to adjust the power, speed, and focus of the laser to achieve the desired results. Troubleshoot issues that may arise, such as misaligned mirrors or material compatibility problems, to prevent any setbacks in your creative process. Remember to consult the user manual or seek assistance from professionals if needed. Once your laser cutting machine is perfectly set up, you’re all set to personalize and finish your gift, adding those final touches that make it truly unique and special.
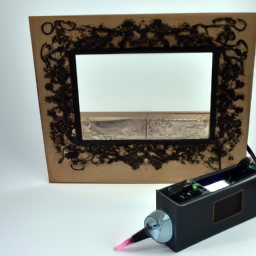
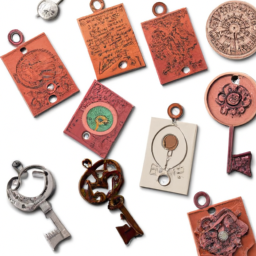
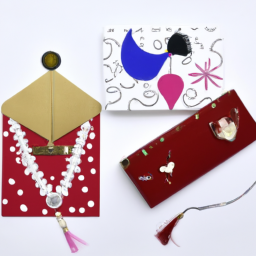
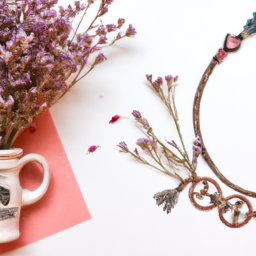
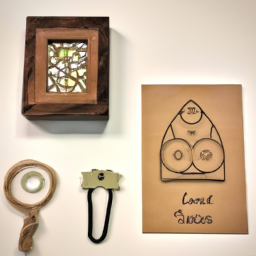
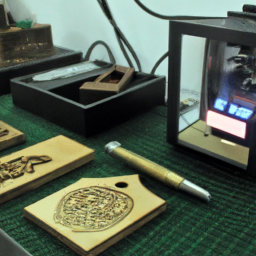
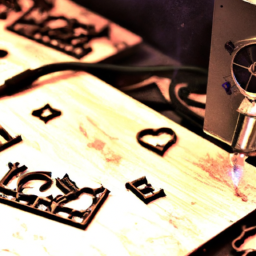
Personalize and Finish Your Gift
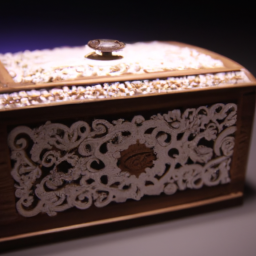
Now that your laser cutting machine’s all set up, it’s time to add the final touches and put your personal stamp on the gift. This is where the real magic happens – personalizing and finishing your gift. One way to achieve this is through personalized engraving. Use the laser cutter to etch names, dates, or special messages onto the surface of the gift. Experiment with different fonts and sizes to create a unique and eye-catching design.
Additionally, explore various customizing techniques such as adding colorful paints or stains to enhance the engraved details. Don’t be afraid to think outside the box and try different materials or textures to truly make your gift stand out. Remember, the goal is to create a one-of-a-kind item that’ll leave a lasting impression on the recipient.
Frequently Asked Questions
How much does a laser cutting machine cost?
Laser cutting machine affordability depends on various factors. The cost can range from a few thousand dollars to several hundred thousand dollars. Factors affecting the price include the size and power of the machine, the type of laser technology used, and additional features like automation and software capabilities.
It’s crucial to consider your specific needs and budget when determining the right laser cutting machine for your business.
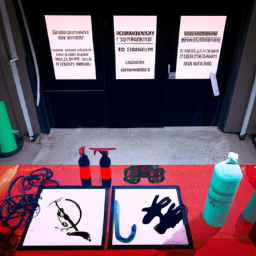
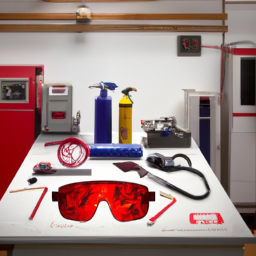
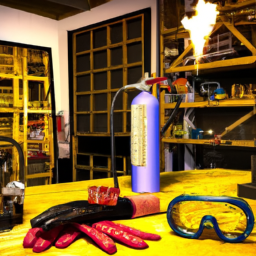
What safety precautions should I take when using a laser cutting machine?
When it comes to laser cutting machines, safety is no joke! To protect yourself, you’ll need more gear than an astronaut going to space. Think goggles that make you look like a superhero, gloves that would make Wolverine jealous, and an apron that could double as armor.
But wait, there’s more! Before you even think about pressing that laser button, make sure your workspace is fireproof and well-ventilated. Safety first, my friend!
Can I use any type of material with a laser cutting machine?
Using a laser cutting machine, you can work with a variety of materials, but it’s important to consider their compatibility and limitations. Different materials have different requirements and potential risks.
While some materials like wood, acrylic, and leather are commonly used, others may not be suitable. If you encounter compatibility issues, you can explore alternative cutting methods like waterjet cutting or CNC milling.
Always prioritize safety and consult the machine’s manual for specific material guidelines.
How long does it typically take to complete a laser cutting project?
Laser cutting projects can be as quick as a cheetah or as slow as a snail, depending on various factors.
The timeline is like a roller coaster ride, with highs and lows that can drive you insane.
Factors like material thickness, design complexity, and machine speed play a crucial role in determining the duration.
So buckle up, because your laser cutting journey might be a wild and unpredictable adventure!
Are there any restrictions on the size of the design that can be laser cut?
When it comes to designing intricate patterns for laser cut gifts and personalized items, there are some restrictions on the size of the design that can be laser cut. However, you can still maximize material usage by carefully planning your design.
By considering the dimensions of the materials and the capabilities of the laser cutter, you can create stunning and efficient designs that make the most of the available space. This allows you to create unique and personalized gifts while minimizing waste.
Conclusion
Congratulations! You’ve successfully completed all the steps to design laser cut gifts and personalized items. Your creativity and attention to detail have paid off, resulting in unique and thoughtful presents. By embracing the power of laser cutting technology, you’ve transformed ordinary materials into extraordinary works of art.
Remember, the possibilities are endless, so don’t be afraid to explore new ideas and push the boundaries of your imagination. Keep shining like a diamond and let your creativity cut through the darkness!