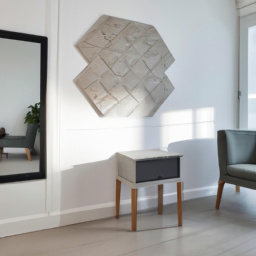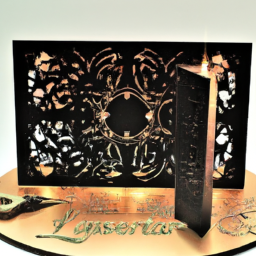


Are you tired of the same old home decor? Ready to add a touch of modern elegance to your living space? Well, it’s time to put on your creative hat and dive into the world of laser cut home decor projects!
With just a few simple steps, you can design and create stunning pieces that will leave your guests in awe. From brainstorming design ideas to cutting and assembling your project, this article will guide you through the process, step by step.
So grab a cup of coffee, put on some inspiring music, and let’s get started on transforming your home into a stylish sanctuary. Get ready to unleash your inner designer and discover the limitless possibilities of laser cut home decor!
Key Takeaways
- Laser cut home decor projects can add modern elegance to living space
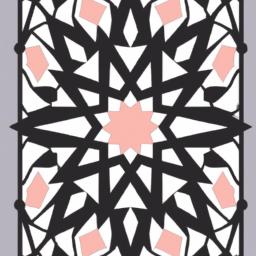
- Design inspiration can come from nature, architecture, patterns, or imagination
- Popular materials for laser cutting are wood, acrylic, and metal
- Consider factors like durability, aesthetics, and budget when choosing materials
Brainstorm Design Ideas
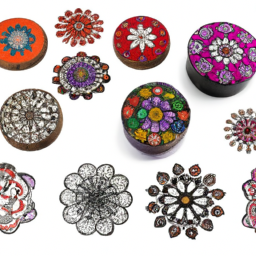
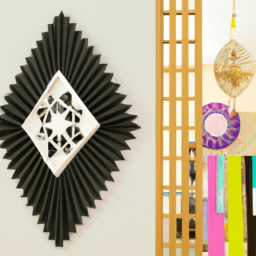
Let’s get those creative juices flowing and start brainstorming some killer design ideas for your laser cut home decor projects! Design inspiration can come from anywhere – nature, architecture, patterns, or even your own imagination. Take some time to explore different sources of inspiration and gather ideas that resonate with your personal style.
Consider experimenting with different color schemes to bring your designs to life. Whether you prefer bold and vibrant colors or subtle and soothing tones, choosing the right color palette can greatly enhance the overall aesthetic of your laser cut home decor projects.
Once you have a handful of design ideas and color schemes in mind, it’s time to move on to the next step and choose the right materials that will bring your visions to reality.
Choose the Right Materials
To ensure you select the appropriate materials for your laser cut home decor projects, consider factors such as durability, aesthetics, and budget. Material selection is crucial as it determines the overall quality and appearance of your final product.
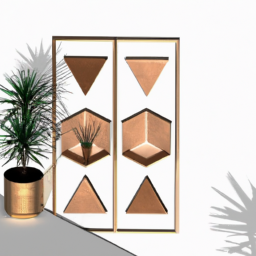
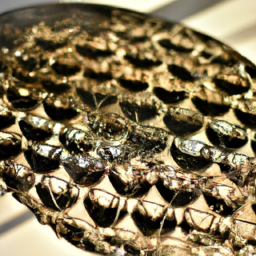
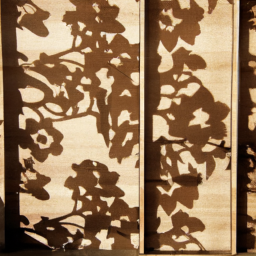
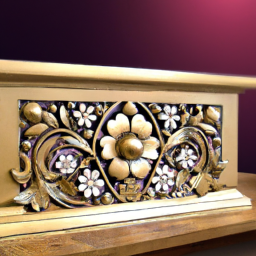
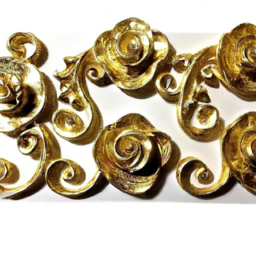
Wood, acrylic, and metal are popular choices for laser cutting due to their versatility and ability to withstand the cutting techniques involved. Wood offers a natural and rustic look, while acrylic provides a sleek and modern touch. Metal, on the other hand, adds an industrial and edgy vibe.
Additionally, consider the thickness and density of the material, as it affects the intricacy of the design and the cutting process. By carefully evaluating these factors, you can choose the perfect materials that align with your vision and project requirements.
Now that you have selected the materials, it’s time to create or find a template that suits your design.
Create or Find a Template
Now that you’ve chosen the perfect materials, it’s time to whip up or discover a template that suits your design. The designing process begins with finding inspiration for your laser cut home decor project.
Look for ideas in magazines, online platforms, or even nature. Let your imagination run wild and take note of any design elements that catch your eye. Once you have a clear vision, it’s time to translate that into a template.
You can create one from scratch using design software or find pre-made templates online. Make sure the template is compatible with the laser cutting machine and meets your project’s specifications. Remember, this step is crucial as it sets the foundation for the rest of your project.
So take your time, explore different options, and let your creativity shine. As you move forward to customize and perfect your design, you’ll have a solid template to work with.
Customize and Perfect Your Design
Unleash your artistic prowess and breathe life into your design, molding it like clay in your hands until it becomes a masterpiece that captivates the senses. This is the stage where you can truly personalize and embellish your laser cut home decor project.
Add intricate details, experiment with different patterns, and let your imagination run wild. However, don’t forget to troubleshoot and refine your design along the way. Pay close attention to any potential issues or flaws that may arise, and make the necessary adjustments to ensure a flawless finished product.
Take the time to test your design on a small scale before committing to the final version. Once you’re satisfied with your customized design, it’s time to prepare it for laser cutting.
Prepare Your Design for Laser Cutting
Get ready to take your design to the next level by preparing it for laser cutting, so that you can bring your intricate and imaginative creation to life. To ensure a successful laser cutting process, follow these essential steps:
-
Use design software: Start by creating your design using design software such as Adobe Illustrator or AutoCAD. These programs allow you to create precise and detailed designs, which are essential for laser cutting.
-
Optimize your design: Before sending your design to the laser cutter, make sure to optimize it. This involves checking for any overlapping lines, resizing elements, and adjusting the settings for the laser cutter.
-
Choose laser cutting techniques: Laser cutting offers various techniques such as vector cutting, raster engraving, and etching. Decide which techniques will best bring out the desired effect in your design.
By preparing your design using design software and choosing the right laser cutting techniques, you’re now ready to move on to the next step of cutting and assembling your home decor project.
Cut and Assemble Your Home Decor Project
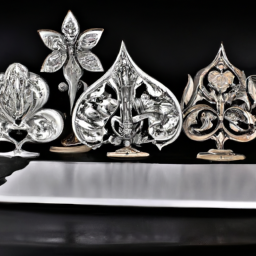
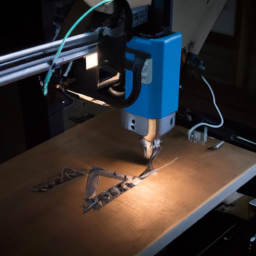
Once you’ve perfected your design and unleashed your creativity, it’s time to bring your vision to life by cutting and assembling your masterpiece, transforming your space into a captivating oasis.
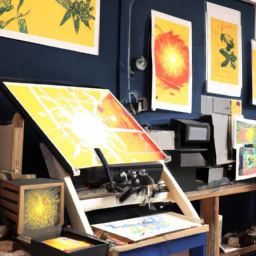
Start by choosing the appropriate cutting techniques for your home decor project. Laser cutting offers precision and versatility, allowing you to achieve intricate designs with clean edges. Take your time and follow the guidelines provided by the laser cutting machine to ensure accurate and flawless cuts.
After cutting all the necessary pieces, it’s time to focus on the finishing touches. Sand the edges of each component to smooth out any roughness. This will give your project a professional and polished look. If desired, you can also paint or stain the pieces to add a pop of color or enhance the natural beauty of the material used.
Assemble the different parts according to your design plan. Use adhesives or joinery techniques to securely attach the pieces together. Pay attention to details and make sure everything aligns perfectly.
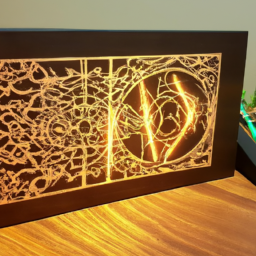
Step back and admire your laser cut home decor project that you’ve brought to life with your own hands.
Frequently Asked Questions
How much does a laser cutter cost?
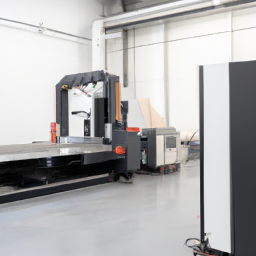
Laser cutter prices can vary depending on the brand and features you’re looking for. Some popular brands include Epilog, Trotec, and Glowforge, with prices ranging from $2,000 to $10,000. However, keep in mind that there are other factors that can affect the cost of a laser cutter.
These factors include the power of the machine, the size of the cutting bed, and additional features like autofocus or rotary attachments. So, it’s important to consider your specific needs and budget when choosing a laser cutter.
Can I use any type of material for laser cutting?
Sure, you can use a variety of materials for laser cutting. Wood, acrylic, leather, and even metal are all options. Each material has its own advantages and disadvantages. For instance, wood provides a natural and rustic look, while acrylic offers a sleek and modern appearance. Leather and metal can add a touch of sophistication to your designs. Consider the material’s thickness, durability, and compatibility with the laser cutter when making your choice.
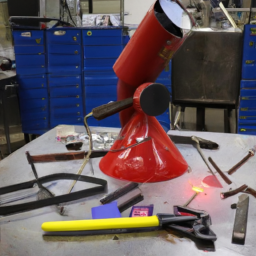
Are there any safety precautions I need to take when using a laser cutter?
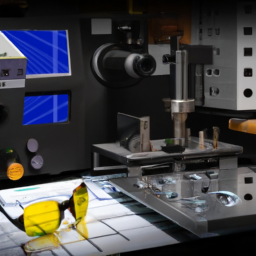
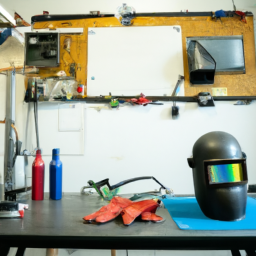
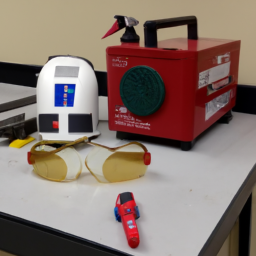
Before delving into the exciting world of laser cutting, it’s crucial to prioritize safety.
Picture this: just like a knight doesn’t march into battle without armor, you shouldn’t operate a laser cutter without proper safety gear. Equip yourself with protective goggles, gloves, and a fire extinguisher nearby.
Moreover, ensure your workspace has adequate ventilation requirements. This will help in dissipating any fumes or smoke generated during the cutting process, keeping you safe and sound.
How long does it typically take to cut a home decor project using a laser cutter?
When using a laser cutter for home decor projects, the cutting time can vary depending on several factors. The efficiency of the laser cutter plays a significant role in determining the speed of the cutting process. Additionally, factors such as the complexity of the design, the thickness and type of material being cut, and the power and speed settings of the laser cutter can all affect the cutting time. Taking these factors into consideration will help you estimate the time required for your project.
Can I use a laser cutter for other types of projects besides home decor?
Yes, you can absolutely use a laser cutter for a wide range of projects beyond just home decor. A laser cutter is an excellent tool for creating stunning art projects due to its precise cutting abilities. It can effortlessly bring your artistic visions to life, whether you’re working with wood, acrylic, or even paper.
In addition, DIY enthusiasts can utilize the laser cutter for various projects. For example, you can create custom furniture pieces or intricate designs for home renovations. The possibilities are endless when it comes to using a laser cutter for art and DIY projects.
Conclusion
As you’re putting the final touches on your laser cut home decor project, you can’t help but feel a sense of pride and accomplishment. Each step, from brainstorming design ideas to cutting and assembling your creation, has been a labor of love.
The materials you’ve carefully chosen and the templates you’ve customized have transformed into something truly special. As you admire your finished piece, you realize that this project represents more than just a decoration for your home. It symbolizes your creativity, attention to detail, and the joy of creating something beautiful.