Are you tired of constantly replacing your laser cutter due to premature wear and tear? Do you wish there was a way to extend its lifespan and save yourself the hassle and expense? Well, look no further! We have the ultimate solution for you – 9 steps for proper laser cutter maintenance that will revolutionize the way you care for your machine.
In this article, we will guide you through a series of meticulous and methodical maintenance techniques that will keep your laser cutter in top-notch condition for years to come. From regular cleaning to checking and replacing worn parts, calibrating the machine, and lubricating the moving parts, we leave no stone unturned in our quest to maximize its lifespan.
But that’s not all! We will also delve into the importance of monitoring and controlling temperature and humidity levels, as well as following safety guidelines and proper handling procedures. By adopting these practices, you will not only ensure the longevity of your laser cutter but also guarantee a safer and more efficient working environment.
So, buckle up and get ready to embark on this technical journey of laser cutter maintenance like never before.
Let’s dive in and discover the secrets to unlocking the full potential of your machine!
Key Takeaways
- Regular cleaning and maintenance is crucial for extending the lifespan of a laser cutter.
- Checking and replacing worn parts, such as the laser tube, mirrors and lenses, belts and pulleys, exhaust fan, and water cooling system, is essential for optimal performance.
- Proper calibration, alignment, and power adjustment are important steps in maintaining a laser cutter.
- Monitoring and controlling temperature, humidity levels, and ventilation are necessary for optimal performance and safety.
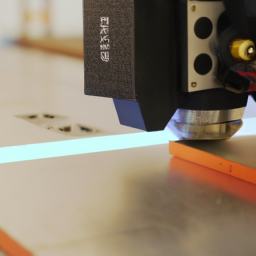
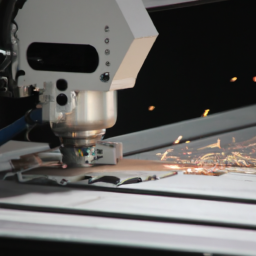
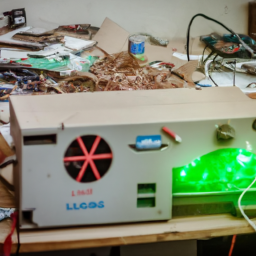
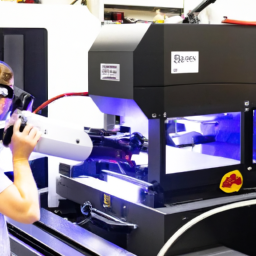
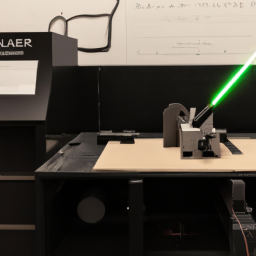
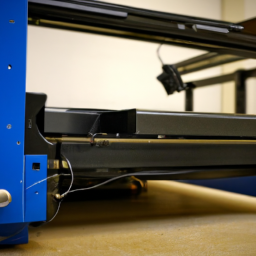
Clean the Laser Cutter Regularly
Make sure you clean your laser cutter regularly to keep it in top shape and extend its lifespan. Developing a cleaning schedule is crucial for maintaining the optimal performance of your machine.
Start by removing any debris or dust from the laser cutter’s exterior using a soft cloth or brush. For the interior, use compressed air to blow away any loose particles.
When it comes to cleaning the lens, handle it with care and use a lens cleaning solution specifically designed for laser cutters. Avoid using harsh chemicals or abrasive materials that can damage the lens.
Additionally, make sure to clean the cutting bed and remove any residue or buildup that may interfere with the laser’s accuracy.
By following a regular cleaning routine and using the best cleaning products, you can ensure that your laser cutter operates smoothly and efficiently.
Now, let’s move on to the next section about checking and replacing worn parts.
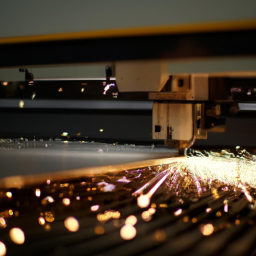
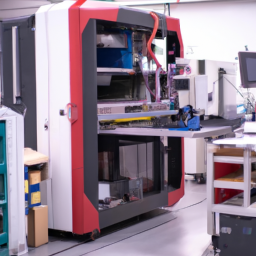
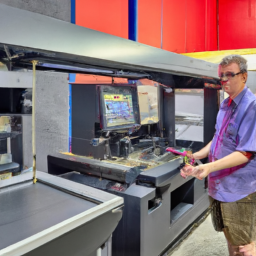
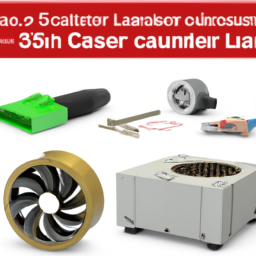
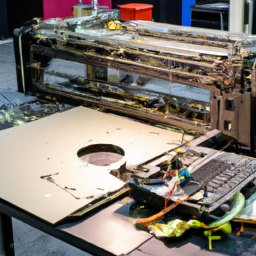
Check and Replace Worn Parts
To ensure your laser cutter stays in optimal condition, regularly inspect and swap out any worn components. Inspecting and tightening connections is essential to prevent any electrical issues that may arise during operation. Troubleshooting common issues such as misalignment or unstable laser power is also crucial for maintaining the cutter’s efficiency. Here is a table summarizing the key components to check and replace:
| Component | Inspection | Replacement |
|---|---|---|
| Laser tube | Check for cracks or discoloration | Replace if power output drops |
| Mirrors and lenses | Inspect for scratches or debris | Replace if clarity is affected |
| Belts and pulleys | Ensure proper tension and alignment | Replace if signs of wear are present |
| Exhaust fan | Verify airflow and cleanliness | Replace if not functioning properly |
| Water cooling system | Check for leaks or blockages | Replace damaged parts or repair system |
Next, we will discuss how to calibrate the laser cutter for precise cutting and engraving.
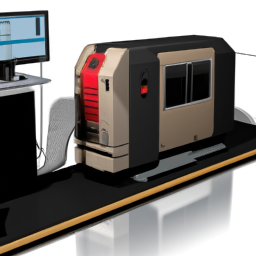
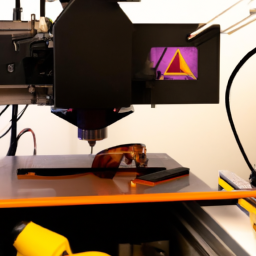
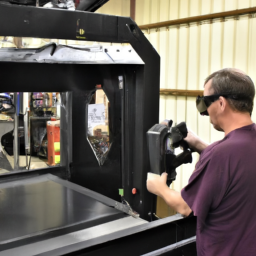
Calibrate the Laser Cutter
Ensuring precise cutting and engraving, calibrating the laser cutter is essential for achieving optimal results. To calibrate the laser cutter, follow these steps:
-
Laser Cutter Alignment:
- Check the alignment of the laser beam to ensure it’s hitting the target accurately.
- Adjust the mirrors and lenses if necessary to correct any misalignment.
-
Laser Power Adjustment:
- Test the laser power to ensure it’s set correctly for the material being cut or engraved.
- Use a power meter to measure the laser output and adjust as needed.
By properly calibrating the laser cutter, you can enhance its performance and prolong its lifespan. Once the calibration is complete, it’s important to move on to the next step, which involves lubricating the moving parts for smooth operation.
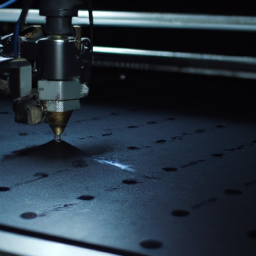
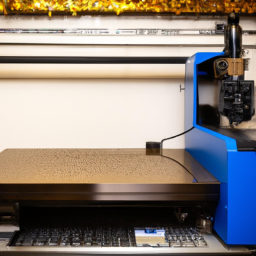
Lubricate Moving Parts
After calibrating the laser cutter, it’s essential to lubricate the moving parts for a smooth and efficient operation, enhancing its overall performance.
Preventive maintenance is crucial to extend the lifespan of your laser cutter, and lubrication plays a vital role in this process. The moving parts of the laser cutter, such as the rails, bearings, and belts, undergo significant friction during operation. Proper lubrication reduces wear and tear, minimizes heat buildup, and prevents parts from seizing or binding. It also helps in reducing noise and vibrations, ensuring a quieter and more stable cutting process.
Regularly applying lubricants specifically designed for laser cutters will keep the machine running smoothly and improve its longevity.
Moving on to the next step, it’s important to monitor and control temperature and humidity levels to optimize the performance of your laser cutter.
Monitor and Control Temperature and Humidity Levels
Monitoring and controlling temperature and humidity levels can greatly impact the performance and efficiency of your laser cutter, but what happens if these factors are neglected?
Proper humidity control is essential to prevent the accumulation of moisture, which can cause corrosion and damage to sensitive components. This can be achieved by using dehumidifiers or humidity control systems in the laser cutter room.
Additionally, it’s crucial to monitor the temperature inside the cutter to ensure it stays within the recommended range. High temperatures can lead to overheating and premature wear, while low temperatures can affect the laser’s accuracy. Regularly check the temperature using a thermometer and adjust as necessary.
By maintaining optimal temperature and humidity levels, you can extend the lifespan of your laser cutter and prevent costly repairs.
Moving on to the next section, it’s important to follow safety guidelines and proper handling procedures to avoid accidents and injuries.
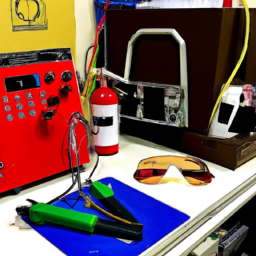
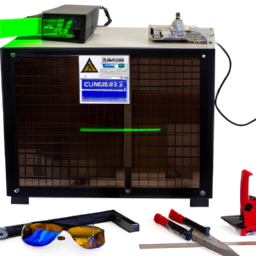
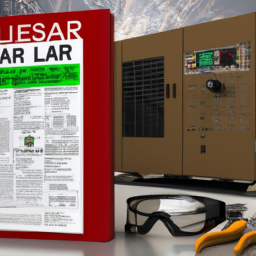
Follow Safety Guidelines and Proper Handling Procedures
To ensure the longevity of your laser cutter, it’s crucial to adhere to safety guidelines and proper handling procedures. This will not only protect you from potential accidents but also safeguard the machine itself.
By following safety protocols, you reduce the risk of fire hazards, electrical malfunctions, and damage to the laser cutter’s components. Additionally, it’s essential to prioritize proper ventilation in laser cutting environments. Adequate air circulation helps dissipate fumes and gases produced during the cutting process, preventing the buildup of potentially harmful substances.
Moreover, operators should undergo training and certification programs specifically designed for laser cutter operation. These programs equip individuals with the necessary knowledge and skills to safely operate the machine, reducing the likelihood of errors and accidents.
Remember, your commitment to safety and proper handling practices is vital for maintaining the efficiency and extending the lifespan of your laser cutter.
Frequently Asked Questions
How often should I clean the laser cutter?
To maintain the optimal performance and extend the lifespan of your laser cutter, it’s crucial to clean it regularly. Cleaning frequency depends on usage, but generally, it’s recommended to clean the laser cutter after every 8-10 hours of operation.
Start by removing any debris or residue from the laser lens using a soft, lint-free cloth. Take care to clean the surrounding areas to prevent buildup and ensure precise cuts.
What types of worn parts should I check and replace?
To ensure your laser cutter remains in optimal condition, adhere to this laser cutter maintenance checklist. Regularly inspect and replace worn laser cutter parts to maintain efficiency.
Signs of worn parts include decreased cutting quality, increased power consumption, and unusual noises during operation. Check and replace parts such as the lens, mirrors, belts, and bearings.
By diligently monitoring and replacing worn parts, you can extend the lifespan of your laser cutter and ensure accurate and precise cutting results.
Is there a specific calibration process for the laser cutter?
To ensure optimal performance and extend the lifespan of your laser cutter, regular calibration is essential. The calibration frequency depends on the specific model and usage, but it’s generally recommended to calibrate the laser cutter at least once a month or whenever you notice any misalignment issues.
The calibration process involves adjusting the laser cutter alignment, ensuring that the laser beam is accurately positioned for precise cutting and engraving. Proper calibration will enhance the cutter’s efficiency and maintain its accuracy.
What type of lubricant should I use for the moving parts?
To ensure optimal performance and extend the lifespan of your laser cutter, it’s important to choose the right lubricant for the moving parts. You should select a high-quality lubricant that is specifically designed for precision machinery. Look for lubricants that offer excellent friction reduction and long-lasting protection. Follow the manufacturer’s recommendations for lubrication intervals and create a maintenance schedule to ensure regular lubrication of the laser cutter’s moving parts.
Are there any specific safety guidelines for handling the laser cutter?
When it comes to handling a laser cutter, safety precautions are of utmost importance. The laser beam can cause severe burns, so always wear protective eyewear and gloves.
Follow proper handling procedures by ensuring the machine is properly grounded and that the work area is well-ventilated to prevent fumes and smoke buildup.
Additionally, keep a fire extinguisher nearby and never leave the laser cutter unattended while it’s in operation.
By following these guidelines, you can ensure a safe and incident-free experience with your laser cutter.
Conclusion
In conclusion, by following these 9 steps for proper laser cutter maintenance, you can ensure that your machine will last for a long time and continue to provide accurate and high-quality cuts. Regular cleaning, checking, and replacing worn parts, calibrating, and lubricating moving parts are all essential tasks to keep your laser cutter in top shape.
Additionally, monitoring temperature and humidity levels and adhering to safety guidelines will help prevent any unforeseen issues. Remember, a stitch in time saves nine, so don’t neglect your laser cutter maintenance!