Are you feeling like you’re stuck in a laser cutter maze, desperately trying to find your way out? Don’t worry, we’ve got the map to guide you through.
Welcome to our comprehensive guide on 9 steps for proper laser cutter troubleshooting. Just like a skilled surgeon, you’ll learn how to diagnose and fix any issues that may arise with your laser cutter.
From checking power and connections to calibrating the laser alignment, we’ve got you covered. And when it comes to cleaning the laser lens and adjusting cutting speed and power settings, we’ll show you the exact steps to take.
But don’t fret if problems persist – we’ll also provide you with the necessary contacts for technical support. So grab your tools and get ready to become a laser cutter whisperer.
Let’s dive in and unravel the mysteries of laser cutter troubleshooting together!
Key Takeaways
- Power and connection checks are the first steps in troubleshooting a laser cutter.
- Regular cleaning of the laser lens and calibration of laser alignment are important maintenance tasks.
- Adjusting cutting speed and power settings based on material type and thickness is necessary for optimal performance.
- Checking and replacing worn parts, following manufacturer’s guidelines, and regular maintenance are crucial for a well-functioning laser cutter.
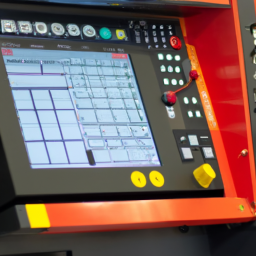
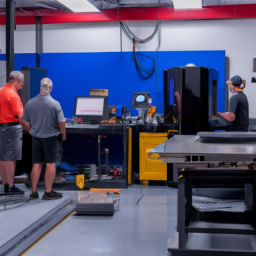
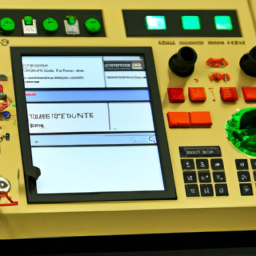
Check Power and Connections
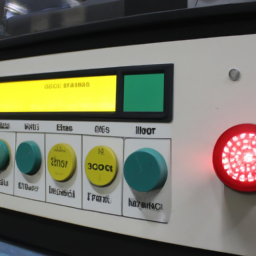
Now, it’s time for you to double-check the power supply and all the connections to make sure everything is properly connected and ready to go.
When it comes to troubleshooting basics for laser cutters, power issues and loose connections are often the culprits. Firstly, ensure that the power switch is turned on and the machine is receiving power. Check if the power cord is securely plugged into both the laser cutter and the power outlet.
Additionally, inspect the connections between the laser cutter and the computer, ensuring that all cables are firmly connected. If you encounter any software issues during this process, make sure to troubleshoot them by updating or reinstalling the laser cutter software.
Once you have confirmed the power and connections are in order, let’s move on to cleaning the laser lens to optimize performance.
Clean the Laser Lens
First, take a moment to envision the crystal-clear lens of your laser cutter, gleaming like a diamond, ready to unleash its cutting power. To ensure optimal performance, it’s crucial to clean the laser lens regularly.
Cleaning techniques may vary depending on the type of lens, but generally, you should use a specialized lens cleaning solution and a lint-free cloth to gently remove any dirt or debris. Be cautious not to scratch the lens while cleaning.
Common lens issues include smudges, fingerprints, and dust accumulation, all of which can affect the quality of your cuts. By maintaining a clean lens, you can prevent potential problems and maintain accurate laser cutting.
Now, let’s move on to the next step: calibrating the laser alignment.
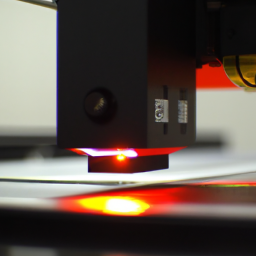
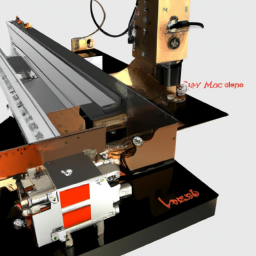
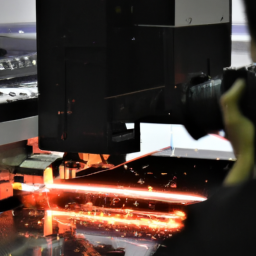
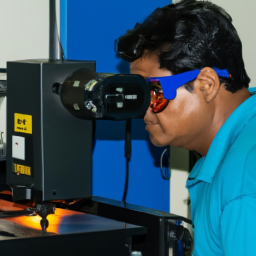
Calibrate the Laser Alignment
To ensure precision and unleash the full potential of your laser cutter, it’s time to align the laser with utmost accuracy. Laser alignment instructions are crucial in troubleshooting laser cutting accuracy. Here are the steps to calibrate the laser alignment:
-
Begin by checking the laser beam’s path and making sure it’s free from any obstructions or debris.
-
Use a laser alignment tool to align the laser beam with the cutting head. Adjust the mirrors and lens if necessary.
-
Align the laser beam with the material to be cut. This ensures that the laser cuts exactly where it’s intended to.
Feel the satisfaction of seeing the laser beam align perfectly with the material, ready to make precise cuts.
Experience the excitement as you witness the laser cutter’s accuracy improving with each adjustment.
Gain confidence knowing that your laser cutter is now optimized for precise and flawless cutting.
Now that the laser alignment is calibrated, it’s time to adjust the cutting speed and power settings for optimal results.
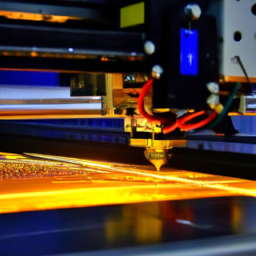
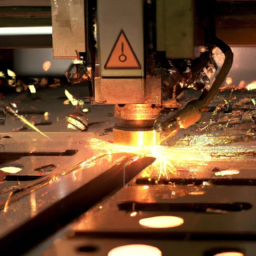
Adjust the Cutting Speed and Power Settings
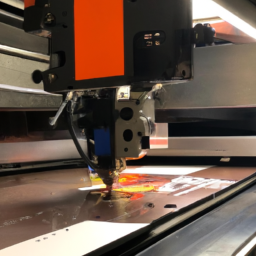
You’ll be amazed at the incredible results you can achieve by fine-tuning the cutting speed and power settings of your laser cutter. By adjusting these settings, you can optimize efficiency and minimize material waste.
Start by evaluating the thickness and type of material you’re cutting. For thinner materials, you can increase the cutting speed to improve efficiency and reduce the chance of scorching. On the other hand, thicker materials may require slower cutting speeds to ensure clean and precise cuts.
Additionally, adjusting the power settings allows you to control the depth of the cut. Lower power settings are suitable for engraving or etching, while higher power settings are ideal for cutting through thicker materials.
By carefully calibrating the cutting speed and power, you can achieve accurate and efficient cuts.
Now, let’s move on to the next section about checking and replacing worn parts.
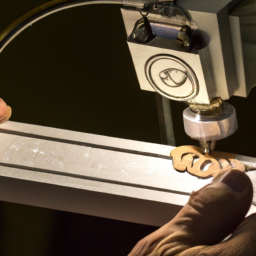
Check and Replace Worn Parts
Make sure you regularly inspect your laser cutter for any signs of worn parts that may need to be replaced. This is an essential step in laser cutter troubleshooting techniques.
Check the belts, bearings, lenses, and mirrors for any signs of damage or wear. If you notice any worn parts, it’s crucial to replace them promptly to ensure optimal performance and prevent further issues.
When replacing parts, refer to the manufacturer’s guidelines and use high-quality replacement components. Additionally, consider implementing regular maintenance tips such as cleaning and lubricating the machine to prolong its lifespan and prevent premature wear.
However, if issues persist even after checking and replacing worn parts, it may be necessary to contact technical support for further assistance and guidance.
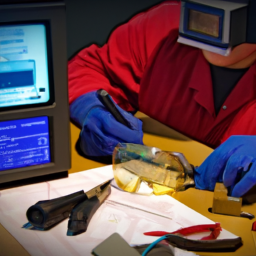
Contact Technical Support if Issues Persist
If problems continue to persist, reach out to technical support for further assistance and guidance on resolving the issues with your laser cutter. Troubleshooting common laser cutter software errors is often a complex process that requires technical expertise.
Technical support can help you diagnose and resolve these issues by providing step-by-step instructions or remotely accessing your laser cutter’s software. They can also assist with troubleshooting laser tube issues and replacements, which are critical components of the machine. Laser tubes can degrade over time or become damaged, leading to decreased cutting power or inconsistent results.
Technical support can guide you through the process of checking and replacing laser tubes, ensuring that your laser cutter operates at its optimal performance.
By contacting technical support, you can benefit from their knowledge and experience in laser cutter troubleshooting, saving you time and frustration.
Frequently Asked Questions
How do I properly clean the laser lens without causing any damage?
To properly clean the laser lens without causing any damage, follow these precautions for laser cutter maintenance.
Start by turning off the laser cutter and disconnecting the power supply. Then, carefully remove the lens cover.
Use a lint-free cloth or lens cleaning paper to gently wipe the lens in a circular motion. Avoid using any solvents or abrasive materials.
Once clean, reassemble the lens cover and ensure it’s securely in place before turning on the power supply again.
What are some common signs of worn parts in a laser cutter?
To properly maintain your laser cutter, it’s crucial to be aware of signs of wear in its parts. Common indications include inconsistent cutting or engraving quality, unusual noise or vibration during operation, frequent error messages, and decreased overall performance.
These signs can be caused by worn belts, bearings, lenses, mirrors, or other components. Regularly inspecting and replacing worn parts is essential for optimal laser cutter performance and longevity.
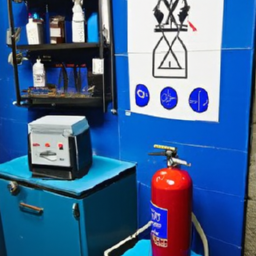
Are there any specific safety precautions I should take when checking power and connections?
When checking power and connections on a laser cutter, it’s crucial to prioritize safety precautions.
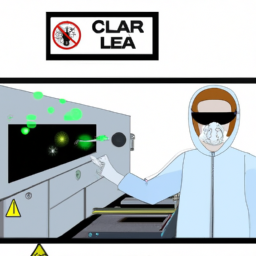
First, ensure the machine is powered off and unplugged before inspecting any electrical components. Use appropriate personal protective equipment, such as safety glasses and gloves, to avoid injury.
Inspect the power cord for any signs of damage or fraying.
When checking connections, ensure they’re secure and free from debris or corrosion.
Additionally, follow laser lens cleaning techniques to maintain optimal performance and avoid potential hazards.
Can you provide a step-by-step guide on how to calibrate the laser alignment?
To calibrate the laser alignment, start by ensuring the laser lens is clean and free of debris. Use a lint-free cloth and isopropyl alcohol to gently clean the lens.
Next, adjust the beam alignment using the laser’s built-in calibration tools. This may involve rotating mirrors or adjusting the laser’s position. Take precise measurements and make small adjustments until the laser beam is aligned properly.
Regular laser lens maintenance is crucial for accurate calibration and optimal performance.
What are some troubleshooting tips for issues related to software or computer connectivity with the laser cutter?
If you’re grappling with software issues or computer connectivity while operating the laser cutter, fret not! Here are some troubleshooting tips to get you back on track.
Firstly, ensure that the software is up-to-date and compatible with your computer’s operating system. Check all cables and connections for any loose or damaged components.
Restart both the computer and the laser cutter.
If the problem persists, consult the user manual or contact technical support for further assistance.
Conclusion
In conclusion, troubleshooting your laser cutter can be a bit of a challenge, but by following these 9 steps, you’ll be able to overcome any obstacles that come your way.
Remember to check your power and connections, clean the laser lens, and calibrate the laser alignment.
Additionally, adjusting the cutting speed and power settings, as well as checking and replacing worn parts, can greatly improve the performance of your laser cutter.
And if you still encounter any difficulties, don’t hesitate to reach out to technical support for further assistance. Happy laser cutting!