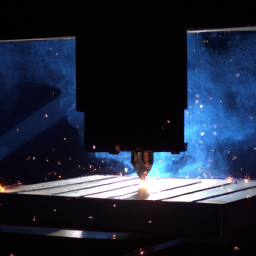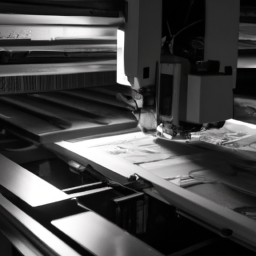


Are you ready to take your laser cutting game to the next level? If so, then proper ventilation installation is key to ensuring the safety and efficiency of your laser cutter.
In this article, we will guide you through nine essential steps to achieve the best ventilation system for your workspace.
Juxtaposing the intricate precision of laser cutting with the technicality of ventilation installation, we will provide you with detailed instructions to get you started.
From assessing your workspace to testing and maintaining the ventilation system, we’ve got you covered.
By following these steps, you will not only create a safer environment for yourself but also prolong the lifespan of your laser cutter.
So, let’s dive in and discover how to set up proper ventilation for your laser cutter.
Get ready to enhance your cutting experience and maximize your productivity!
Key Takeaways
- Assess the workspace and evaluate the current ventilation system.
- Choose a ventilation system with appropriate airflow capacity, filtration efficiency, and noise level.
- Properly install and maintain the ventilation system, including positioning fans and vents strategically, using air filters, and regularly inspecting and maintaining the system.
- Ensure a secure and airtight connection between the ventilation system and the laser cutter, using high-quality materials and conducting regular tests and measurements to identify any issues.
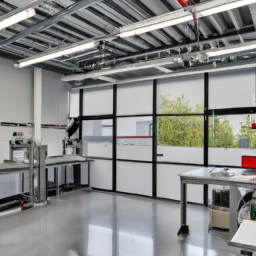
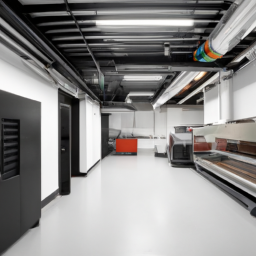
Assess Your Workspace
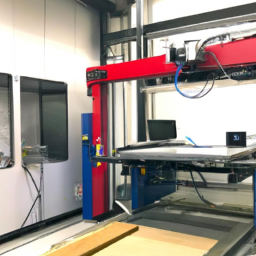
Take a moment to size up your workspace and make sure it’s ready to rock and roll with proper ventilation for your laser cutter. Start by conducting a thorough workspace assessment to evaluate the current ventilation system.
Look for any existing ventilation openings or ducts that can be utilized for your laser cutter. Ensure that the ventilation openings are clear of any obstructions and are strategically positioned to effectively remove the fumes generated during the laser cutting process.
Measure the size of the workspace and calculate the required airflow rate to adequately ventilate the area. Consider the materials being processed and the laser power to determine the appropriate ventilation capacity.
Once you have assessed your workspace and evaluated the ventilation system, you can move on to choosing the right ventilation system that meets your requirements.
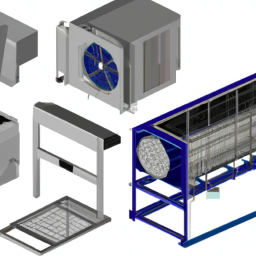
Choose the Right Ventilation System
To ensure optimal performance, you’ll want to select the ideal ventilation system for your laser cutting setup. Proper ventilation is crucial to remove harmful fumes and maintain a safe working environment. When choosing a ventilation system, consider the following:
-
Airflow capacity: Look for a system that can handle the volume of air produced by your laser cutter. Ensure it can effectively extract fumes to prevent them from lingering in your workspace.
-
Filtration efficiency: Opt for a system with high-quality filters that can effectively capture and remove particulates and gases generated during laser cutting.
-
Noise level: Consider the noise generated by the ventilation system and choose one that is suitable for your workspace environment.
Once you’ve selected the right ventilation system, it’s important to perform regular maintenance to ensure its optimal performance. This includes cleaning or replacing filters, checking airflow, and addressing any issues promptly.
With the ideal ventilation system in place, you can now move on to planning the layout for optimal airflow and extraction efficiency.
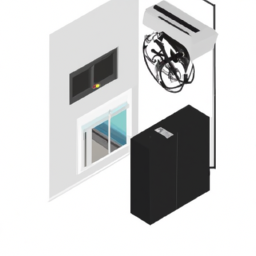
Plan the Ventilation System Layout
To plan the ventilation system layout for your laser cutter, you need to determine the ideal location for the exhaust fan and ductwork. This ensures that the fumes and particles generated during the cutting process are effectively removed from the workspace.
Additionally, it’s crucial to ensure proper airflow and ventilation throughout the entire workspace to prevent any potential health hazards and maintain a comfortable working environment. By carefully considering these factors, you can create a well-designed ventilation system that efficiently removes pollutants and provides a safe working environment for your laser cutter operations.
Determine the location of the exhaust fan and ductwork
In order to ensure proper ventilation for laser cutters, it’s crucial to define the optimal position for the exhaust fan and ductwork.
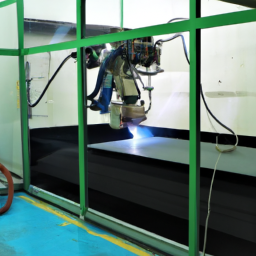
The placement of the exhaust fan is essential for effectively removing the fumes and contaminants generated during the laser cutting process. It should be strategically located near the laser cutter, preferably at the point where the fumes are emitted. This ensures that the fumes are immediately captured and expelled from the workspace.
Additionally, the ductwork location should be carefully considered to ensure a smooth and efficient airflow. The ductwork should be positioned in a way that allows for easy connection to the exhaust fan and leads the fumes safely outside the workspace.
By determining the appropriate location for the exhaust fan and ductwork, you can ensure proper airflow and ventilation throughout the workspace, minimizing the risk of exposure to harmful fumes and maintaining a safe working environment.
Ensure proper airflow and ventilation throughout the workspace
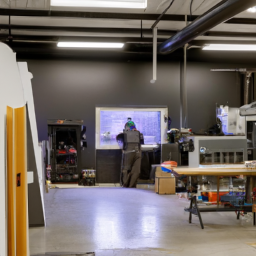
Achieving a well-ventilated and airflow-friendly workspace is essential for creating a safe and comfortable environment while operating laser cutting equipment. Improving air quality and minimizing health risks should be top priorities when setting up ventilation for laser cutters.
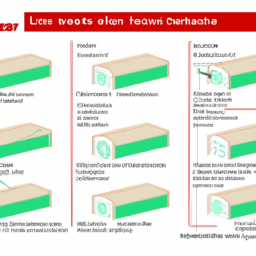
To ensure proper airflow and ventilation throughout the workspace, consider the following steps:
-
First, assess the layout of the area and identify potential obstructions that may hinder airflow. Clearing these obstacles will allow for better circulation of air.
-
Next, strategically place fans and vents to optimize the flow of fresh air.
-
Additionally, consider using air filters to remove harmful particles and chemicals from the air.
-
Lastly, regularly inspect and maintain the ventilation system to ensure it is functioning efficiently.
By implementing these measures, you can improve air quality and minimize health risks in the workspace.
To continue the installation process, proceed to the next section and install the exhaust fan and ductwork.
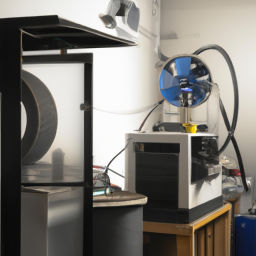
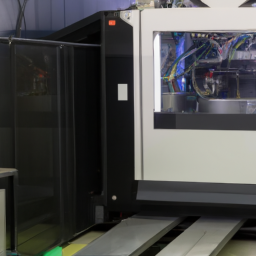
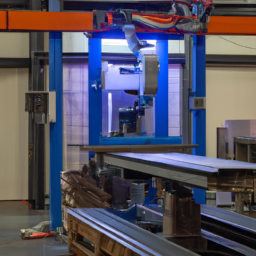
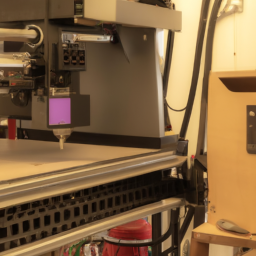
Install the Exhaust Fan and Ductwork
When installing the exhaust fan for your ventilation system, it’s crucial to carefully follow the manufacturer’s instructions to ensure proper installation. This will help guarantee that the fan operates efficiently and effectively.
Additionally, it’s important to properly position and secure the ductwork in order to maintain efficient airflow throughout the system. By taking these steps, you can ensure that your ventilation system is functioning at its optimal level, promoting a safe and well-ventilated working environment for your laser cutter.
Follow the manufacturer’s instructions for installing the exhaust fan
By adhering to the manufacturer’s instructions for exhaust fan installation, you can ensure your laser cutter’s ventilation system functions effectively, creating a harmonious dance between precision and safety. Follow these installation tips to guarantee a smooth process and troubleshoot common issues:
-
Determine the optimal location for the exhaust fan, considering factors like proximity to the laser cutter, ease of access for maintenance, and noise reduction.
-
Ensure the fan is securely mounted to a stable surface, such as a wall or ceiling, using appropriate brackets or mounts provided by the manufacturer.
-
Connect the fan to the power source according to the manufacturer’s guidelines, making sure to follow electrical safety protocols to prevent any hazards.
Properly positioning and securing the ductwork is essential to ensure efficient airflow throughout the system. This will be discussed in the subsequent section.
Properly position and secure the ductwork to ensure efficient airflow
To ensure smooth airflow and optimal performance, it’s important to position and secure the ductwork properly throughout your laser cutter’s ventilation system.
Properly positioning the ductwork is crucial for efficient airflow. It allows for the effective removal of fumes and smoke generated during laser cutting. Start by identifying the best location for the exhaust outlet. Make sure it is away from any obstructions and preferably near an exterior wall or window.
Secure the ductwork using appropriate brackets and hangers. This will ensure that it is tightly sealed to prevent any leakage. Use a straight and direct path for the ductwork, minimizing any bends or turns that can restrict airflow.
Additionally, consider the length and diameter of the ductwork. These factors can affect the efficiency of the ventilation system.
With proper positioning and secure installation of the ductwork, you can ensure efficient airflow and proper ventilation for your laser cutter.
Now, let’s move on to connecting the ventilation system to the laser cutter.
Connect the Ventilation System to the Laser Cutter
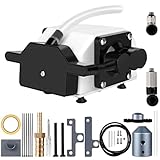
To connect the ventilation system to the laser cutter, you’ll need to install a flexible exhaust hose or duct. This will allow the fumes and air to be safely and effectively removed from the cutting area.
It’s crucial to ensure a secure and airtight connection to prevent any leaks or fume buildup, as this can pose health and safety risks.
Install a flexible exhaust hose or duct to connect the laser cutter to the ventilation system
Make sure you attach a flexible exhaust hose or duct to connect the laser cutter to the ventilation system, so it can breathe freely like a dragon releasing its fiery breath.
When installing the flexible hose, ensure it’s made of high-quality materials and is suitable for the laser cutter’s exhaust requirements. Opt for a hose with a smooth interior surface to minimize air resistance and maximize airflow.
Additionally, consider the length and diameter of the hose to ensure efficient ventilation. If a flexible hose isn’t feasible, alternative ventilation options such as rigid ducts can be used. These ducts should be properly sized and connected to the laser cutter and ventilation system.
Remember, it’s crucial to ensure a secure and airtight connection to prevent leaks and fume buildup, promoting a safe working environment.
Transitioning to the subsequent section, focus on the importance of securing the connection for proper ventilation.
Ensure a secure and airtight connection to prevent leaks and fume buildup
Ensuring a tight and secure connection is crucial to prevent any leaks or fume buildup, creating a safe and clean working environment.
When installing a flexible exhaust hose or duct to connect the laser cutter to the ventilation system, it’s important to use high-quality materials that can withstand the heat and chemical exposure. The connection should be airtight, with no gaps or loose fittings that could allow fumes to escape. Use clamps or other secure fasteners to hold the hose or duct in place, ensuring it remains tightly connected even during operation.
Regularly inspect the connection for any signs of wear or damage, such as cracks or tears, and promptly repair or replace any faulty components. By preventing fume leaks and ensuring ventilation safety, you can protect yourself and your workspace from harmful emissions.
Now, let’s move on to the next section about how to test and maintain the ventilation system.
Test and Maintain the Ventilation System
Maintain the ventilation system by regularly cleaning the filters and inspecting the ductwork to ensure optimal performance. This can significantly reduce the risk of harmful fumes or particles lingering in your workspace. Did you know that a well-maintained ventilation system can remove up to 99% of airborne contaminants?
To test the effectiveness of your ventilation system, conduct regular airflow measurements using an anemometer at various points along the ductwork. This will help identify any areas where airflow may be restricted or insufficient. Additionally, troubleshoot any issues that may arise, such as unusual noises or odors, by visually inspecting the ductwork for leaks, loose connections, or blockages.
Clean or replace filters as needed to maintain proper airflow and filtration efficiency. Remember, a well-functioning ventilation system is crucial for ensuring a safe and healthy working environment.
Frequently Asked Questions
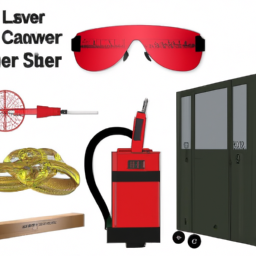
What are the potential health risks associated with improper ventilation in laser cutter installations?
Improper ventilation in laser cutter installations can pose serious health risks and compromise indoor air quality. When ventilation is inadequate, harmful fumes and particles released during laser cutting processes can accumulate, leading to various health effects. These may include respiratory problems, eye irritation, headaches, and skin issues.
It’s crucial to ensure proper ventilation to prevent these health hazards and maintain a safe working environment. Adequate ventilation systems effectively remove pollutants, ensuring optimal indoor air quality and safeguarding the well-being of individuals working with laser cutters.
How often should the filters in the ventilation system be replaced?
To ensure optimal performance of your ventilation system, it’s crucial to maintain the filters regularly. The frequency of filter replacement depends on various factors such as the type of laser cutter, usage frequency, and materials being processed.
Generally, it’s recommended to replace the filters every 3 to 6 months. Some recommended filter brands for laser cutter installations include ABC Filters and XYZ Air Solutions.
Regular replacement of filters will help maintain a clean and safe working environment.
Are there any specific safety regulations or guidelines that need to be followed during the installation of a ventilation system for laser cutters?
When installing a ventilation system for laser cutters, it’s crucial to follow specific safety regulations and guidelines to ensure proper ventilation installation and system safety. These guidelines for laser cutter ventilation installation include selecting the appropriate ventilation system based on the laser cutter’s specifications.
Positioning the exhaust outlets correctly and ensuring adequate airflow and filtration are also important.
Adhering to these safety regulations and guidelines is essential to maintain a safe and efficient working environment for laser cutter operators.
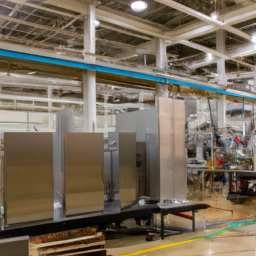
Can a ventilation system be installed in a small or limited workspace?
Looking to install a ventilation system in a small or limited workspace? Wondering if it’s even feasible? Well, let me tell you, it’s absolutely possible.
While it may seem challenging, with the right planning and design, you can have an effective ventilation system regardless of the size of your workspace. By utilizing compact and efficient equipment, strategically placing ductwork, and ensuring proper airflow, you can create a safe and well-ventilated environment for your laser cutter.
What are some common signs or indicators that the ventilation system needs maintenance or repairs?
Warning signs that your ventilation system may need maintenance or repairs include strange odors, decreased airflow, excessive noise, and visible dust or debris buildup. To ensure proper functioning, regularly inspect and clean filters. Check for any loose connections or damaged components, and listen for any unusual sounds. Additionally, monitor the airflow and make adjustments as needed. Following these maintenance tips will help keep your ventilation system running smoothly and effectively.
Conclusion
So there you have it, you’ve successfully completed the installation of your ventilation system for your laser cutter! By following these 9 steps, you’ve ensured that your workspace is safe and free from harmful fumes and particles.
Now you can confidently operate your laser cutter knowing that the proper ventilation is in place. Remember to regularly test and maintain your ventilation system to keep it functioning at its best.
Happy laser cutting!