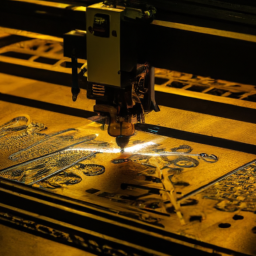
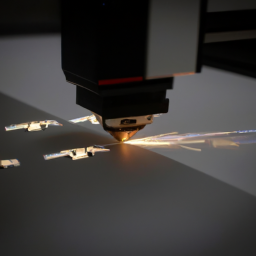
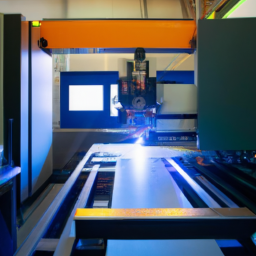
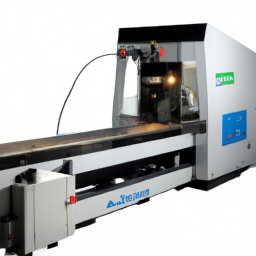
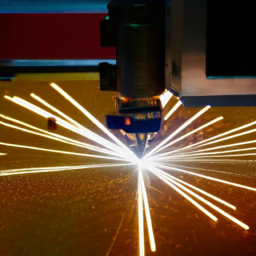
When it comes to using your CO2 laser cutter, you may think you’ve mastered all the basics. But what if there were advanced techniques that could take your creations to a whole new level? Well, there is!
In this article, we will explore five advanced techniques that will unlock the full potential of your CO2 laser cutter.
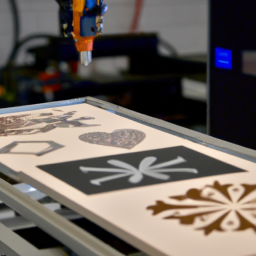
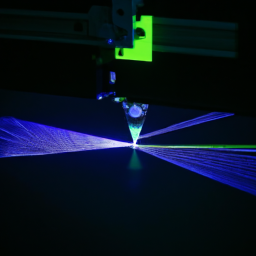
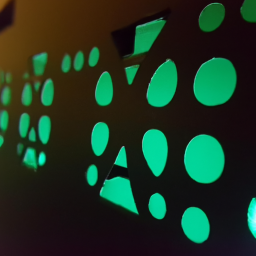
First, we delve into mastering engraving techniques. With precise control and attention to detail, you can create intricate designs that will leave a lasting impression.
Next, we explore the world of 3D designs. By utilizing the power of your CO2 laser cutter, you can bring your creations to life in three dimensions, adding depth and complexity to your work.
But our exploration doesn’t stop there. We also delve into the art of etching and marking metal, revealing the secrets to achieving professional results on a variety of metals.
Furthermore, we uncover the versatility of working with acrylic and other materials, showcasing techniques that will elevate your projects to new heights.
Lastly, we discuss incorporating mixed media into your designs, allowing you to combine different materials and textures for truly unique and captivating creations.
So, get ready to take your CO2 laser cutter skills to the next level with these five advanced techniques. Let’s dive in and unlock your full creative potential!
Key Takeaways
- Proper calibration of the laser cutter is crucial for optimal engraving results.
- Experimenting with different engraving depths can add depth and dimension to designs.
- 3D designs can be created using 3D printing techniques and advanced modeling software.
- Different materials may require different laser settings and techniques.
Mastering Engraving Techniques
Are you ready to take your laser engraving skills to the next level? In order to achieve advanced shading techniques and precision depth control, there are a few key factors to consider.
First, ensure that your CO2 laser cutter is properly calibrated for optimal engraving results. Adjust the power and speed settings accordingly to achieve the desired shade variations.
Additionally, experiment with different engraving depths to create a sense of depth and dimension in your designs. By adjusting the focal point of the laser, you can control the depth of the engraving with precision.
Once you’ve mastered these advanced techniques, you’ll be ready to move on to creating 3D designs using your CO2 laser cutter.
Creating 3D Designs
Get ready to dive into the exciting world of 3D design with your CO2 laser cutter as you unleash your creativity and bring your ideas to life.
To create stunning 3D designs, you’ll need to master the art of 3D printing techniques and utilize advanced 3D modeling software. Here are some key techniques to consider:
-
Incorporate intricate details: Use the precise control of your CO2 laser cutter to add intricate details to your 3D designs, making them visually stunning.
-
Experiment with different materials: Explore the possibilities by using various materials such as wood, acrylic, or even leather to enhance the texture and depth of your 3D designs.
-
Optimize slicing and layering: Ensure smooth and accurate 3D printing by optimizing slicing and layering techniques, guaranteeing precise alignment and minimal errors.
-
Fine-tune settings: Adjust laser power, speed, and focus to achieve the desired level of detail and quality in your 3D designs.
Now, let’s transition to the next section about etching and marking metal, where you’ll discover new techniques to expand your CO2 laser cutting capabilities.
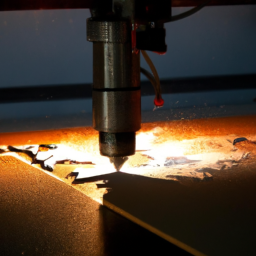
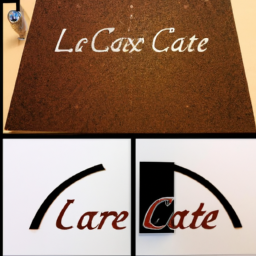
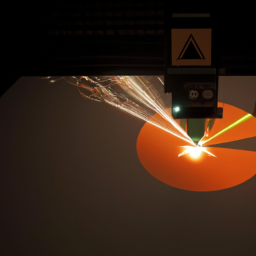
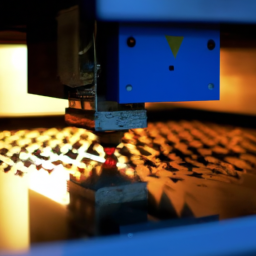
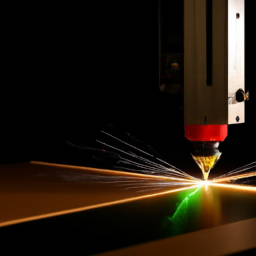
Etching and Marking Metal
Discover the incredible world of etching and marking metal with your CO2 laser cutter. You’ll uncover new ways to add personalized and professional touches to your metal creations.
Metal etching offers a precise and permanent solution for engraving designs, logos, or text onto various metal surfaces. The high-powered laser beam interacts with the metal, vaporizing its surface layer and creating a permanent mark.
Laser marking, on the other hand, involves changing the color or texture of the metal without removing any material. This technique is often used for creating barcodes, serial numbers, or other identification marks on metal parts.
To achieve the best results, ensure that the metal surface is clean and free of any contaminants.
Now, let’s transition into the subsequent section about working with acrylic and other materials. Here, you’ll learn about the versatility of your CO2 laser cutter.
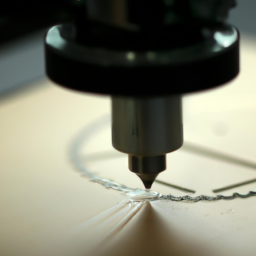
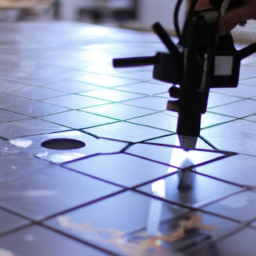
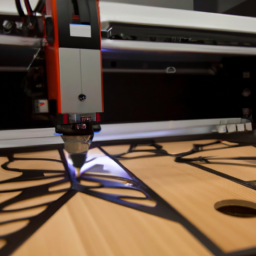
Working with Acrylic and Other Materials
When working with acrylic, it’s important to cut and engrave it properly in order to achieve clean and polished results.
To ensure this, you should carefully adjust the laser power and speed settings to prevent any burning or melting of the material.
Additionally, it’s worth exploring other materials and their unique laser cutting properties. Different materials may require different laser settings and techniques to achieve optimal results.
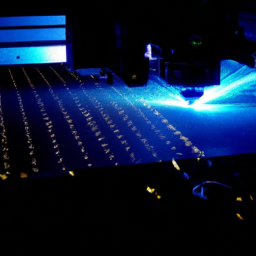
Cutting and engraving acrylic for clean and polished results
Achieve clean and polished results by using your CO2 laser cutter to cut and engrave acrylic, creating stunning designs with minimal effort.
When cutting acrylic, it’s important to use the correct power and speed settings to ensure a clean cut. You can experiment with different settings to find the optimal combination for your specific machine and acrylic thickness.
After cutting, you may notice some rough edges or discoloration. To polish the edges, you can use flame polishing or sanding techniques.
Troubleshooting common acrylic cutting issues such as melting or charring can be done by adjusting the cutting speed and using a lower power setting. Alternatively, you can also use masking tape or a protective film to minimize any potential damage to the surface.
By mastering these techniques, you can achieve professional-looking results.
Moving forward, let’s explore other materials and their unique laser cutting properties.
Exploring other materials and their unique laser cutting properties
SENTENCE:
Explore the fascinating world of different materials and unleash the unique cutting properties of your laser cutter!
| Material | Cutting Techniques | Benefits |
|---|---|---|
| Leather | Use a low-power setting to avoid scorching and achieve clean cuts. Apply masking tape to prevent burn marks. Experiment with etching and engraving to add intricate details and textures. | Durable, versatile, and ideal for creating custom accessories, garments, and artwork. |
| Ceramics and Pottery | Use a high-power setting to cut through the material. Consider using a water jet attachment to minimize heat and prevent cracks. Experiment with different speeds and power levels to achieve desired results. | Allows for precise and intricate designs on delicate ceramic surfaces. Perfect for creating unique pottery pieces and decorative items. |
| [Material 3] | [Technique 3] | [Benefit 3] |
Discover the endless possibilities of laser cutting various materials, from leather to ceramics and pottery. Once you’ve mastered these techniques, you can move on to incorporating mixed media seamlessly into your laser-cut creations.
Incorporating Mixed Media
When incorporating mixed media into your laser-cut designs, you can create visually stunning pieces by combining laser-cut components with other materials and techniques.
To achieve this, consider using materials such as wood, acrylic, fabric, or metal alongside your laser-cut components. Experiment with different textures, colors, and shapes to create a dynamic and visually appealing composition.
Additionally, utilize techniques such as painting, staining, or engraving to add depth and dimension to your mixed media designs.
Combining laser-cut components with other materials and techniques
To take your laser-cut components to the next level, try incorporating them into a larger project using various materials and techniques.
For example, you can combine laser-cut wood with woodworking techniques to create intricate and detailed designs. By integrating laser-cut components into textile designs, you can add a touch of modernity and precision to traditional fabric creations.
The possibilities are endless when it comes to combining laser-cut components with other materials and techniques. You can experiment with mixing laser-cut metal with glasswork or laser-cut acrylic with resin casting. These combinations allow you to create visually stunning mixed media designs that showcase the versatility of your CO2 laser cutter.
By pushing the boundaries of your creativity and exploring different materials and techniques, you can create one-of-a-kind masterpieces that leave a lasting impression.
Tips for creating visually stunning mixed media designs
Now that you’ve learned how to combine laser-cut components with other materials and techniques, let’s delve into the world of creating visually stunning mixed media designs using your CO2 laser cutter.
One of the most effective ways to achieve this is by creating layered designs. By cutting multiple layers of different materials and stacking them together, you can add depth and dimension to your artwork. This technique allows you to play with different textures, colors, and opacities, resulting in a visually striking piece.
Additionally, laser cutting can be a valuable tool in paper art. With its precision and versatility, you can create intricate and delicate designs that would be challenging to achieve by hand. From paper sculptures to pop-up cards, the possibilities are endless.
Now, let’s explore some advanced software and design tips to further enhance your laser cutting skills.
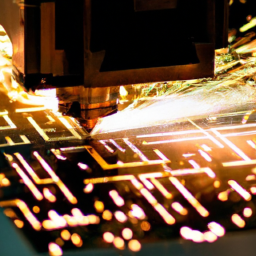
Advanced Software and Design Tips
By employing advanced software and design techniques, you can unleash the full potential of your CO2 laser cutter, transforming your ideas into intricate and mesmerizing creations.
When it comes to advanced file preparation, it’s crucial to use vector-based software such as Adobe Illustrator or CorelDRAW to design your artwork. These programs allow you to create precise and scalable designs that can be easily converted into cutting paths.
Additionally, optimizing cutting speed is essential to maximize efficiency and minimize production time. To achieve this, you can adjust the power and speed settings in your software, ensuring that the laser cutter cuts through the material smoothly and efficiently.
Experimenting with different settings and conducting test cuts will help you find the perfect balance between speed and quality for your specific project.
Frequently Asked Questions
Can a CO2 laser cutter be used to cut through thick metal materials?
No, a CO2 laser cutter can’t be used to cut through thick metal materials. The CO2 laser cutter is primarily designed for cutting and engraving non-metallic materials such as wood, acrylic, and leather. It operates by emitting a high-powered laser beam that vaporizes the material it comes into contact with. However, when it comes to thick metal materials, a CO2 laser cutter lacks the necessary power and precision. In industries, CO2 laser cutters find applications in various fields like signage, packaging, and textile.
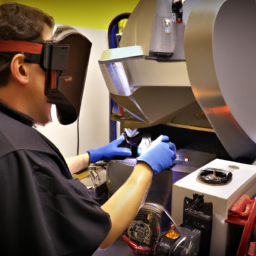
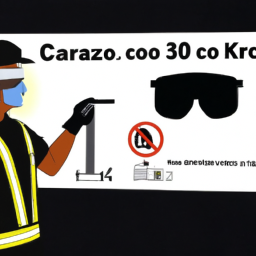
What are some safety precautions to keep in mind when operating a CO2 laser cutter?
When operating a CO2 laser cutter, it’s crucial to follow safety precautions and implement proper safety measures. First, always wear appropriate personal protective equipment, such as safety glasses and gloves.
Ensure the work area is well-ventilated to prevent inhalation of fumes. Keep a fire extinguisher nearby and never leave the machine unattended while in operation.
Regularly inspect and maintain the cutter to ensure optimal functioning. Lastly, thoroughly read and understand the user manual for specific safety guidelines.
Are there any limitations or restrictions on the types of materials that can be used with a CO2 laser cutter?
There are indeed limitations and restrictions on the types of materials that can be used with a CO2 laser cutter. The compatibility of materials depends on their ability to absorb the laser’s wavelength.
Suitable materials include wood, acrylic, leather, and certain plastics. However, non-compatible materials such as PVC or metals can cause damage to the machine or release toxic fumes. In such cases, alternative options like fiber laser cutters or waterjet cutters should be considered.
Can a CO2 laser cutter be used for both hobbyist and professional applications?
Yes, a CO2 laser cutter can be used for both hobbyist and professional applications. Hobbyists can take advantage of its versatility and affordability to create intricate designs on various materials.
Professionals, on the other hand, benefit from its precision and speed, allowing for efficient production of high-quality products. However, there are some disadvantages. Hobbyists may need to invest time in learning the software and proper operation, while professionals may require a larger, more expensive machine for industrial-scale projects.
How long does it typically take to complete a project using a CO2 laser cutter?
On average, it takes around 1-3 hours to complete a project using a CO2 laser cutter. However, the actual time can vary depending on several factors.
The complexity of the design, the material being used, and the power and speed settings of the laser cutter all play a role in determining the project time. Additionally, factors like prepping the material, adjusting the machine, and cleaning up afterwards should also be considered.
Conclusion
In conclusion, by implementing these advanced techniques, you can truly harness the full potential of your CO2 laser cutter.
From mastering engraving techniques to creating intricate 3D designs, the possibilities are endless.
With the ability to etch and mark metal, work with acrylic and other materials, and even incorporate mixed media, your projects will reach new levels of precision and sophistication.
Remember, "practice makes perfect," so don’t be afraid to experiment and push the boundaries of what your laser cutter can do.
Happy creating!