Are you a beginner looking to dive into the world of laser cutting for acrylic designs? Look no further! This ultimate guide is here to equip you with all the knowledge and skills you need to create stunning acrylic designs with laser cutting technology.
Have you ever wondered how laser cutting works and how to choose the right acrylic material for your project? We’ll walk you through the ins and outs of laser cutting technology, from understanding the process to selecting the perfect acrylic material.
But it doesn’t stop there. We’ll also show you how to prepare your design for laser cutting, set up your laser cutter, and execute the cutting process flawlessly.
And let’s not forget about the finishing touches. We’ll guide you through the steps to polish and refine your acrylic design, ensuring a professional and polished final product.
Whether you’re a hobbyist or aspiring designer, this guide is designed to empower beginners like you to unleash your creativity and achieve remarkable results with laser cutting for acrylic designs. Let’s get started on your journey to becoming a laser cutting pro!
Key Takeaways
- Laser cutting technology allows for precise cuts and intricate details, reducing the risk of material damage.
- Acrylic thickness and colors impact the durability, stability, and overall aesthetic of the design.
- Design preparation should include using vector format, accurate measurements, and checking for overlapping or intersecting lines.
- Laser cutter setup and maintenance are important for secure positioning of acrylic material, troubleshooting errors, and optimizing cutting settings.
Understanding Laser Cutting Technology
Laser cutting technology may seem like a futuristic concept, but it’s actually a game-changing tool for creating intricate acrylic designs with precision and ease.
Laser cutting has a wide range of applications, from industrial manufacturing to artistic creations. The benefits of laser cutting for acrylic designs are numerous.
Firstly, it allows for incredibly precise cuts, ensuring clean edges and intricate details. Secondly, laser cutting is a non-contact process, meaning there’s no physical force or pressure applied to the material, reducing the risk of damage.
Additionally, laser cutting is highly versatile, capable of cutting complex shapes and designs with ease. It also offers a high level of repeatability, ensuring consistent results.
Understanding laser cutting technology is crucial when it comes to choosing the right acrylic material for your designs.
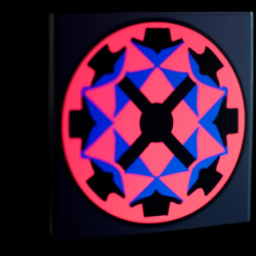
Choosing the Right Acrylic Material
When choosing the right acrylic material for your project, you’ll want to consider the thickness and transparency levels, ensuring they meet your specific needs.
Did you know that acrylic comes in a variety of colors, with clear being the most popular choice for laser cutting projects?
Here are three key factors to consider when selecting your acrylic material:
-
Acrylic Thickness: The thickness of the acrylic sheet will determine the durability and stability of your final design. Thicker acrylic sheets are more rigid and suitable for larger or structurally demanding projects, while thinner sheets are ideal for intricate designs or applications requiring flexibility.
-
Acrylic Colors: The color of the acrylic can greatly impact the overall aesthetic of your design. Whether you prefer vibrant hues or a sleek, transparent look, there are a plethora of acrylic color options available to suit your creative vision.
-
Transparency Levels: Depending on the desired effect, you can choose between transparent, translucent, or opaque acrylic materials. Transparent acrylic will allow light to pass through, while translucent acrylic will diffuse light, and opaque acrylic will block light completely.
Now that you understand how to choose the right acrylic material, let’s move on to preparing your design for laser cutting.
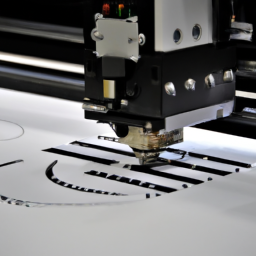
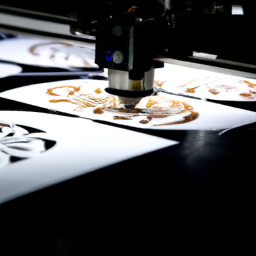
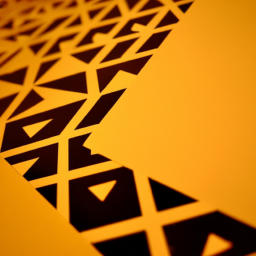
Preparing Your Design for Laser Cutting
Once you’ve selected your acrylic material, it’s time to prepare your design for laser cutting. Before you begin, there are a few design considerations to keep in mind.
First, ensure that your design is in a vector format, such as Adobe Illustrator or CorelDRAW, as these programs allow for precise cutting paths.
Next, double-check that all the dimensions and measurements in your design are accurate and to scale. This will ensure that your final product is exactly as you envisioned.
Troubleshooting tips include checking for any overlapping or intersecting lines, as these can cause issues during the cutting process.
Additionally, be mindful of any intricate details or small cuts in your design, as they may require slower cutting speeds to achieve the desired result.
Once you have considered these design elements, you can move on to setting up your laser cutter.
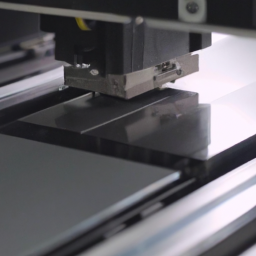
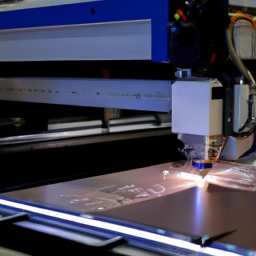
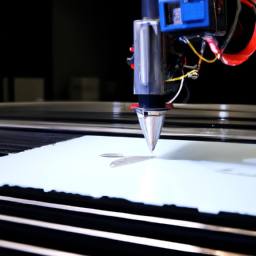
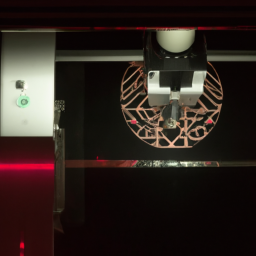
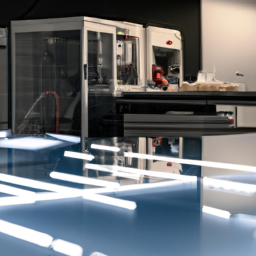
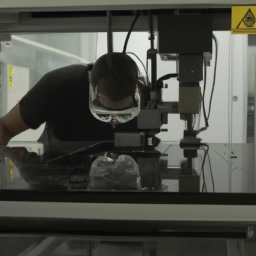
Setting Up Your Laser Cutter
To set up your laser cutter, you’ll want to carefully position the acrylic material on the cutting bed, making sure it’s secure and aligned with the cutting guides, as if you’re placing a delicate jewel on a velvet cushion.
This step is crucial to ensure precise and accurate laser cutting.
Before starting, it’s important to perform laser cutter maintenance by checking the machine for any loose parts or debris that may affect its performance.
Additionally, troubleshooting laser cutting errors is essential to avoid any potential issues during the process. Familiarize yourself with error codes and consult the user manual for guidance.
Once your laser cutter is properly set up and maintained, you can move on to the next section and execute the laser cutting process seamlessly.
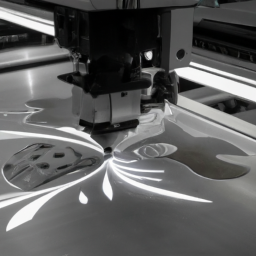
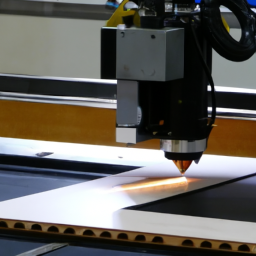
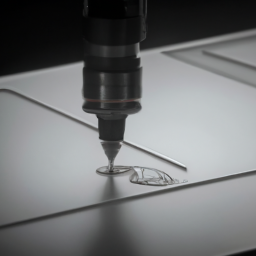
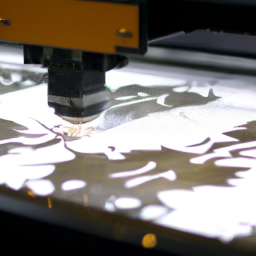
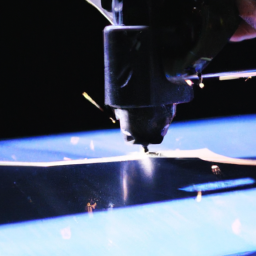
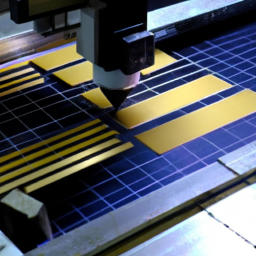
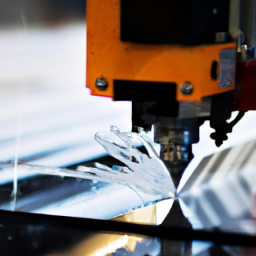
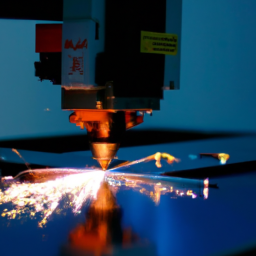
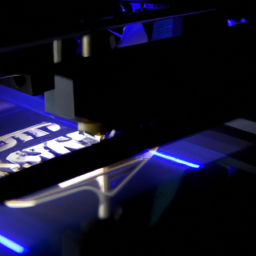
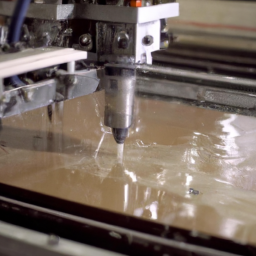
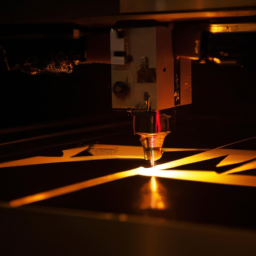
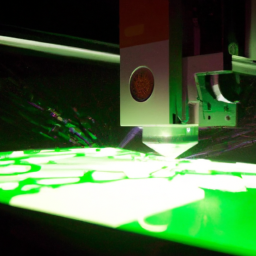
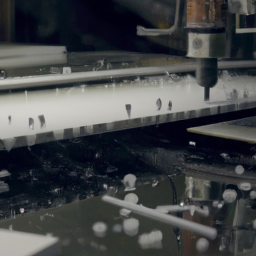
Executing the Laser Cutting Process
Now that your laser cutter is properly set up and maintained, it’s time to dive into the exciting world of executing the laser cutting process.
Before you start cutting, it’s important to troubleshoot any potential issues that may arise. Check for proper ventilation, ensure the laser beam is aligned correctly, and inspect the acrylic sheet for any debris or imperfections.
Once everything is in order, it’s time to optimize your laser cutting settings. Adjust the power, speed, and focus to achieve the desired cut quality. Test a small section of your design before proceeding to the full cut to ensure accuracy.
Remember to always prioritize safety and wear protective gear.
Once you have successfully executed the laser cutting process, you can move on to the next section about finishing and polishing your acrylic design, where you will learn how to add those final touches for a professional and polished result.
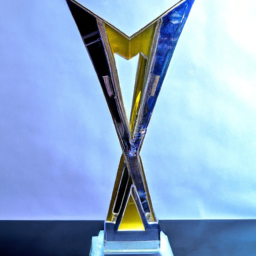
Finishing and Polishing Your Acrylic Design
After successfully executing the laser cutting process, it’s time to put the finishing touches on your acrylic design and polish it to perfection, adding that extra sparkle and shine that’ll make your creation truly stand out.
To remove scratches from your acrylic design, start by sanding the scratched area with fine-grit sandpaper in a circular motion. Gradually move to finer grits until the scratches aren’t visible anymore.
After sanding, use a plastic polish or a polishing compound specifically designed for acrylic to restore the glossy finish. Apply the polish in a circular motion with a soft cloth, and buff until the surface is smooth and shiny.
To add color to your acrylic design, you can either use acrylic paint or apply a colored film to the surface. Acrylic paint can be applied with a brush or sprayed on, allowing you to create intricate designs and gradients. Colored films are available in various shades and can be easily applied by peeling off the backing and sticking it onto the acrylic surface.
Remember to clean and dry your acrylic design thoroughly before applying any paint or film to ensure a smooth and even application.
Frequently Asked Questions
How long does it take to learn how to operate a laser cutter for acrylic designs?
To learn how to operate a laser cutter for acrylic designs, it typically takes a few weeks of dedicated practice. Start by understanding how to choose the right laser cutter for acrylic designs. Research different models, focusing on power, speed, and precision.
Additionally, you can find affordable laser cutting services for acrylic designs from local makerspaces or online platforms. With consistent practice and the right equipment, you’ll become proficient in no time.
Can I use a laser cutter for acrylic designs to cut other materials as well?
Yes, you can use a laser cutter for acrylic designs to cut other materials as well. Laser cutters are versatile machines that can be used on a variety of materials such as wood, paper, fabric, and even metal. The benefits of using laser cutting for acrylic designs include precise and clean cuts, minimal material waste, and the ability to create intricate and complex designs. Laser cutting is an efficient and effective method for creating high-quality designs on various materials.
Is there a specific type of software that I need to use for designing my acrylic pieces?
When it comes to designing acrylic pieces for laser cutting, having the right software is essential. There are several software options available, but one standout choice is Adobe Illustrator. With its precise vector editing tools and compatibility with laser cutting machines, it’s highly recommended for creating intricate acrylic designs.
Its user-friendly interface and extensive library of design resources make it a popular choice among beginners and professionals alike. So, if you’re looking for the perfect software for laser cutting acrylic designs, Adobe Illustrator is definitely worth considering.
Are there any safety precautions I need to take when using a laser cutter for acrylic designs?
When using a laser cutter for acrylic designs, it’s crucial to prioritize safety. Laser cutter maintenance plays a vital role in ensuring safe operation. Regularly clean the machine and inspect it for any damaged or worn-out parts.
Proper ventilation is essential to prevent the accumulation of harmful fumes. Always wear appropriate eye protection to shield your eyes from the intense laser beam.
Following these safety precautions will help minimize the risk of accidents and ensure a safe working environment.
Can I use a laser cutter for acrylic designs to create three-dimensional objects?
Yes, you can use a laser cutter for acrylic designs to create three-dimensional objects. Laser cutting techniques for acrylic designs allow for precise and intricate cuts, enabling you to form complex shapes and structures. By strategically cutting and layering acrylic sheets, you can achieve depth and dimension in your artwork.
This process is commonly used in three-dimensional art with laser cutting, providing artists with the ability to bring their designs to life in a tangible and visually striking manner.
Conclusion
To conclude, laser cutting for acrylic designs is an efficient and precise method that beginners can easily master. By understanding the technology and choosing the appropriate acrylic material, you can create intricate and flawless designs.
Preparing your design and setting up the laser cutter correctly are crucial steps in achieving desired results. Lastly, the finishing touches and polishing will enhance the overall look of your acrylic design.
So, embrace this cutting-edge technology and unleash your creativity in acrylic design.