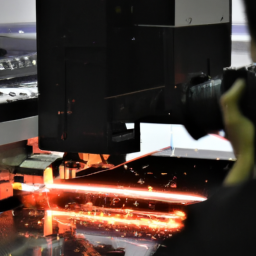
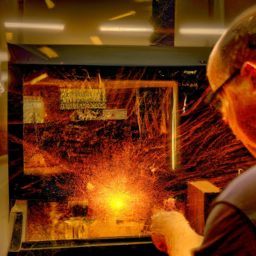
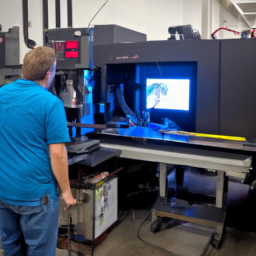
Are you ready to unleash your creativity and bring your artistic visions to life with a laser cutter?
Imagine the laser beam as your artistic brush, etching intricate designs onto various materials with precision and finesse.
However, like any tool, laser cutters can encounter issues that may hinder your engraving projects. But fear not!
In this article, we will provide you with five laser cutter troubleshooting tips to help you overcome these obstacles and ensure smooth and flawless engraving results.
From checking the power and connections to calibrating the laser cutter, we will guide you through the necessary steps to get your laser cutter back on track.
So, grab your safety glasses and let’s dive into the world of laser cutter troubleshooting!
Key Takeaways
- Regularly clean the lens and mirrors for optimal laser cutter performance
- Adjust the focus to achieve precise and detailed cutting or etching
- Check and adjust material settings to avoid damage or inefficiency
- Consult the manual or manufacturer’s guidelines for recommended settings and seek professional assistance if troubleshooting tips don’t work
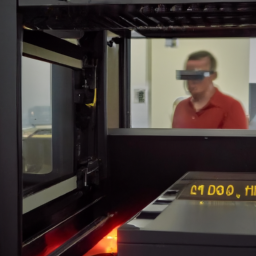
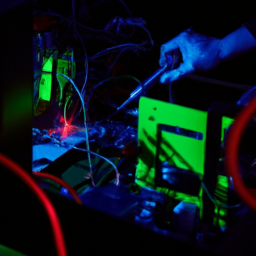
Check the Power and Connections
First, you need to make sure you’ve got enough power and all your connections are secure. Power issues can cause problems with the laser cutter’s performance, so check that your machine is receiving the correct voltage and that the power cord is properly plugged in.
Additionally, inspect the connections between the laser cutter and the computer or controller. Connection problems can result in failed communication and prevent the engraving process from starting. Make sure all cables are securely connected and that there are no loose or damaged wires.
Once you’ve confirmed the power and connections are in order, you can move on to the next step: cleaning the lens and mirrors.
Clean the Lens and Mirrors
To ensure optimal performance, make sure you regularly clean the lens and mirrors in order to achieve the best results for your laser cutting and etching tasks. Cleaning techniques and maintenance tips are vital for keeping your laser cutter in top shape.
Here are some essential cleaning techniques to follow:
| Lens Cleaning | Mirror Cleaning |
|---|---|
| Use a soft, lint-free cloth | Use a lens cleaning solution |
| Gently wipe the lens in a circular motion | Avoid touching the mirror surface |
| Remove any dirt or debris | Clean the mirrors regularly |
| Check for smudges or fingerprints | Ensure the mirrors are aligned properly |
Regularly cleaning the lens and mirrors will help maintain the accuracy and efficiency of your laser cutter. Once you have cleaned the lens and mirrors, you can proceed to the next step of adjusting the focus for your engraving projects.
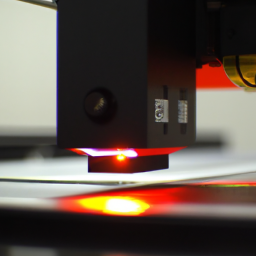
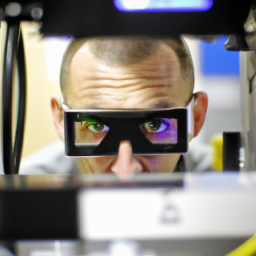
Adjust the Focus
Make sure you adjust the focus by turning the knob until the beam is at its sharpest point, allowing for precise and detailed cutting or etching. Proper focus adjustment is crucial for achieving accuracy in laser cutting and engraving projects.
When the laser beam is not focused correctly, the results can be blurry or inconsistent. Common mistakes to avoid when adjusting the focus on a laser cutter include not checking the material thickness and not taking into account the type of material being used. It’s important to choose the right focal length and adjust the focus accordingly to ensure optimal results.
Once you’ve adjusted the focus, the next step is to check the material settings and make necessary adjustments. This will ensure that the laser cutter is optimized for the specific material you’re working with.
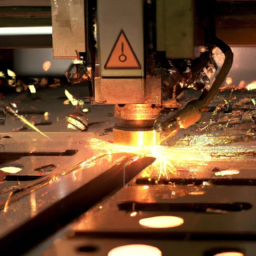
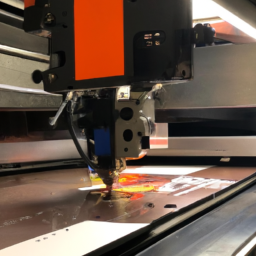
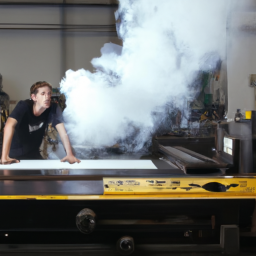
Check the Material Settings
To ensure successful engraving projects, it’s crucial to check the material settings on your laser cutter. Make sure that the laser cutter’s settings are compatible with the material you’re using to avoid any potential damage or inefficiency. Adjust the power, speed, and frequency settings as needed for different materials to achieve the desired results.
Ensure that the laser cutter’s settings are compatible with the material being engraved
Check if the laser cutter’s settings are suitable for the material you’re engraving to avoid any potential damage or ineffective results.
Material compatibility is crucial when using a laser cutter for engraving projects. Different materials require different laser settings, and using the wrong settings can lead to poor engraving quality or even damage to the material.
To ensure proper compatibility, consult the laser cutter’s manual or the manufacturer’s guidelines for recommended settings for each specific material. Troubleshooting techniques, such as test engravings on scrap pieces, can also help determine the optimal settings.
Adjust power, speed, and frequency settings as needed for different materials to achieve the desired engraving results.
Transitioning into the next section, remember to always fine-tune the laser cutter’s settings for each material to achieve the best outcomes.
Adjust power, speed, and frequency settings as needed for different materials
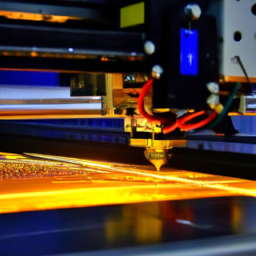
To ensure optimal engraving results, it’s crucial to adjust the power, speed, and frequency settings of the laser cutter according to the material being used. Different materials require different settings to achieve the desired outcome.
For instance, delicate materials like wood or acrylic might require lower power and slower speed to prevent scorching or melting. On the other hand, harder materials like metal may need higher power and faster speed for effective engraving. By fine-tuning these settings, you can troubleshoot any issues that may arise during the engraving process.
Here are two nested bullet point lists to help you understand the power adjustment and troubleshooting techniques:
Power Adjustment:
- Decrease the power for softer materials.
- Increase the power for harder materials.
Troubleshooting Techniques:
- If the engraving appears faint, increase the power slightly.
- If the material is getting burnt or scorched, lower the power or decrease the speed.
Now, let’s move on to the next step and calibrate the laser cutter for optimal performance.
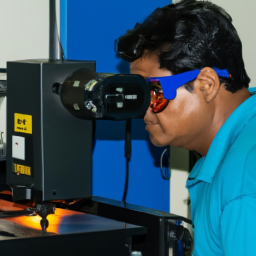
Calibrate the Laser Cutter
Before using the laser cutter, make sure it’s properly calibrated to achieve precise and accurate engraving results. Calibration is an essential step in laser cutter maintenance and troubleshooting techniques.
It ensures that the laser beam is aligned correctly and focused at the right distance from the material. Start by checking the beam alignment using a beam alignment tool or a piece of scrap material. Adjust the mirrors and lens if necessary to ensure the beam’s accuracy.
Next, check the focus of the laser beam by engraving a small test pattern on a sample material. Make adjustments to the focal length until the engraving is crisp and clear.
Proper calibration will optimize the performance of your laser cutter and prevent potential issues. If you encounter difficulties during the calibration process, seek professional assistance to ensure accuracy and safety.
Seek Professional Assistance if Needed
If you’ve exhausted all troubleshooting tips and the issue with your laser cutter still persists, it’s time to seek professional assistance.
Contact the manufacturer or a professional technician who specializes in laser cutters for further guidance. Trying to fix complex issues on your own could potentially cause more harm to the machine, so it’s best to leave it to the experts who have the knowledge and experience to handle the problem effectively.
If troubleshooting tips don’t resolve the issue, contact the manufacturer or a professional technician for further assistance
In case troubleshooting tips don’t work, reach out to the manufacturer or a professional technician for help. Contacting customer support or a qualified technician is crucial when you encounter issues with your laser cutter that you can’t resolve on your own. Here are three reasons why seeking professional assistance is essential:
-
Expertise: Manufacturers and professional technicians have in-depth knowledge and experience working with laser cutters. They understand the intricacies of the machines and can provide accurate diagnoses and solutions.
-
Safety: Laser cutters can be dangerous if not handled properly. Professionals are trained to ensure the safety of both the user and the equipment. They can guide you on proper usage and prevent potential accidents.
-
Warranty: If your laser cutter is still under warranty, attempting to fix complex issues yourself may void the warranty. Manufacturers or authorized technicians can perform repairs covered by the warranty.
Remember, don’t attempt to fix complex issues on your own to avoid causing more damage to the laser cutter.
Don’t attempt to fix complex issues on your own to avoid causing more damage to the laser cutter
If troubleshooting tips don’t resolve the issue, it’s time to seek assistance from the manufacturer or a professional technician. Attempting to fix complex issues on your own can lead to further damage to the laser cutter and may even pose safety risks. Laser cutter maintenance and safety should always be a priority. To emphasize the importance of proper maintenance and safety, let’s take a look at a table that showcases the potential consequences of neglecting these aspects:
| Neglecting Laser Cutter Maintenance | Neglecting Laser Cutter Safety | Potential Consequences |
|---|---|---|
| Ignoring regular cleaning and lubrication | Not wearing protective gear | Decreased machine performance |
| Failing to calibrate the laser beam | Improper ventilation | Increased risk of fire |
| Neglecting to replace worn-out parts | Ignoring safety protocols | Accidents causing injury or damage |
Remember, a well-maintained and properly used laser cutter ensures optimal performance and a safe working environment.
Frequently Asked Questions
What are the common signs of a laser cutter that is not receiving enough power or has connection issues?
When your laser cutter lacks power or experiences connection issues, it’s like a flickering flame struggling to ignite. Signs of power problems include weak laser output, incomplete cuts, or engraving inconsistencies.
Troubleshooting connection issues involves checking cables for damage, ensuring proper alignment, and verifying power supply stability.
Don’t let these common problems dim your creativity. With technical know-how and precise troubleshooting, you can reignite your laser cutter’s full potential.
How often should the lens and mirrors of a laser cutter be cleaned?
To prevent lens and mirror damage in a laser cutter, it’s important to regularly clean them. Start by removing any debris or dust from the lens using a soft brush or compressed air.
Then, gently wipe the lens and mirrors with a lint-free cloth and lens cleaning solution. Avoid touching the lens or mirrors with your fingers to prevent smudges.
If you experience issues related to the lens and mirrors, troubleshoot by checking for misalignment or damage and adjusting as necessary.
Is it possible to adjust the focus of a laser cutter for different engraving projects?
Yes, it’s possible to adjust the focus of a laser cutter for different engraving projects. This adjustment is crucial because the proper focus plays a vital role in achieving precise and high-quality results in laser cutting.
By adjusting the focus, you can optimize the laser beam’s focal point to match the material’s thickness and density, ensuring optimal cutting and engraving performance.
Proper focus adjustment is essential for achieving the desired outcome in any engraving project.
What are the typical material settings that need to be checked before starting an engraving project?
Before starting an engraving project, there are a few material settings you should check to ensure compatibility and avoid any potential issues.
First, make sure the material is suitable for engraving with a laser cutter.
Then, adjust the power and speed settings based on the material’s characteristics.
Troubleshooting techniques like cleaning the lens and checking for proper ventilation can also help achieve optimal results.
Remember, it’s crucial to double-check these settings to avoid any mishaps along the way.
How frequently should a laser cutter be calibrated, and what does the calibration process involve?
To ensure optimal performance, you should calibrate your laser cutter regularly. The calibration frequency depends on the usage and manufacturer’s recommendations. Typically, a laser cutter should be calibrated at least once a month or whenever you notice a decline in engraving quality.
The calibration process involves aligning the laser beam, adjusting the focal length, and ensuring proper power output. It’s crucial for achieving accurate and consistent engraving results.
Conclusion
So there you have it, five laser cutter troubleshooting tips for engraving projects. By following these steps, you can ensure that your laser cutter is operating at its best and producing high-quality engravings.
Remember to always check the power and connections, clean the lens and mirrors, adjust the focus, check the material settings, and calibrate the laser cutter.
However, if you encounter any difficulties or are unsure about any of the troubleshooting steps, it’s always recommended to seek professional assistance.
Don’t let setbacks discourage you, investigate the truth behind the theory and unlock the full potential of your laser cutter.