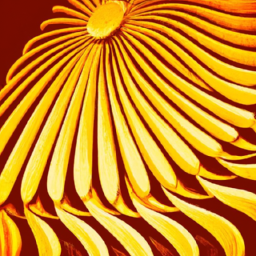
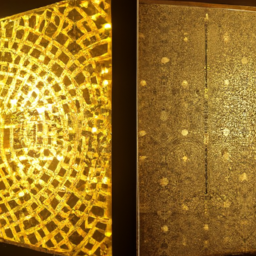
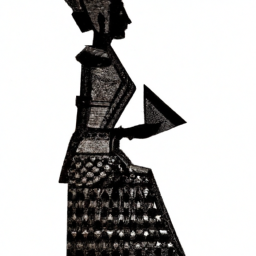
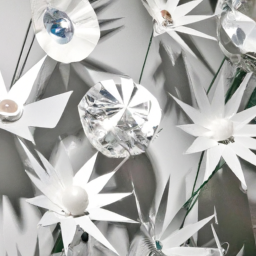
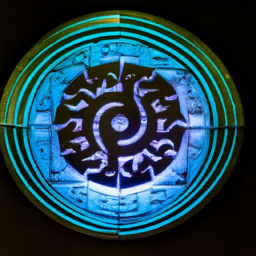
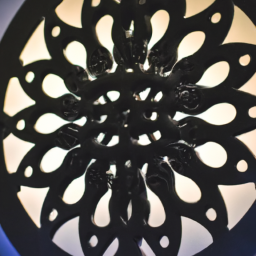
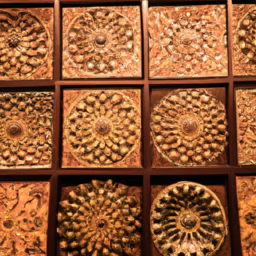
Imagine you’re standing in an art gallery, mesmerized by a stunning piece of acrylic art. The intricate details, the precise cuts, and the smooth engravings all come together to create a masterpiece that captivates your senses.
Have you ever wondered how these unique acrylic art and sculpture designs are created? Well, look no further. In this article, we will share with you 5 expert tips for laser cutting and engraving acrylic, allowing you to bring your own artistic visions to life.
Just like a skilled artist delicately crafts each brushstroke, the key to creating extraordinary acrylic art lies in the materials and techniques used. By choosing the right acrylic material, preparing your design meticulously, and setting up your laser cutting and engraving machine correctly, you can achieve exceptional results.
Moreover, testing and adjusting your settings and taking care of the finishing touches and cleaning will ensure that your artwork shines.
Whether you’re a professional artist or a hobbyist, these tips will empower you to unleash your creativity and take your acrylic art and sculpture designs to new heights. Get ready to delve into the world of laser cutting and engraving, where precision meets artistry.
Key Takeaways
- Choose the right acrylic material
- Consider acrylic thickness for durability or intricate details
- Prepare design using design software and visual aid table
- Test and adjust settings for best quality results
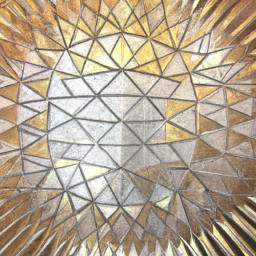
Choose the Right Acrylic Material
When choosing the right acrylic material for your laser cutting and engraving projects, make sure you’re not just settling for any ol’ acrylic – go for the one that’ll truly make your art and sculptures pop!
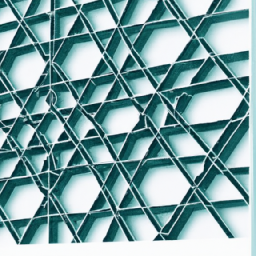
The first thing to consider is the acrylic thickness. Thicker acrylics are more durable and provide a three-dimensional effect to your designs. However, if you’re looking for intricate details, thinner acrylics are a better choice.
Next, think about the acrylic colors. Transparent acrylics allow light to pass through, creating a stunning visual effect. On the other hand, opaque acrylics are perfect for solid color designs. Experiment with different combinations to achieve the desired effect.
Now that you’ve chosen the perfect acrylic material, it’s time to prepare your design and bring it to life!
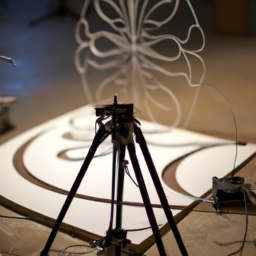
Prepare Your Design
Before you start, make sure your design is properly prepared. The design process is a crucial step in creating unique acrylic art and sculpture designs for laser cutting and engraving. Utilizing design software allows you to bring your creative vision to life and ensure precise execution. To help you through the design process, consider using a 2 column and 5 row table as a visual aid. In the first column, list the different elements or components of your design. In the second column, provide detailed specifications for each element, such as dimensions, colors, and engraving settings. This table will not only help you organize your design but also serve as a reference guide during the laser cutting and engraving process. Now that your design is ready, let’s move on to setting up your laser cutting and engraving machine.
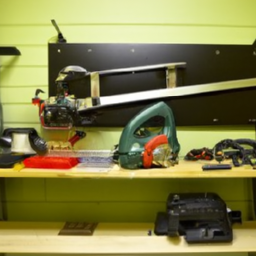
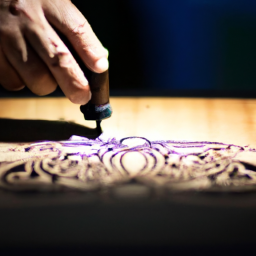
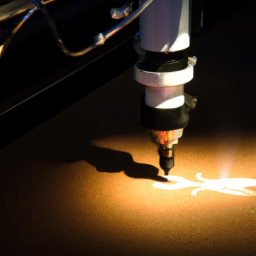
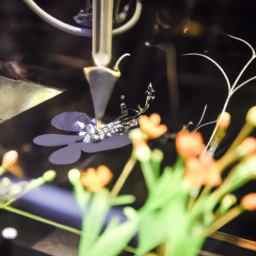
Set Up Your Laser Cutting and Engraving Machine
Now is the time to get your laser machine up and running, so you can bring your creative vision to life and amaze yourself with the precision and beauty of your creations.
Before you begin, it’s important to troubleshoot any potential issues and optimize your machine settings for the best results. Make sure all connections are secure and the machine is properly calibrated. Check the laser tube and lens for any dirt or debris that could affect the quality of your cuts and engravings.
Adjust the power and speed settings to match the thickness and type of acrylic you’re working with. Take the time to familiarize yourself with the various settings and experiment with different combinations to achieve the desired effects.
Once you’ve optimized your machine settings, you can move on to the next step of testing and adjusting to fine-tune your results.
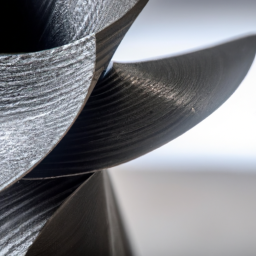
Test and Adjust
To ensure the best quality for your artwork, you need to perform test cuts and engravings on your laser cutting and engraving machine. By doing so, you can identify any issues or adjustments that need to be made to improve the final result.
Adjustments may include fine-tuning the power and speed settings, as well as optimizing the focus and alignment of the laser. By taking the time to test and adjust, you can achieve the highest level of precision and detail in your acrylic art and sculpture designs.
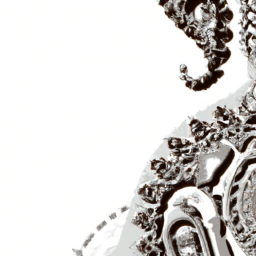
Perform Test Cuts and Engravings
Are you ready to see how your unique acrylic art and sculpture designs come to life through test cuts and engravings? It’s time to put your creations to the test and ensure that they turn out exactly as you envisioned.
Here are some troubleshooting tips to help you avoid common mistakes during this crucial step:
-
Check your settings: Make sure you’ve selected the right materials and adjusted the power and speed settings accordingly.
-
Start with small test cuts: Begin by creating small test pieces to gauge the accuracy and quality of the cuts and engravings.
-
Inspect the results: Carefully examine the test cuts and engravings for any flaws or imperfections. Look for issues like charring, incomplete cuts, or blurry engravings.
By performing these test cuts and engravings, you can identify any issues and make adjustments to improve the quality of your artwork.
Make Adjustments to Improve the Quality of Your Artwork
Enhance the perfection of your creations by making adjustments that elevate the quality of your artwork.
When laser cutting and engraving acrylic art and sculptures, it’s essential to utilize adjustment techniques to achieve the desired results. Start by adjusting the power and speed settings on your laser cutter to ensure precise cutting and engraving. Additionally, make sure the focal length is correctly set for optimal clarity.
Troubleshooting tips include checking for any debris or residue on the acrylic surface, as this can affect the quality of your artwork. Clean the acrylic and make any necessary adjustments before proceeding with the cutting and engraving process.
By fine-tuning your techniques and addressing any issues, you can ensure that your artwork turns out flawlessly.
Transition into the subsequent section about ‘finishing and cleaning’ by focusing on the importance of a meticulous process.
Finishing and Cleaning
When finishing and cleaning your laser-cut acrylic art and sculpture designs, it’s important to remove any residue or debris from the acrylic surface.
This can be done by gently wiping the surface with a soft, lint-free cloth or using a mild soap and water solution.
Additionally, applying a glossy or matte finish to the acrylic not only enhances its aesthetics but also provides protection against scratches and UV damage.
Remove Any Residue or Debris from the Acrylic
First, make sure you’ve got your goggles on because you don’t want any of that pesky debris getting in your eyes as you remove every single trace of residue from your magnificent acrylic masterpiece.
When it comes to cleaning techniques for acrylic art and sculpture designs, removing stubborn stains and debris is crucial for a flawless finish. Start by gently wiping the surface with a soft cloth or sponge dampened with warm soapy water. For more stubborn stains, you can use isopropyl alcohol or a specialized acrylic cleaner, ensuring to follow the instructions carefully. Be cautious not to use any abrasive materials or harsh chemicals that can damage the acrylic.
Once you have removed all residue and debris, you can transition into the subsequent section about applying a glossy or matte finish for protection and aesthetics.
Apply a Glossy or Matte Finish for Protection and Aesthetics
Now that you’ve removed any residue or debris from the acrylic, it’s time to take your laser-cut and engraved art and sculpture designs to the next level.
Applying a glossy or matte finish not only enhances the overall aesthetics of your creations but also provides protection against scratches and fading.
Here are 5 tips for applying an acrylic finish:
-
Choose between a glossy or matte finish based on your desired look and feel.
-
For a glossy finish, use a clear acrylic spray or liquid varnish. This’ll give your designs a shiny and reflective surface.
-
If you prefer a more subdued and velvety appearance, opt for a matte finish. You can achieve this by using a matte acrylic spray or a matte varnish.
Pros of a glossy finish include a vibrant and eye-catching appearance, as well as better resistance to stains and moisture. On the other hand, matte finishes offer a more sophisticated and elegant look, with the advantage of hiding fingerprints and smudges.
Remember, the choice between glossy and matte depends on your personal preference and the specific effect you want to achieve with your acrylic art and sculpture designs.
Frequently Asked Questions
What are the different types of acrylic materials available for laser cutting and engraving?
Different colors, thicknesses, and finishes of acrylic materials are available for laser cutting and engraving. You can choose from a wide range of options to suit your design in terms of colors. Thicknesses vary from thin sheets to thicker blocks, depending on the desired outcome. Finishes such as glossy, matte, or frosted can add unique effects to your acrylic art. To ensure successful laser cutting and engraving, avoid common mistakes like using incorrect power settings or not properly securing the material.
How do I determine the appropriate settings for my laser cutting and engraving machine?
Determining the appropriate settings for your laser cutting and engraving machine can be as easy as deciphering hieroglyphics. But fear not, brave artist! With a little trial and error, you’ll be able to conquer this machine and unleash your creativity.
Start by experimenting with different power levels, speed settings, and focusing depths. And when you encounter issues, don’t panic! Troubleshoot like a pro by adjusting the settings and fine-tuning until you achieve that perfect masterpiece.
Can I use a laser cutting and engraving machine on other materials besides acrylic?
Yes, you can definitely use a laser cutting and engraving machine on other materials besides acrylic. The machine allows you to work with a variety of alternative materials such as wood, leather, paper, and even metal.
Each material has its own benefits and limitations when it comes to laser cutting and engraving. It’s important to understand the specific requirements and settings for each material to achieve the best results.
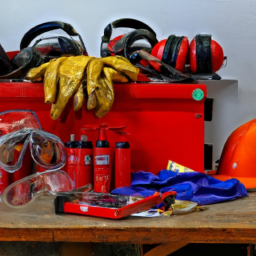
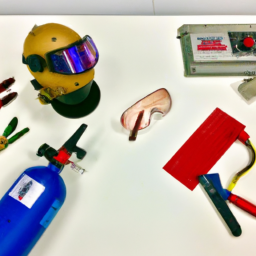
What safety precautions should I take when operating a laser cutting and engraving machine?
Ah, the thrill of operating a laser cutting and engraving machine! Safety precautions are an absolute must, my friend.
First, protect those precious peepers with some high-quality laser safety goggles.
Make sure your workspace is well-ventilated and free from any flammable materials.
Regularly maintain your machine to keep it in top-notch condition and prevent any mishaps.
Remember, a safe laser cutting and engraving experience is a successful one. Stay knowledgeable, precise, and experienced, my friend!
Are there any additional steps or techniques to enhance the finished look of my acrylic art and sculpture designs?
To enhance the finished look of your acrylic art and sculpture designs, there are some additional techniques and finishing touches you can apply. One effective technique is to use a flame-polishing method to give your acrylic pieces a glossy and smooth appearance.
Additionally, you can experiment with different depths and speeds when engraving to create unique textures and patterns.
Lastly, consider adding a protective coating or varnish to your finished pieces to enhance their durability and luster.
Conclusion
In conclusion, by following these tips, you can create stunning and unique acrylic art and sculpture designs using laser cutting and engraving techniques. Remember to choose the right acrylic material to ensure the best results, and prepare your design carefully for accurate cutting and engraving.
Setting up your laser machine properly and testing and adjusting as needed will help you achieve the desired outcome. Finally, don’t forget to finish and clean your artwork for a polished and professional look.
Did you know that the global laser cutting and engraving market is projected to reach a value of $6.72 billion by 2025? This statistic highlights the growing popularity and demand for these techniques in various industries.